
How to Seal Your Windows for Winter Without Breaking the Bank
Why Learning How Do I Seal My Windows for Winter is Essential

If you are asking yourself, “how do i seal my windows for winter“, you are already on the path to a warmer home and lower utility bills. Old single-pane windows can leak up to 25 percent of your home’s heat, and even double-pane windows lose valuable energy through tiny frame gaps.
Quick Answer: The Best Ways to Seal Windows for Winter
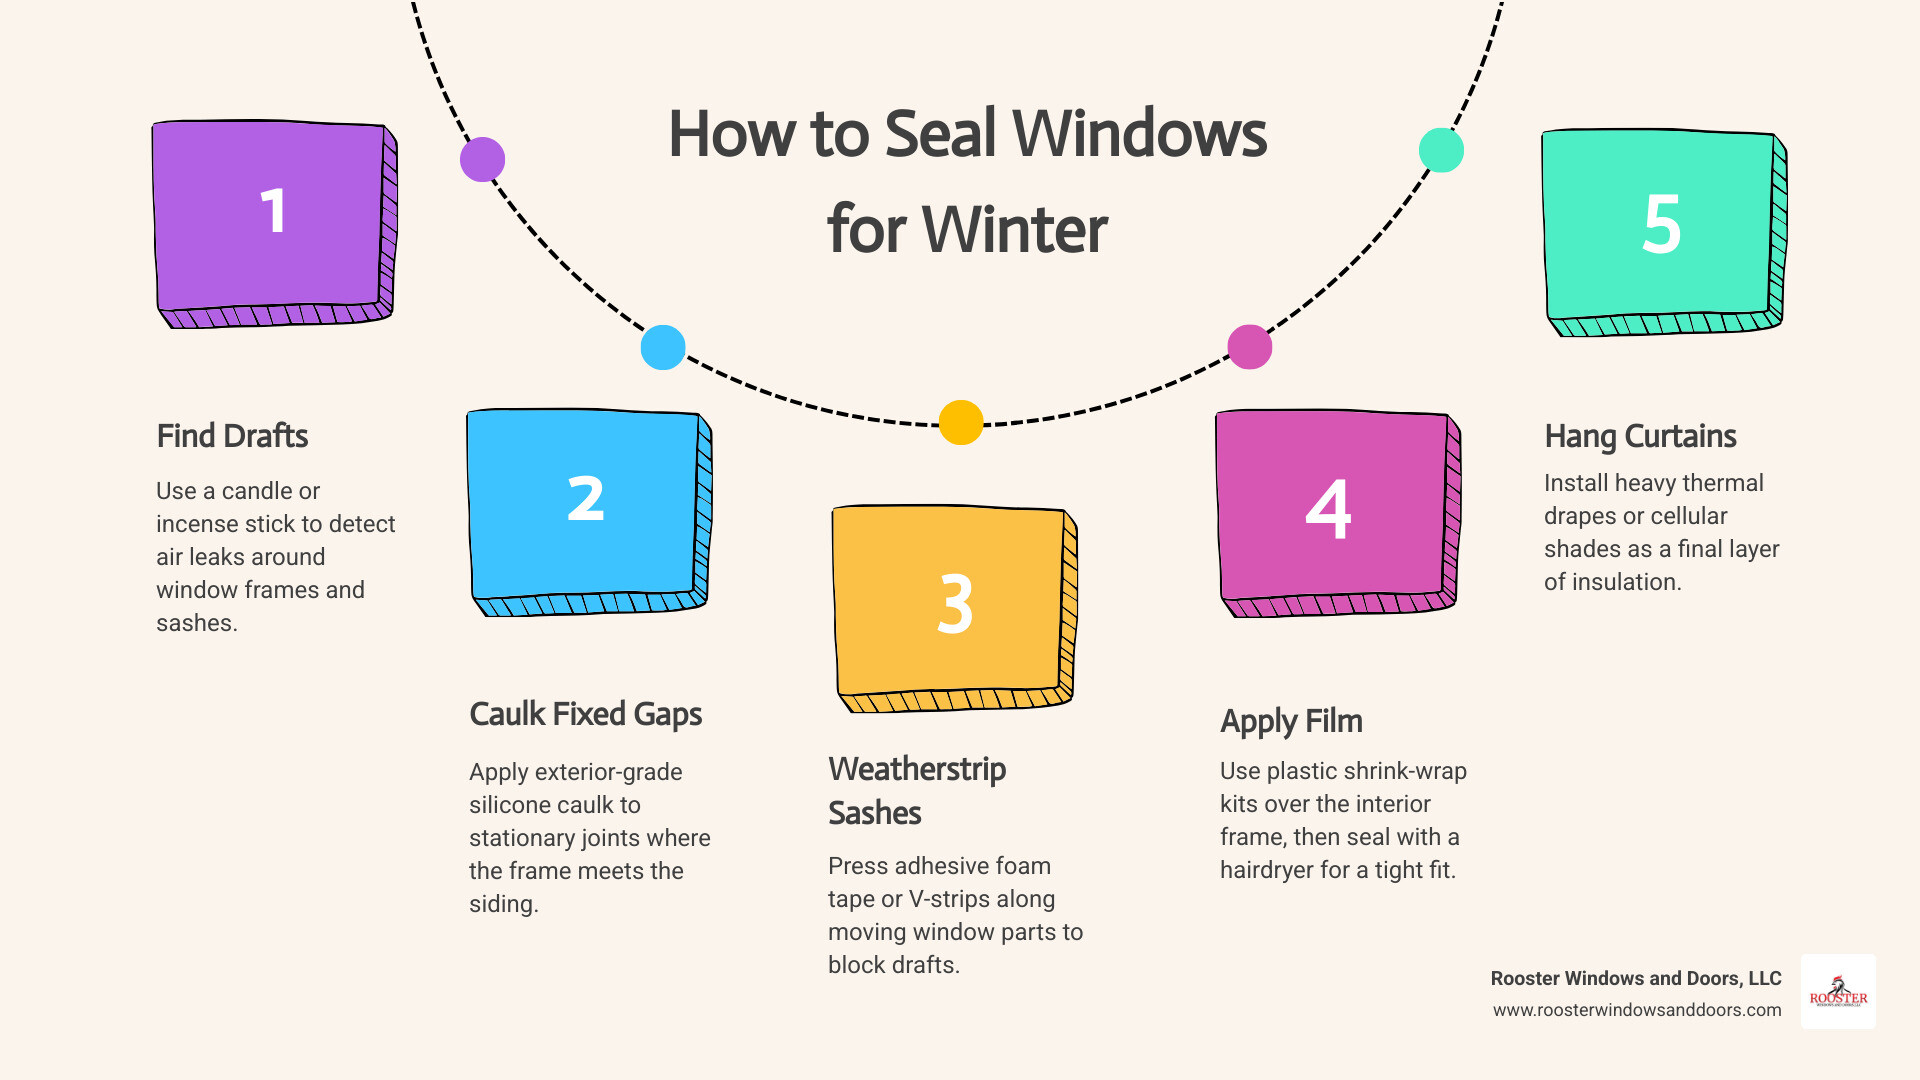
- Find the drafts: Use a lit candle or incense stick to locate air leaks around window frames.
- Caulk fixed gaps: Apply exterior-grade silicone caulk to stationary joints where the window frame meets your siding.
- Weatherstrip moving sashes: Press adhesive foam tape or V-strips along the moving parts of the window.
- Use window insulation film: Apply plastic shrink-wrap kits over the interior window frame using a hairdryer to block drafts.
- Hang thermal curtains: Use heavy, insulated drapes to add a final layer of protection.
I am Piotr Wilk, and for over two decades, my team at Rooster Windows and Doors, LLC has helped Chicagoland homeowners in Lake, Cook, and McHenry counties figure out exactly how do i seal my windows for winter to keep the freezing cold out. Over the years, we have installed and winterized thousands of residential windows, and today I want to share our best professional DIY secrets so you can do it yourself without breaking the bank.
Step 1: How Do I Seal My Windows for Winter by Finding the Drafts First?
Before you run to the hardware store in Libertyville, Gurnee, or Arlington Heights and buy every roll of tape in sight, you need to know exactly where your enemies are. Drafts are sneaky. One minute you are sipping your hot coffee like a civilized person, and the next minute a freezing blast of wind is crawling across your ankles like it pays rent.
To prevent this, you must conduct a proper “draft hunt.” Finding the leaks before you start sealing ensures you do not waste time, effort, or materials on areas that are already perfectly airtight. Here are the most effective DIY draft-detection methods:
- The Physical Feel Test: On a cold, windy day, slowly run the back of your hand along the window joints, sashes, and sills. The back of your hand is highly sensitive to temperature changes and will quickly detect incoming cold air.
- The Candle or Incense Test: Hold a lit candle or a stick of burning incense about one to two inches away from the window edges. If the flame flickers wildly or the smoke wavers erratically, you have found an active air leak.
- The Dollar-Bill Test: Open your window, place a dollar bill across the sash, and close the window tightly. Try to pull the bill out. If it slides out easily without any resistance, your window sashes are not compressing properly, and cold winter air is slipping right through.
- High-Tech Thermal Leak Detectors: If you want to feel like a professional home inspector, you can purchase a handheld thermal leak detector for around $50 (or a smartphone thermal camera attachment for around $200). These devices highlight temperature variances in real-time, showing you exactly where freezing air is penetrating your home’s envelope.
Once you have identified the weak spots in your home’s defenses, you can target them with the right solutions. For an in-depth breakdown of why these leaks happen in the first place, check out our guide on Drafty Window Solutions.
Caulking vs. Weatherstripping: Which Sealing Method Should You Use?
One of the most common points of confusion for homeowners in places like Elgin, Palatine, or Evanston is deciding between caulk and weatherstripping. Squeezing caulk everywhere like a cake decorator in a panic will only lead to stuck windows and a massive headache in the spring.
The golden rule of window winterization is simple: use caulk for fixed, stationary gaps and weatherstripping for moving parts.
| Sealing Method | Best Used For | Common Materials | Durability & Lifespan |
|---|---|---|---|
| Caulking | Stationary, non-moving gaps (where the window frame meets the exterior siding or interior drywall) | Silicone, polyurethane, elastomeric latex | 5 to 10+ years (high-quality silicone) |
| Weatherstripping | Operable, moving parts (sashes, tracks, and where the window closes) | Foam tape, V-strip (tension seal), EPDM rubber, silicone tubing | 3 to 5 years (needs periodic replacement) |
Using the right product in the right place is crucial for both energy efficiency and preserving the functionality of your windows. For a comprehensive overview of how to balance these methods, read more about How To Seal Windows and Doors for Winter.
How Do I Seal My Windows for Winter Using Caulk on Fixed Gaps?
Caulk is designed to seal permanent, non-moving joints. When cold winter temperatures hit the Chicago area, standard building materials contract, widening the gaps around your exterior window trim.
To apply caulk correctly:
- Prep the Surface: Use a utility knife or putty scraper to remove old, cracked, or peeling caulk. Clean the area thoroughly to remove dirt and dust.
- Use a Backer Rod for Large Gaps: If you run into a gap wider than a quarter-inch, do not try to fill it entirely with caulk. It will shrink and fail. Instead, press a foam backer rod into the gap first, then apply caulk over it.
- Choose the Right Sealant: For exterior siding-to-frame seams, use a high-quality polyurethane or hybrid silicone sealant.
- Watch the Temperature: Standard exterior caulks should only be applied when temperatures are between 40°F and 90°F. If you are winterizing in late November and temperatures have already plummeted, make sure to buy a low-temperature formula (like Loctite PL S30) rated down to 0°F.
If you are dealing with moisture-prone areas like basement windows, you will want to take extra precautions. Take a look at our guide on No More Drips: Easy Ways to Waterproof and Seal Your Basement Windows for specialized advice.
How Do I Seal My Windows for Winter with Weatherstripping on Moving Parts?
Moving sashes require flexible seals that compress when the window is closed and locked, but allow the window to open smoothly when needed.
Follow these steps to weatherstrip your windows like a pro:
- Clean with Denatured Alcohol: Self-adhesive weatherstripping will peel right off if applied to a dusty or oily frame. Wipe down the contact surfaces with denatured alcohol and let them dry completely.
- Select Your Weatherstripping:
- Foam Tape: Cheap and easy to apply, but wears out quickly. Best for low-use windows.
- V-Channel (Tension Seal): Durable plastic or copper that folds in a “V” shape to block drafts along the sides of double-hung windows.
- EPDM Rubber or Silicone Tubing: Premium, highly flexible options that offer excellent compression and last for years.
- Apply and Compress: Cut the strips to the exact dimensions of your window tracks and frame. Peel back the adhesive backing and press the strips firmly into place.
- Lock Your Windows: Always lock your windows throughout the winter! Engaging the sash locks pulls the meeting rails together and compresses the weatherstripping, creating an active, airtight seal.
To learn more about maximizing the performance of your moving window components, explore our article on Window Door Weatherproofing.
Temporary and Renter-Friendly Window Sealing Solutions
If you are renting an apartment in Chicago, Evanston, or Schaumburg, you likely cannot apply permanent exterior caulk or drill new hardware into the window frames. Fortunately, you do not have to spend the winter shivering.
There are highly effective, completely reversible ways to keep your apartment warm:
- Removable Caulk: This is a temporary, rubbery sealant that you squeeze into drafty interior gaps. It cures to block drafts but can be easily peeled off in the spring without leaving residue or damaging paint.
- Magnetic Window Insulation: You can create a reusable thermal barrier by applying magnetic tape around your window frame and matching magnetic strips to a thick sheet of clear vinyl plastic. This allows you to peel the plastic back whenever you want fresh air.
- Draft Stoppers (Draft Snakes): These are weighted fabric tubes filled with sand or dried beans. Placing them along drafty window sills blocks bottom drafts instantly and cheaply.
For a closer look at temporary insulation strategies, read our guide on How to Insulate Windows.
How to Apply Window Insulation Film Correctly Without Wrinkles
Shrink-film kits (such as those from 3M) are incredibly cost-effective. A basic $15 to $30 kit can cover up to five average-sized windows, creating a dead-air space that reduces heat loss by 25 to 40 percent on older single-pane windows.
However, if applied poorly, shrink film can look like a cloudy, wrinkled mess. Here is how to get a crystal-clear, drum-tight seal:
- Clean the Trim: Wipe down the interior window trim with a damp cloth and let it dry completely so the double-sided tape adheres properly.
- Apply the Tape: Apply the double-sided tape to the front face of the window trim, leaving a 1-inch border from the outer edge. Press the tape down firmly.
- Cut the Film to Size: Measure your window and cut the plastic film, leaving at least 5 inches of excess material on all sides.
- Press the Film Onto the Tape: Start at the top of the window, pressing the film firmly onto the tape. Work your way down the sides, keeping the plastic as flat as possible. Don’t worry if there are some loose wrinkles at this stage.
- Use the Hairdryer Technique: Set your hairdryer to high heat. Hold it 3 to 5 inches away from the plastic and keep it moving constantly. Do not hold it in one spot for too long, or you will melt a hole right through the film! Watch as the heat shrinks the plastic into a perfectly smooth, invisible barrier.
- Trim the Excess: Use a utility knife or sharp scissors to cut away the excess plastic hanging off the edges of the tape.
To read more about seasonal DIY winterization, check out Winterizing Windows: Complete Guide for Homeowners – D and G Flooring.
The Role of Thermal Curtains and Cellular Shades
If you want to add an extra layer of defense (and style) to your windows, high-quality window treatments are a fantastic investment.
- Cellular Shades: Often called honeycomb shades, these window coverings feature built-in air pockets that trap cold air before it enters your room. Cellular shades from reputable brands cost between $50 and $200 per window and can reduce window heat loss by 20 to 25 percent. For maximum efficiency, look for shades with larger pleat sizes, as they trap a larger volume of insulating air.
- Thermal Curtains: These heavy-duty drapes are woven with dense, multi-layered fabrics or thermal backings. They act like a cozy sweater for your windows.
- The Power of Stacking: For the ultimate thermal barrier, combine cellular shades with heavy thermal drapes. Close them as soon as the sun goes down to lock in the day’s heat.
Common Mistakes to Avoid When Winterizing Your Windows
While winterizing your windows is a straightforward weekend project, making a few common mistakes can ruin your hard work, damage your window frames, or even create safety hazards.
- Caulking Moving Parts: Never apply permanent caulk to sashes, tracks, or any component that needs to open. Doing so will permanently seal your windows shut, which is a major fire safety hazard.
- Applying Sealant Over Dirty Surfaces: If you don’t scrape away old, crumbling caulk and clean off dust, your new caulk or adhesive weatherstripping will fail to bond and will peel away before January.
- Using the Wrong Expanding Foam: Standard expanding spray foam expands with incredible force. If you spray it into the gaps behind your interior window trim, it can easily warp your window frames, making them impossible to open or close. Always use low-expansion foam specifically formulated for windows and doors.
- Ignoring Structural Damage: If your window sills are soft to the touch or rotting, sealing them with plastic or tape is like putting a band-aid on a broken leg. You must address the underlying rot first. Learn how to spot and fix these issues in our guide to Window Maintenance.
- Forgetting Safety and Ventilation: Never seal every single window in a room completely shut with permanent materials. You must always maintain at least one operational window per room to serve as an emergency egress.
When Sealing Isn’t Enough: When to Replace Your Windows
While DIY draft-proofing is a budget-friendly way to survive a brutal Chicagoland winter, temporary seals are only a short-term fix. There comes a time when sealing your old windows is no longer cost-effective, and professional replacement makes far more sense.
You should consider replacing your windows if you notice:
- Condensation Between Glass Panes: If you see fog, water droplets, or mineral deposits trapped between the panes of your double-glazed windows, the insulated glass unit (IGU) seal has failed. The insulating argon gas has escaped, and the window has lost its thermal efficiency.
- Rotted Sashes or Frames: If moisture has penetrated your wooden window frames, causing them to warp, crack, or rot, the structural integrity of the window is compromised.
- Severe Warping and Failing Hardware: If your windows are painted shut, warped out of square, or refuse to lock, they can no longer compress weatherstripping effectively.
- Astronomical Energy Bills: If you have spent hundreds of dollars on winterization kits and your home still feels drafty, your old single-pane windows are simply outdated.
Upgrading to modern, ENERGY STAR-certified windows can save you between $125 and $465 per year on heating and cooling costs in cold-climate regions like Northern Illinois. To see how much of a difference modern glass technology makes, read our comparison on Single Pane vs Double Pane. For further guidance on identifying failed window units, take a look at How to Fix Drafty Windows | DAP Global.
Frequently Asked Questions About Winter Window Sealing
How long do different window sealing methods last?
The lifespan of your window seals depends entirely on the materials used. High-quality silicone or polyurethane exterior caulk can last anywhere from 5 to 10 years when applied correctly. In contrast, self-adhesive foam weatherstripping typically degrades within 3 to 5 years due to friction and moisture exposure. Felt weatherstripping is the least durable and should be replaced every 1 to 2 years.
Should I remove window insulation film in the summer?
Yes, you should definitely remove shrink-wrap window film once spring arrives. Keeping the plastic on year-round can trap condensation against your window frames, leading to mold growth and wood rot. Additionally, summer heat can bake the double-sided adhesive tape into your trim, making it extremely difficult to peel off without stripping your paint or varnish.
Can I use standard expanding spray foam to seal window gaps?
No! You should never use standard expanding spray foam around windows. Standard foam expands aggressively and can exert enough pressure to warp vinyl or wood window frames, ruining their alignment and preventing them from opening. Always use specialized, low-expansion foam labeled specifically for “Window & Door” applications.
Conclusion
Figuring out how do i seal my windows for winter is one of the smartest, most budget-friendly steps you can take to make your home cozy and lower your heating bills. Whether you choose to apply weatherstripping, seal fixed gaps with caulk, or apply a seasonal shrink-wrap kit, a small investment of your time this weekend will pay off in comfort all winter long.
However, if your windows are drafty because they are structurally damaged, warped, or single-paned, DIY fixes will only go so far. At Rooster Windows and Doors, LLC, we specialize in providing flawless, energy-efficient window installations tailored to withstand the harshest Illinois winters. If you are tired of dealing with temporary plastic film every year, Schedule a professional window installation today and let us help you permanently upgrade your home’s comfort.
