Why Proper uPVC Door Installation Matters for Your Home
uPVC door installation transforms your home’s entrance while boosting energy efficiency, security, and curb appeal. Getting it right means years of reliable performance – getting it wrong can lead to drafts, water damage, and costly repairs.
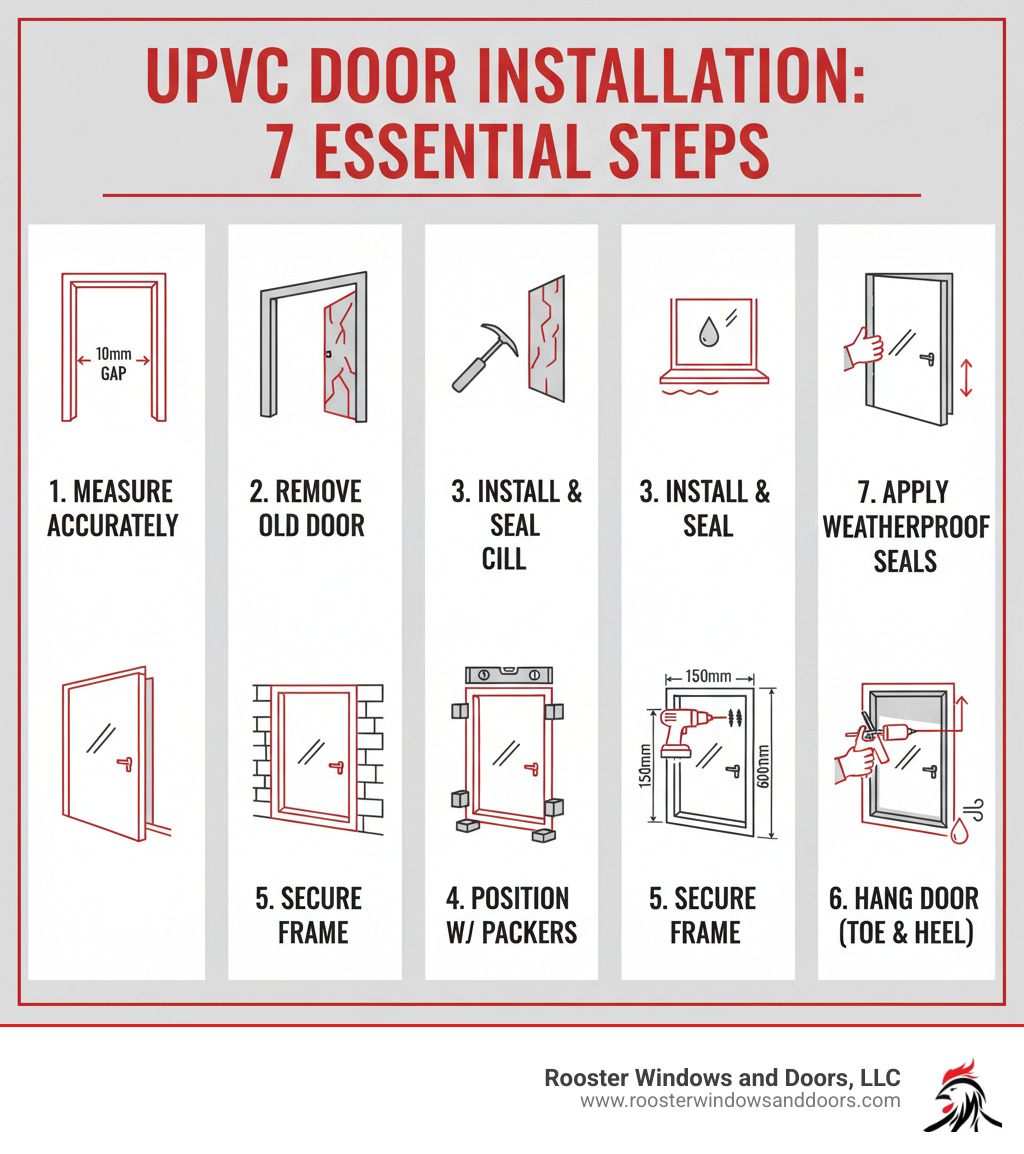
Essential Steps for uPVC Door Installation:
- Measure accurately – Allow 10mm expansion gap around frame
- Remove old door – Cut sealant, remove fixings, clean opening
- Install the cill – Level and seal properly to prevent water ingress
- Position frame – Use packers to ensure plumb and level installation
- Secure frame – Fix at 150mm from corners, then 600mm intervals
- Hang door and glass – Use toe and heeling technique for proper alignment
- Apply final seals – Use quality silicone sealant for weatherproofing
Research shows that over 90% of door problems stem from poor installation. The difference between a professional job and a DIY disaster often comes down to understanding critical details like proper frame spacing, correct fixing points, and weatherproofing techniques.
Modern uPVC doors offer incredible benefits – they resist rot, rust, and warping while providing excellent thermal insulation. Unlike wood doors that need regular painting and maintenance, uPVC doors simply need occasional cleaning with soapy water.
I’m Piotr Wilk from Rooster Windows and Doors, and over two decades of uPVC door installation experience in the Chicagoland area has taught me that proper technique makes all the difference. Whether you’re tackling this project yourself or hiring professionals, understanding the process helps ensure a successful outcome that improves your home for years to come.

Upvc door installation terminology:
Why Choose uPVC? A Comparison of Door Materials
Choosing the right door material is a big decision. With two decades in the door installation business, I’ve seen how materials perform in real-world conditions, and uPVC doors consistently stand out as a popular choice for homeowners.
Durability is where uPVC really shines. Unlike wood doors that can rot, warp, or swell with moisture, uPVC is unaffected by weather. I’ve installed uPVC doors that still look fantastic after 15 years of Chicago winters and humid summers, while wood doors require far more TLC.
The weather resistance of uPVC is impressive. It doesn’t rust, rot, or corrode. From harsh Elgin winters to humid Joliet summers, uPVC doors perform reliably. Most come with a 10-year guarantee and often last much longer.
For thermal performance, uPVC doors are champions of energy efficiency. Their multi-chambered profiles provide excellent insulation, lowering heating and cooling costs. However, poor uPVC door installation can reduce thermal performance by up to 20%, highlighting the need for a professional job.
Noise reduction is another bonus. If you live near a busy street, you’ll appreciate how the airtight seals on uPVC doors help keep outside noise where it belongs. The specialized gaskets create an effective barrier against traffic and neighborhood sounds.
Security features in modern uPVC doors are robust, often including steel-reinforced frames and multi-point locking systems with up to 7 locking points for serious protection.
The affordability of uPVC is also attractive. The initial cost is reasonable, and low maintenance requirements save money over time. A simple wipe-down with soapy water is all that’s needed—no painting or staining.
| Feature | uPVC Doors | Traditional Wood Doors |
|---|---|---|
| Maintenance | Low (wipe clean, occasional lubrication) | High (painting, staining, sealing, repairs) |
| Cost | Generally affordable | Varies widely, can be expensive |
| Lifespan | 10-20+ years | 20-60+ years (with consistent maintenance) |
| Insulation | Excellent (multi-chambered profiles) | Good (can vary with wood type and construction) |
The bottom line? uPVC doors offer an excellent balance of performance, durability, and value that’s hard to beat for most homeowners.
Gearing Up: Tools and Materials for Your uPVC Door Installation
A smooth uPVC door installation depends on proper preparation. Having all the right tools and materials on hand before you start is the secret to avoiding frustrating delays.

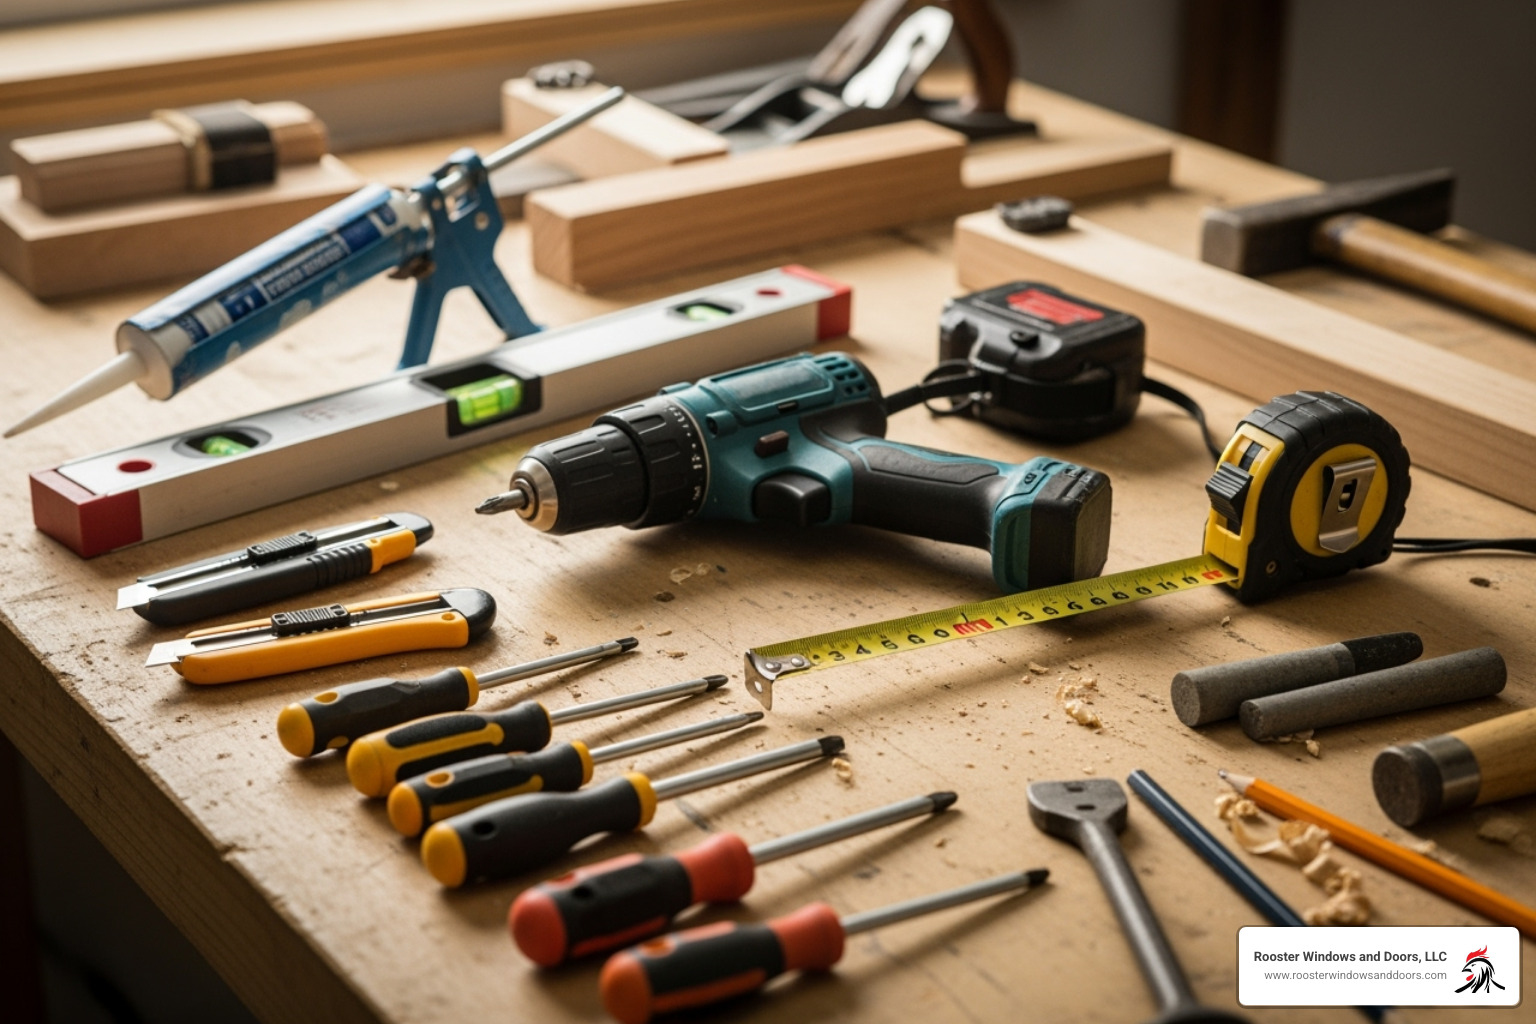
A measuring tape and a spirit level are your most critical tools. Use them constantly to check dimensions and ensure the frame is perfectly plumb and level—a non-negotiable for a professional finish.
Have a fully charged cordless drill with various bits for wood and masonry, plus a screwdriver set for drilling pilot holes, securing fixings, and making fine adjustments.
A hammer and chisel are essential for removing old frames, while a rubber or plastic mallet is needed for gently fitting components like glazing beads without causing damage.
You’ll also need a caulking gun for applying silicone sealant and a utility knife for cutting old sealant and trimming protective films.
Safety is paramount. Safety glasses, gloves, and a dust mask are essential, not optional. Use dust sheets to protect your home and keep the work area clean.
For materials, your new uPVC door kit should include the pre-hung door, frame, and cill. Always double-check that the order is correct before you begin.
High-quality silicone sealant is non-negotiable for creating watertight and airtight seals. Expanding foam fills larger gaps between the frame and wall for insulation and support.
Plastic packers and shims are the unsung heroes, keeping the frame perfectly positioned without distortion. Ensure your frame fixings are appropriate for your wall type (e.g., masonry screws for brick).
Finally, have PVC cleaner for the final cleanup and masking tape to create crisp, professional sealant lines. Having everything ready transforms a potentially frustrating job into a smooth, satisfying project.
The Step-by-Step Guide to Flawless uPVC Door Installation
This section covers the complete process from start to finish, ensuring a professional result that will make your neighbors wonder if you hired a pro.
Step 1: Preparation is Key – Measuring and Site Prep
Proper preparation is what separates a professional uPVC door installation from a DIY disaster. Resist the urge to jump ahead.
Accurate measuring is the first step. Measure the opening’s width and height at multiple points (top, middle, bottom). The new uPVC door frame should be about 10mm smaller than the opening in both width and height. This 10mm expansion gap is crucial for thermal expansion and allows for adjustments during fitting.
Before starting, check the new door thoroughly. Confirm the size, style, color, and hinge side match your order, and inspect for any shipping damage.
Next, inspect the aperture. You need a clean, level, and structurally sound surface. Address any issues now.
Finally, clear the work area and lay down protective sheeting to keep your home clean and your workspace safe.
For more detailed insights into our preparation process, you can find more info about our Exterior Door Installation process.
Step 2: Out with the Old – Safely Removing Your Existing Door
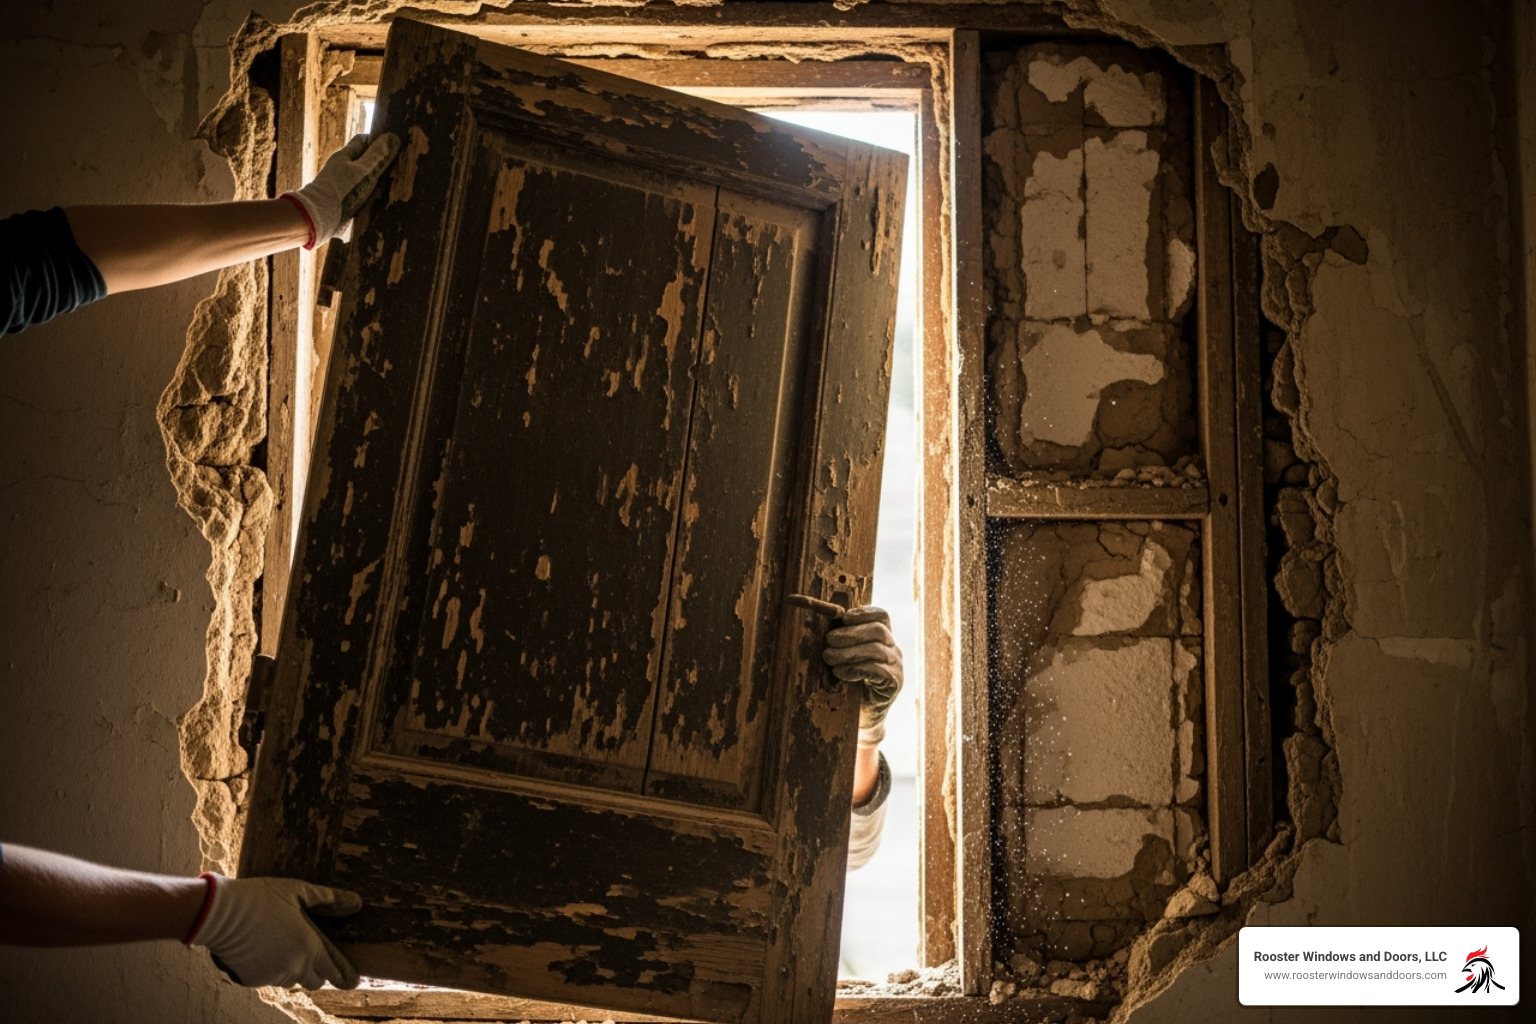
Removing the old door requires patience to avoid damaging the surrounding wall.

Start by removing door hardware like handles and locks. You can usually remove the door sash by popping out the hinge pins or unscrewing the hinges.
Use a sharp utility knife to cut the sealant around the entire frame perimeter, inside and out. This breaks the bond with the wall and makes removal easier.
Now, remove frame fixings. Look for all screws holding the frame to the wall, prying away trim if necessary. For wooden frames, you may need to make cuts to ease removal.
Pry out the old frame slowly with a pry bar, working around the frame to loosen it gradually.
Finally, clean the opening thoroughly, removing all old sealant, debris, and loose material to prepare a clean slate for your new uPVC door installation.
Considering a full replacement? See our Door Replacement Services if you’re thinking about upgrading the entire entrance system.
Step 3: Fitting the Frame – The Foundation of a Perfect uPVC Door Installation
Fitting the frame correctly is the foundation of your uPVC door installation. A rushed job here will cause problems later.
Cill installation is first if it’s a separate component. Position the cill, use your spirit level, and slip packers and shims underneath until it’s perfectly level. Apply a bead of silicone sealant to the substrate, reposition the cill firmly, and seal along the upstand and ends.
Positioning the new frame is a two-person job. Lower it onto the cill, maintaining the 10mm expansion gap around the perimeter.
Use plastic packers and shims between the frame and wall at every fixing point. This is essential to prevent the frame from distorting when you tighten the fixings.
Check for plumb and level constantly as you work, adjusting packers until your spirit level shows perfection on all sides.
When securing the frame, place frame fixing points 150-250mm from each corner and then at intervals of no more than 600mm. Aim for at least five fixings per vertical side.
Crucially, avoid over-tightening the fixings. Tighten just until the frame is snug against the packers. Over-tightening will warp the frame, leading to drafts and operational issues.
Step 4: Hanging the Door and Installing the Glass
With the frame secured, it’s time for the satisfying part: hanging the door sash.
Install handles and locks on the door sash before hanging it. Working on a horizontal surface is much easier.
Carefully lift the door sash and engage the hinges. Once hung, check the swing by opening and closing the door. The gaps should be even, and the operation should feel smooth.
For glazing the door, start by removing the internal glazing beads. Note their positions, as they must be reinstalled in the same place.
Place bridging packers in the bottom hinge-side and top handle-side corners. These lift the glass unit above the drainage channels.
The toe and heeling technique is critical to prevent the heavy uPVC door from sagging over time. It involves using packers to create a diagonal load path from the bottom hinge to the top lock corner, transferring the door’s weight to the frame. This keeps the door aligned and the locks operating smoothly.
Once the glass is packed and positioned, apply a small amount of silicone to hold the packers. Refit the glazing beads, starting with the shorter ones, using a rubber mallet to gently tap them into place.
Test functionality thoroughly. Open, close, and lock the door. It should all feel smooth. Make any minor hinge adjustments now.
Step 5: The Final Seal – Best Practices for a Professional uPVC Door Installation
Proper sealing is the final step that ensures a flawless, weatherproof uPVC door installation.

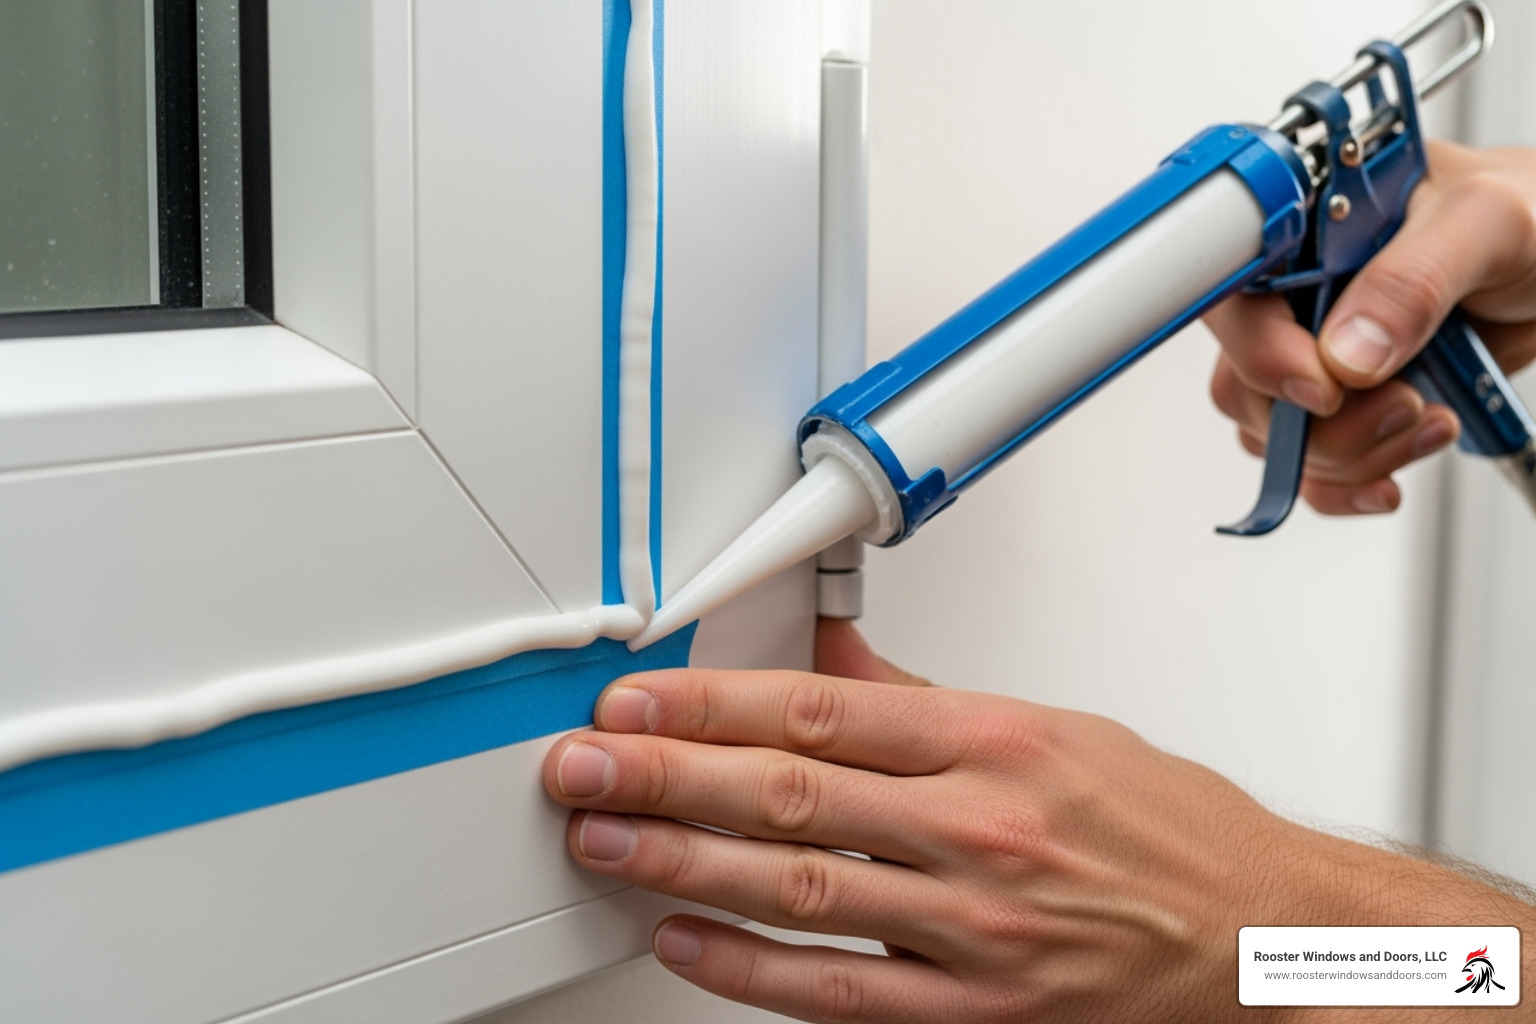
When applying exterior silicone sealant, run a continuous bead where the frame meets the wall. For a professional finish, use masking tape for clean lines. Apply tape along the frame and wall, apply the sealant, smooth the bead, and remove the tape immediately for a perfectly straight line.
Fill interior gaps with expanding foam for insulation, but use it sparingly as it expands. Trim any excess once cured.
Install interior and exterior trim to create a finished look. Measure and cut precisely to avoid obvious gaps.
Your final cleanup includes removing protective films, cleaning any sealant residue, and polishing the glass. Allow the sealant to cure fully before heavy use.
Now you can stand back and admire a professional-quality uPVC door installation that will improve your home for years.
DIY vs. Professional Installation: Making the Right Choice
A DIY uPVC door installation can seem satisfying, but it’s important to understand the challenges before you begin.
The Reality of DIY Installation
The time commitment for a DIY project is significant. A job that takes our professional team a few hours can take a novice an entire weekend, filled with hardware store trips and troubleshooting.
The required skill level is higher than many expect. Reading about leveling techniques is different from achieving a perfect plumb line while wrestling a heavy frame. You need a good eye for detail and plenty of patience.
Tool costs can also add up. If you don’t already own a quality drill, spirit level, and other necessary items, the investment can approach the cost of professional installation.
Our experience shows that potential pitfalls are common in DIY jobs. Incorrect measurements, improper leveling, poor sealing, or over-tightened screws can lead to gaps, drafts, water damage, and a warped frame. These mistakes are costly and often require a complete reinstallation.
The Value of Professional Expertise
At Rooster Windows and Doors, we’ve perfected uPVC door installation across the Chicagoland area. Our teams bring decades of combined experience to every project, from Evanston to Naperville.
We take accurate measurements that account for your home’s unique structure. Our quality workmanship ensures your door is perfectly plumb, level, and sealed.
The warranty and guarantees we provide protect your investment. You can rest easy knowing we stand behind our work.
Professional installations ensure compliance with local building codes and standards like those from ENERGY STAR. Proper certification is often important for your home’s value and for insurance purposes.
Most importantly, we offer a time-saving and hassle-free experience. No weekend projects turning into month-long ordeals. Just a smooth, professional installation that transforms your entrance.
Choosing between DIY and professional uPVC door installation comes down to what you value most. If you want guaranteed results without the stress, our Door Services team is ready to deliver the flawless installation your home deserves.
Long-Term Care: Maintaining Your New uPVC Door
The great news about your uPVC door installation is that the final product is refreshingly low-maintenance compared to wood doors that require constant upkeep.
Routine cleaning is the biggest task. Every few months, use soapy water and a soft cloth to wipe down the door and frame. This removes dirt and grime, keeping your door looking new.
A pro tip: never use harsh chemicals or abrasive cleaners on uPVC, as they can damage the surface. Mild soap and water are all you need.
Lubricating moving parts a couple of times a year keeps everything operating smoothly. Use a silicone-based lubricant on hinges, locks, and handles. Avoid oil-based products like WD-40, which can attract dust.
Inspect seals occasionally during cleaning. Look for any cracking or damage to the rubber gaskets that keep your home energy-efficient.
Doors can settle slightly over time. If you notice your door catching or becoming difficult to lock, it may need minor hardware adjustments. If you’re unsure, it’s best to call a professional rather than risk making the problem worse.
By avoiding harsh chemicals and following these simple steps, your uPVC door will provide decades of security, efficiency, and curb appeal. It’s a home improvement that requires virtually no effort to maintain. For more helpful tips on maintaining various aspects of your home, check out our Blog.
Conclusion
You now understand the essentials of uPVC door installation, from the benefits of the material to the critical steps for success. This knowledge is key to ensuring your door performs beautifully for decades, avoiding common pitfalls.
The beauty of uPVC doors lies in their durability and energy efficiency, combined with minimal maintenance. A simple wipe-down is all that’s needed to keep them looking great.
We’ve covered the critical steps, from the 10mm expansion gap to the final weatherproof seal. Each stage is vital for creating a secure, energy-efficient barrier that boosts your home’s security and curb appeal.
Technical details like the toe and heeling technique, correct packer placement, and quality sealing are not just professional tricks; they are essential. With over 90% of door problems stemming from poor installation, getting it right the first time is paramount.
Your investment in a quality uPVC door installation pays dividends in reduced energy bills, improved home security, and improved property value. A properly installed modern uPVC door creates an airtight seal that keeps your home comfortable and energy costs down.
A successful uPVC door installation improves your home’s security, efficiency, and aesthetic appeal for years to come. Whether you’ve completed this project as a satisfying DIY achievement or you’re considering professional installation, you now understand what goes into creating an entrance that truly improves your home.
Ready for a flawless installation? Explore our uPVC Door Installation services and let our experienced team bring their expertise to your home improvement project.