Why Replacing Interior Doors in Old Houses Makes All the Difference
Replacing interior doors in old house projects can transform your home’s look, feel, and function. If you’re dealing with doors that stick, rattle, or look outdated, an upgrade offers immediate benefits.
Quick Answer for Old House Door Replacement:
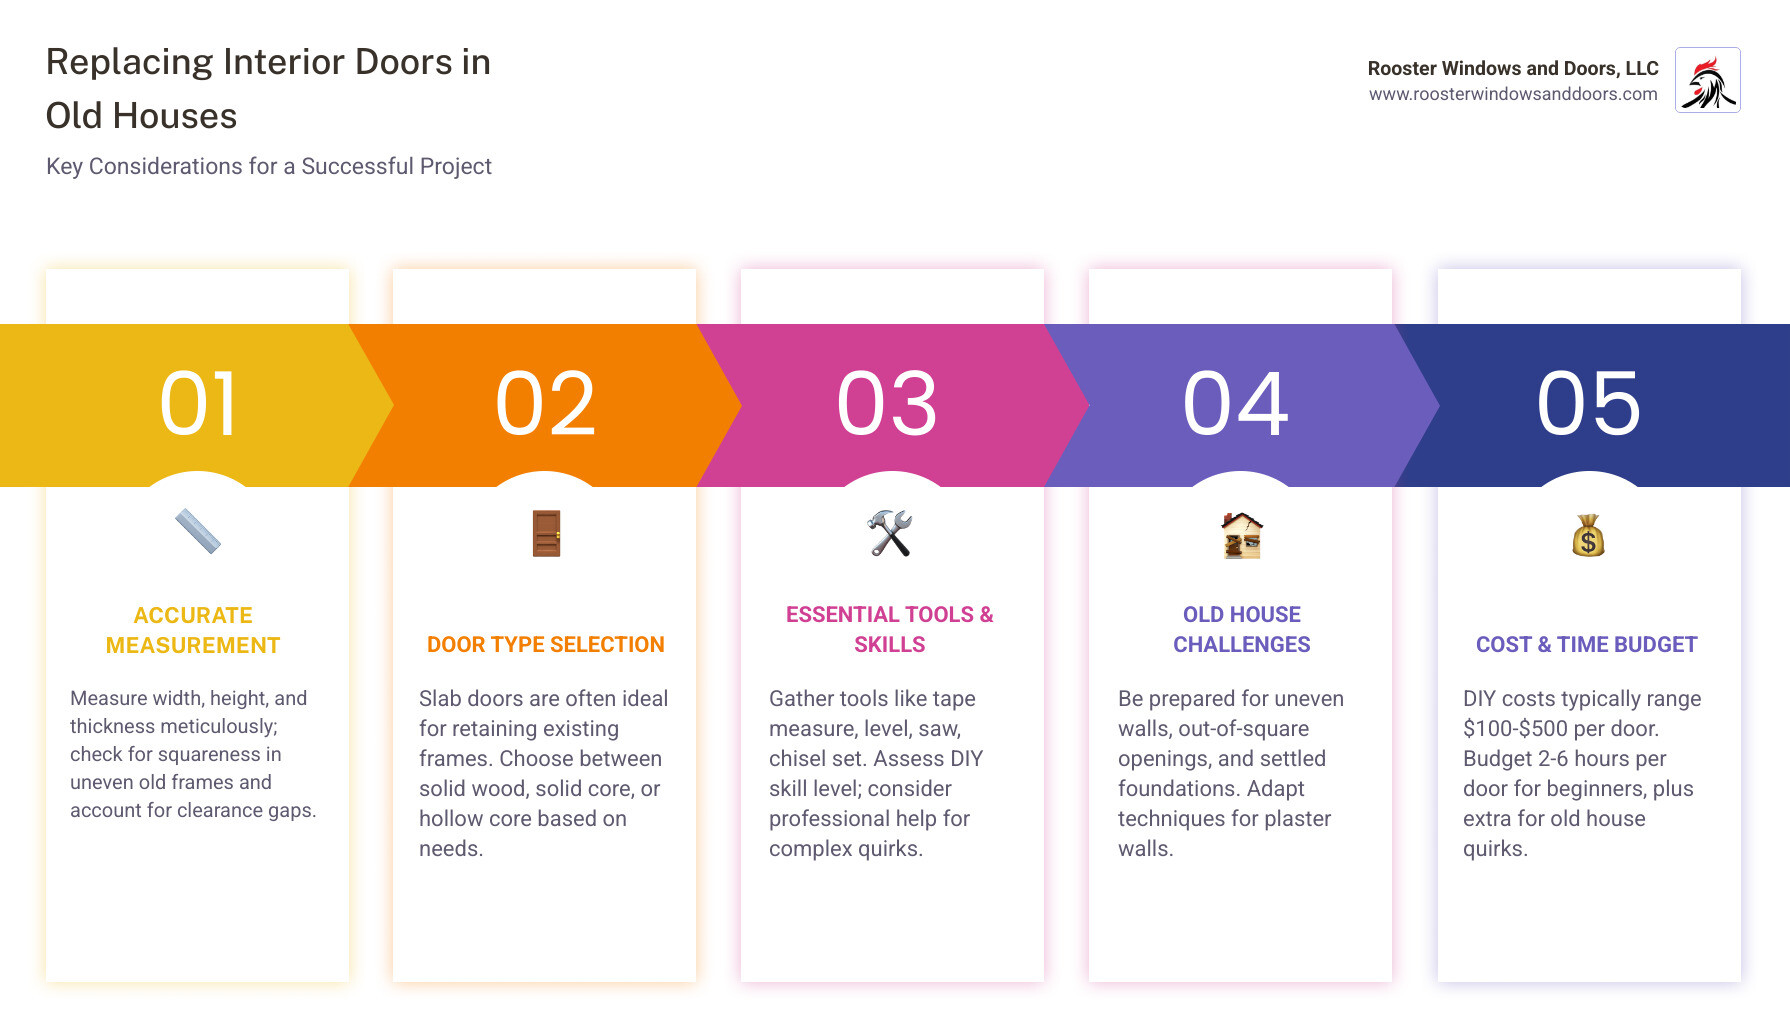
- Signs you need new doors: Warping, sticking, gaps, outdated style, poor sound insulation
- Best option for old houses: Slab doors (door only) to work with existing frames
- Cost range: $100-$500 per door for DIY installation
- Time required: 2-6 hours per door for beginners
- Key challenge: Dealing with uneven walls and out-of-square openings
As one homeowner learned during their 1930s Cape Cod renovation: “It all started because we found that one of the bedroom doors had a fist-sized hole on one side… How hard could it be?” The answer is that it’s more complex than it looks, but absolutely worth the effort.
New interior doors provide:
- Better soundproofing between rooms
- Improved home aesthetics and value
- Smoother operation and functionality
- Improved privacy and comfort
Old houses present unique challenges like uneven walls, settled foundations, and non-standard door sizes. However, with the right approach, this becomes a manageable project that dramatically improves your living space.
I’m Piotr Wilk, and with over two decades of installing doors in the Chicagoland area, I’ve helped countless homeowners steer the specific challenges of replacing interior doors in old house projects. From Victorian homes to 1930s bungalows, each project has taught valuable lessons about older home construction.

Preparing for Your Project: Measurement, Tools, and Door Selection
Success in replacing interior doors in old house projects starts with thorough preparation. Old houses have quirks like non-plumb walls and settled frames, but with the right approach, these are manageable challenges. Most homeowners can replace a door in 2-6 hours, but budget extra time for an older home.
Key Considerations for Replacing Interior Doors in an Old House
Your first big decision is between slab doors and pre-hung doors.
- Slab doors are just the door panel. If your existing frame is in good condition, a slab door is your best option. It requires more hands-on work—cutting to size, chiseling for hinges, and drilling for hardware—but it’s budget-friendly and preserves the original doorway’s character.
- Pre-hung doors come as a complete package with the frame and hinges assembled. While easier to install in new construction, they can be tricky in old houses, often requiring you to remove the entire existing frame and deal with a rough opening that may not be standard.
For most old house projects, slab doors are the recommended choice.
Choosing the Right Door Material
| Material Type | Pros | Cons | Best For Old Houses |
|---|---|---|---|
| Solid Wood | Beautiful grain, can be refinished multiple times, excellent sound dampening | Most expensive, can warp with humidity changes | Perfect for main living areas where you want authentic character |
| Solid Core | Good sound insulation, stable, paintable, mid-range price | Heavier than hollow core, limited wood grain options | Great compromise for bedrooms and bathrooms |
| Hollow Core | Lightweight, budget-friendly, easy to handle | Poor sound dampening, can dent easily, feels flimsy | Fine for closets or utility areas |
Door Styles and Hardware
- Shaker style doors are popular for their clean, simple lines that work well in both traditional and updated old homes.
- Panel doors add visual interest and can complement other paneled elements like wainscoting.
- For hardware, you’ll need the backset measurement (distance from the door’s edge to the center of the doorknob hole), typically 2 3/8″ or 2 3/4″. Check your existing door. Levers are more accessible, while knobs offer a traditional look.
For more complex installations, explore our Door Services.
How to Accurately Measure for a New Door
Accurate measurements are critical in old homes. Openings are rarely perfectly square.
- Width: Measure the inside of the frame at the top, middle, and bottom. Use the smallest measurement.
- Height: Measure from the top of the frame to the finished floor on the left, center, and right. Use the smallest measurement.
- Thickness: Most interior doors are 1 3/8 inches thick, but measure your old door to be sure.
- Squareness: Use a carpenter’s square to check the frame’s corners. Don’t worry if they aren’t perfect 90-degree angles; this is normal.
- Door Swing: Stand where you can see the hinges. If the knob is on your left, it’s a left-hand swing; if on your right, it’s a right-hand swing.
- Clearance Gaps: Plan for a 1/8-inch gap on the sides and top, and a 5/8-inch gap at the bottom for flooring clearance and air circulation.
Essential Tools and Materials
Having the right tools is key. Here’s what you’ll need:
- Measuring/Marking: Tape measure, 6-foot level, combination square.
- Cutting/Shaping: Circular saw, utility knife, chisel set. For chisel guidance, see this video: How Do I Use a Chisel?
- Drilling: Drill with bits, including a 2 1/8-inch hole saw (for the knob) and spade bits (for the latch). A self-centering hinge bit is helpful.
- Installation: Wood shims (essential for old houses), screwdrivers, hammer, pry bar.
- Materials: New door slab, matching hinges, new lockset (with correct backset), sandpaper, primer, and paint or stain.
Gather everything before you start to ensure your replacing interior doors in old house project goes smoothly.
The Step-by-Step Guide to Replacing Interior Doors in an Old House
With your tools, materials, and measurements ready, it’s time to begin. This guide walks you through the practical steps of replacing interior doors in old house settings. Working with slab doors means adapting to your home’s unique character.

Step 1: Removing the Old Door and Preparing the Frame
First, carefully remove the existing door.
- Remove Hardware: Unscrew and remove the doorknob/lever and the latch mechanism from the door’s edge.
- Remove Hinge Pins: With a helper supporting the door, use a hammer and nail set to tap out the hinge pins, starting from the bottom hinge and working up.
- Lift Door Off Frame: Once all pins are out, carefully lift the heavy old door away from the frame.
- Unscrew Old Hinges: If you’re replacing the hinges, unscrew the old hinge leaves from both the door frame and the old door.
- Inspect the Jamb: Check the door jamb for damage, rot, or unevenness. Fill small cracks or holes with wood filler. If you find significant damage, more extensive repairs may be needed.
Step 2: Preparing the New Door Slab
This step requires precision. Take your time and measure twice, cut once.
- Use Old Door as a Template: Lay your new door slab on sawhorses and place the old door on top, aligning the top and hinge sides. This lets you transfer the exact dimensions.
- Mark for Trimming: Trace the old door’s outline onto the new one. If removing more than an inch, take half from the top and half from the bottom to maintain balance.
- Cut to Size: Score your cut lines with a utility knife to prevent splintering. Use a circular saw with a straightedge guide for clean, straight cuts.
- Mark Hinge Locations: With the old door still on top, use a combination square to transfer the precise hinge locations to the new door’s edge. Mark the top and bottom of each hinge mortise.

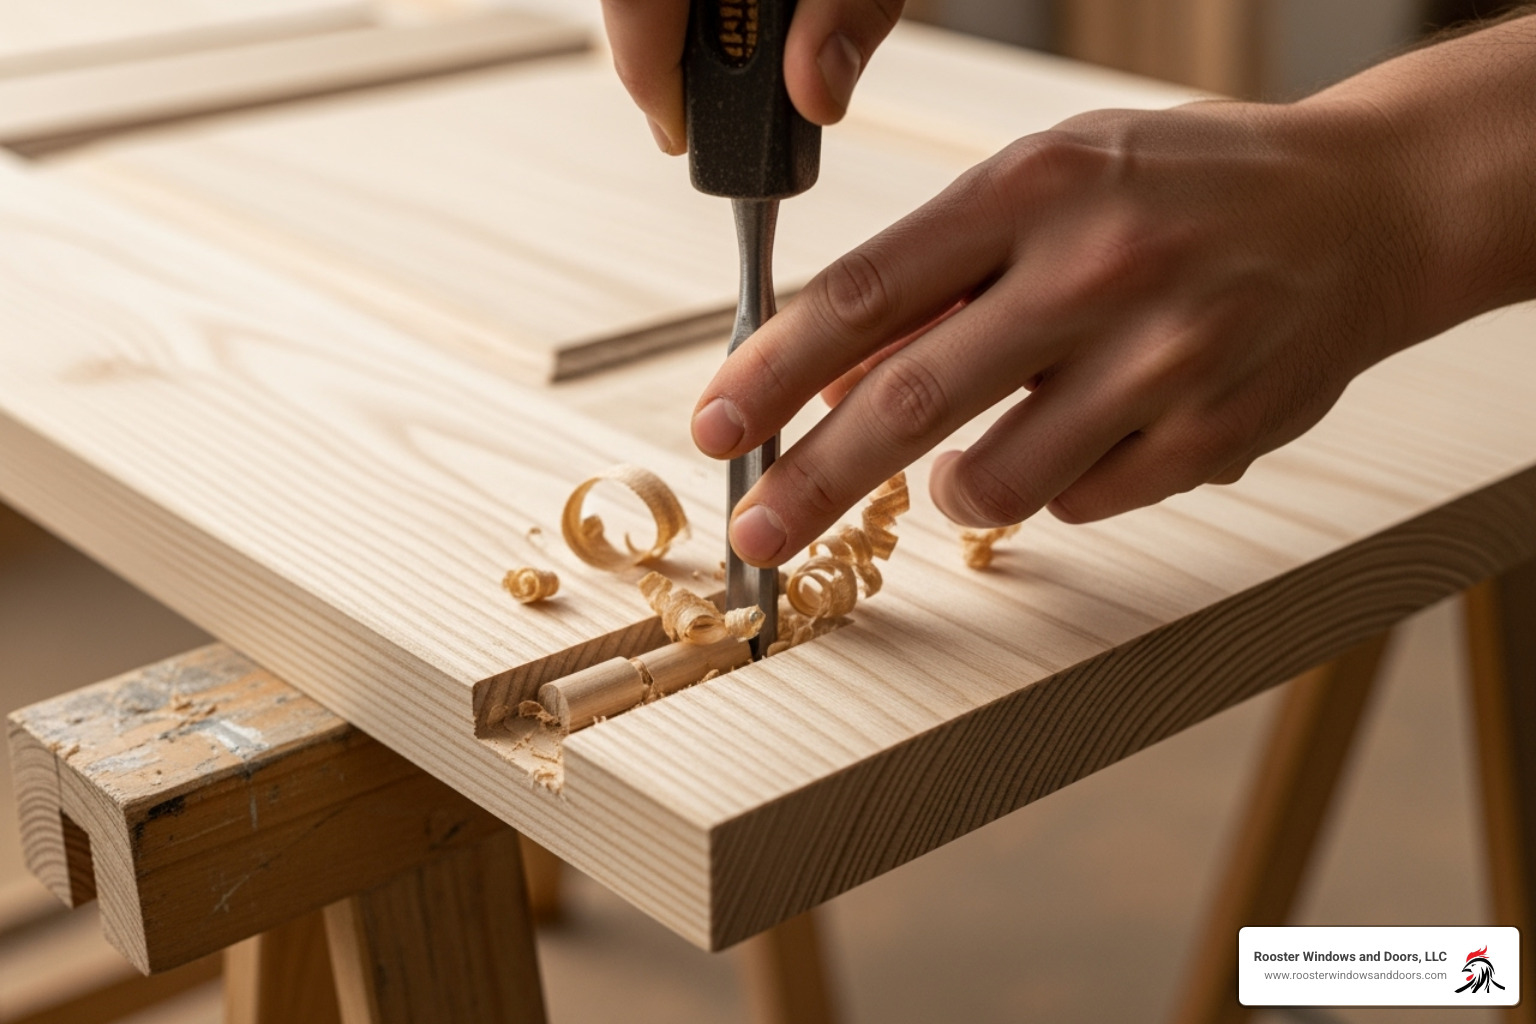
- Chisel Hinge Mortises: This is a key step for a professional fit. Set the mortise depth to match your hinge leaf thickness. Score the outline with a utility knife, then use a sharp chisel (bevel side down) to remove small amounts of material. Test-fit the hinge to ensure it sits flush with the door’s edge. If a mortise is too deep, a piece of cardboard can act as a shim.
Step 3: Installing Hardware and Hanging the Door
Now it’s time to hang the door.
- Attach Hinges to Door: Place hinges in their mortises, drill pilot holes, and secure them with screws.
- Drill for the Lockset: Mark the center for the doorknob and latch. Use a 2 1/8-inch hole saw for the knob (drill halfway from each side to prevent splintering) and a 7/8-inch spade bit for the latch edge bore.
- Install Latch Plate: Insert the latch, trace the plate outline, and chisel a shallow mortise so it sits flush. Secure it with screws, then install the doorknobs or levers.
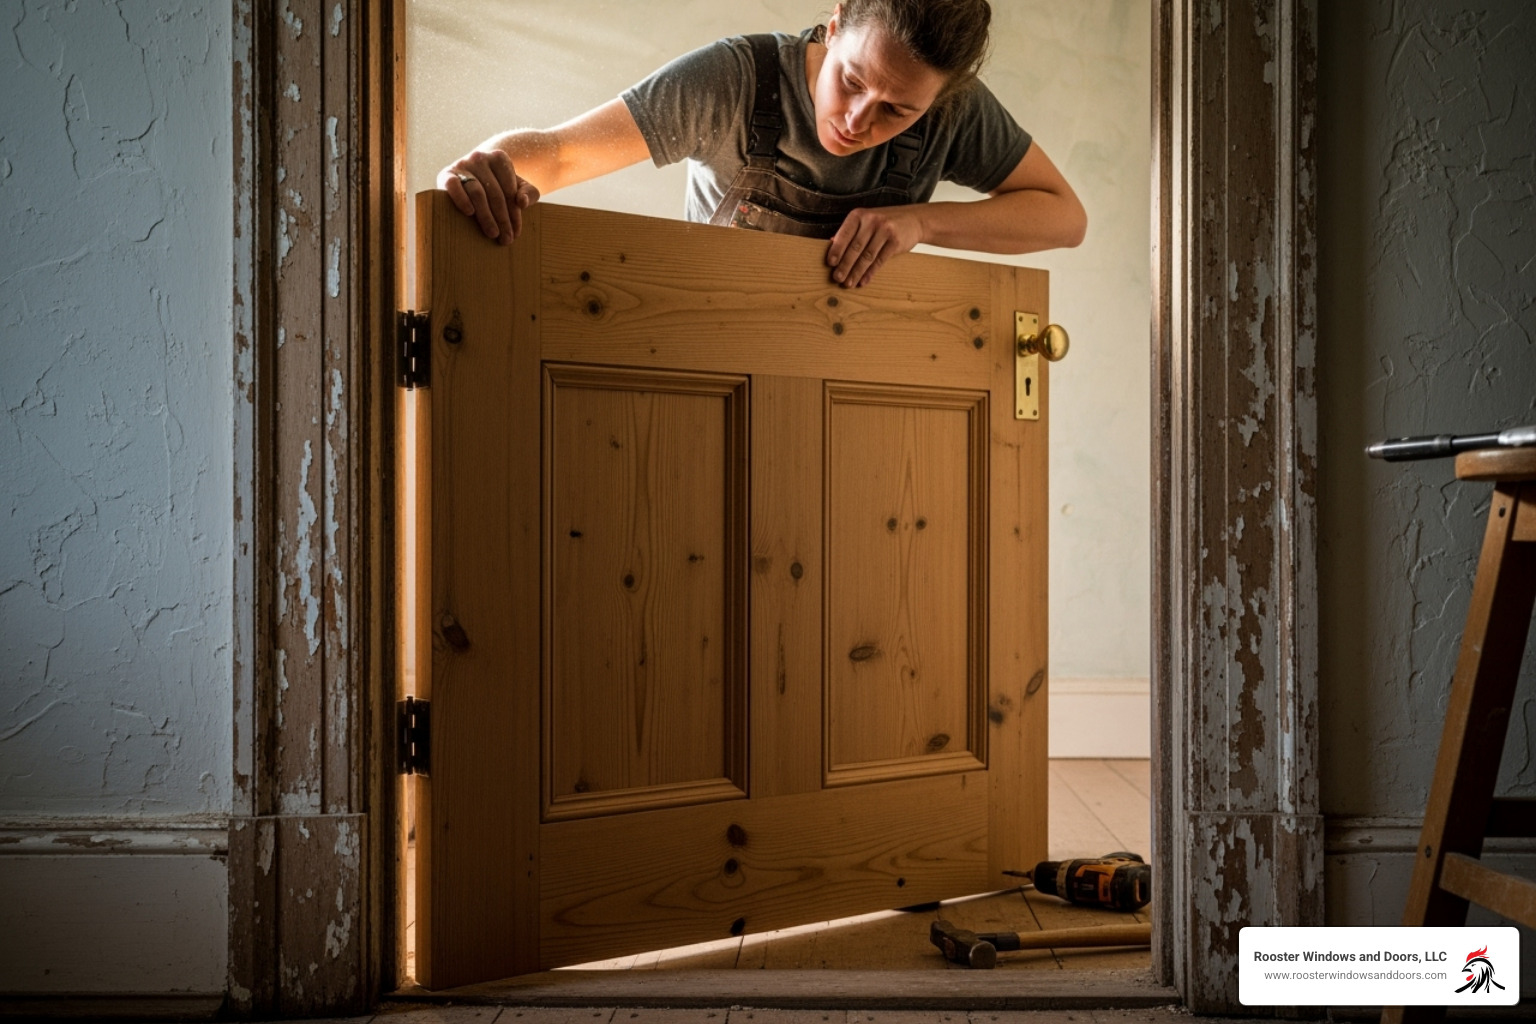
- Align Door in Frame: With a helper, position the door in the frame. Use wood shims underneath to maintain the 5/8-inch bottom clearance and align the hinge leaves.
- Insert Hinge Pins: Tap the pins into place with a hammer, starting from the top hinge.
- Test and Adjust: Open and close the door several times to check for a free swing and proper latching. Look for an even 1/8-inch gap around the perimeter. If the door doesn’t latch smoothly, the strike plate on the frame may need adjustment.
Navigating Old House Quirks and Challenges
When replacing interior doors in old house projects, expect the unexpected. Decades of settling mean you’ll likely encounter challenges that modern homes don’t have.
- Uneven Walls & Out-of-Square Openings: Foundation settling can cause walls to be non-plumb (not perfectly vertical) and door frames to rack, resulting in openings that aren’t true rectangles. This requires custom trimming for a proper fit.
- Plaster and Lath Walls: These older wall systems are more brittle than drywall and can crack easily if you’re not careful when removing trim.
- Non-Standard Door Sizes: Your home might have unique door dimensions that don’t match today’s standards, requiring extensive trimming or a custom order.
Understanding level (horizontal) and plumb (vertical) is crucial. This video explains them clearly: What do Level and Plumb Mean?. For projects with significant structural issues, professional expertise is invaluable. Learn about our specialized approach: More info about Custom Entry Door Installation.
Common Mistakes When Replacing Interior Doors in an Old House
Avoid these common pitfalls to save time and frustration:
- Incorrect Measurements: Failing to measure the width and height at three different points (top, middle, bottom) and using the smallest dimension is a frequent error in non-square frames.
- Ignoring Out-of-Square Frames: Assuming a frame is square will lead to a door that binds or has uneven gaps. Use shims to correct for imperfections.
- Trimming Too Much Off the Door: Remember: “Measure twice, cut once.” It’s better to trim conservatively and test the fit. You can always remove more wood, but you can’t add it back.
- Damaging the Door Jamb: Be gentle when prying off old trim or removing a stubborn door to avoid gouging the frame you plan to reuse.
- Choosing the Wrong Door Style: A sleek, modern door can look out of place in a historic home. Select a style that complements your home’s existing architecture.
DIY vs. Hiring a Professional
The decision to DIY or hire a pro is more complex with old homes.
- Complexity: A beginner DIY project in a modern home becomes an intermediate or advanced one when dealing with out-of-square frames, uneven floors, and delicate plaster walls.
- Time Commitment: What seems like a weekend project can easily stretch out due to the extra fitting and adjustments required in an old house.
- Tools: While basic tools work for simple jobs, professional results in challenging installations often require specialized equipment like routers with hinge templates.
When to call a professional:
- You find significant frame damage, rot, or structural issues.
- Floors are severely uneven, making a good fit difficult.
- You have plaster and lath walls that require specialized repair techniques.
- You want a guaranteed flawless and energy-efficient result without the hassle.
At Rooster Windows and Doors, we have over two decades of experience with the unique challenges of older Chicago-area homes. We have the tools and techniques to ensure your new doors fit and function perfectly.
Finishing Touches and Troubleshooting
Once your new door is hung, the finishing touches will make it a beautiful addition to your home. This section also covers how to troubleshoot common issues.
Painting, Staining, and Final Adjustments
- Sand and Prime: Lightly sand the door with fine-grit sandpaper for a smooth surface. If painting, apply a quality primer.
- Apply Paint or Stain: Use a durable semi-gloss paint for an easy-to-clean, classic finish. Apply thin, even coats. For best results, remove the door to paint or stain it.
- Rehang the Door: Once completely dry, rehang the door by inserting the hinge pins, starting from the top.
- Adjust the Strike Plate: If the door doesn’t latch smoothly, loosen the strike plate screws on the jamb and shift it slightly until the latch engages perfectly. To prevent rattling, you can bend the small metal tab inside the strike plate for a tighter fit.
How to Fix Common Problems
Even with careful preparation, issues can arise. Here’s how to fix them:
- Fixing a Sticking Door:
- Identify the Rub: Find where the door rubs the frame by opening and closing it. A piece of paper can help locate the tight spot.
- Plane or Sand: Mark the rubbing area and carefully remove a small amount of wood with a block plane or sandpaper.
- Reapply Finish: Touch up the exposed wood with paint or stain.
- Check Hinges: Ensure all hinge screws are tight and the hinges are seated properly in their mortises, as a loose hinge can cause sagging.
- Dealing with Uneven Gaps:
- Check Hinge Seating: Make sure hinges are flush in their mortises. If a mortise is too deep, shim it from behind with a piece of cardboard.
- Use Shims: For larger adjustments, you may need to place thin wood shims behind the hinge-side jamb to even out the gap.
- Call a Professional: If gaps persist, especially in a house with very uneven walls, a professional can make the precise adjustments needed.
A common cause of these issues is warping. Learn more here: More info on How to Keep a Door from Warping.
Frequently Asked Questions about Old Door Replacement
Homeowners often have similar questions when starting replacing interior doors in old house projects. Here are the most common ones we hear in the Chicagoland area.
Can I replace an interior door without replacing the frame?
Yes, absolutely. This is the preferred method for old houses. You’ll purchase a “slab door” (the door panel only) and fit it to your existing frame. This preserves the original character of your doorway. The process involves transferring hinge and hardware locations from the old door to the new one, chiseling new mortises, and drilling for the lockset. While it requires more precision than installing a pre-hung unit, it’s often more budget-friendly and better suited to the unique dimensions of older homes.
How much does it typically cost to replace an interior door?
For a DIY project, expect to spend $100 to $500 per door. The biggest cost factor is the door material. Hollow core doors are the most economical (around $100), while solid core doors offer better sound insulation and feel more substantial ($200-$400). Solid wood doors can cost $400-$800 or more. Hardware (hinges, knobs) can add another $25 to $150+. Don’t forget supplies like paint, shims, and sandpaper ($20-$50). Professional installation adds labor costs but guarantees a perfect fit, which can prevent costly mistakes.
Should all the interior doors in my house match?
We strongly recommend a cohesive look. While doors don’t need to be identical, they should share a consistent style (e.g., all Shaker-style or all raised-panel) and finish to create visual harmony. This makes your home feel more polished and intentional. You can still use different materials where appropriate—for instance, solid core doors for bedrooms (for sound privacy) and matching hollow core doors for closets. Choosing a style that complements your home’s architecture is key to a successful update that also adds value.
Conclusion
Replacing interior doors in old house settings is a project that delivers immediate and satisfying results. The moment a new door closes with a solid, smooth click—instead of a rattle or scrape—you’ll see the transformative power of this upgrade.
From measuring out-of-square openings to chiseling perfect hinge mortises, the benefits are clear: better soundproofing, improved aesthetics that honor your home’s character, and smoother daily operation. For many, this is a rewarding DIY project that builds skills with each door you hang.
However, old houses can be unpredictable. Settled foundations and brittle plaster walls can present challenges that require professional expertise. If you encounter significant frame damage, or simply want the peace of mind that comes with a flawless installation, an expert is your best bet.
At Rooster Windows and Doors, we have over two decades of experience with the unique personalities of older homes throughout Libertyville, Chicago, and the broader Chicagoland area. We know how to work with these quirks, not against them, ensuring your new doors fit perfectly for years to come.
Whether you do it yourself or bring in a pro, replacing your interior doors is an investment that pays dividends in comfort and style every single day.
Ready to transform your home with perfectly fitted interior doors? Contact us for your professional Door Installation and let us handle the challenges while you enjoy the results.

