Why Replacing Front Door Frame is a Game-Changer for Your Home
Replacing front door frame can transform your home’s curb appeal, security, and energy efficiency. Whether you’re dealing with a rotted frame, drafty gaps, or simply want an upgrade, this guide will walk you through the process, from deciding if it’s necessary to the final finishing touches.
Key Steps for Replacing a Front Door Frame:
- Remove the old door, trim, and frame.
- Prepare the rough opening, checking for damage.
- Install the new pre-hung door unit with shims.
- Plumb, level, and square the frame.
- Weatherproof with foam and caulk.
- Finish with new trim and hardware.
The average cost for materials is $200-$700, with professional installation adding $300-$600. A typical DIY project takes 6-8 hours, but issues like rot can extend this.
When to replace your entire frame:
- Visible wood rot or water damage
- Warped jambs causing drafts or sticking
- Cracks or splits in the frame structure
I’m Piotr Wilk from Rooster Windows and Doors, LLC. With over two decades of experience in the Chicagoland area, I know that a proper frame replacement is crucial for long-term performance. This guide shares professional techniques to help you achieve lasting results.

Is a Full Frame Replacement Necessary?
This section will help you decide if you need a simple repair or a complete pre-hung unit.
Before you start, it’s critical to determine if you truly need to replace the entire door frame or if a simple repair will suffice. Making the right choice now can save you significant time and money.
Signs Your Door Frame Needs Replacing
Your door frame endures daily wear and tear from weather and use. Here are the key signs that indicate it’s time for a full replacement:
- Wood Rot: This is the most serious issue. Look for dark, discolored wood that feels soft or spongy, especially near the bottom of the frame. Rot spreads, so what appears to be a small spot often indicates a much larger problem.
- Warped Frame: If the frame is bulging or caving in, your door will never seal correctly, leading to drafts and security issues.
- Visible Cracks or Splits: Deep cracks compromise the frame’s structural integrity. This can result from weather, house settling, or attempted break-ins.
- Water Damage: Stains, swelling, or mold are signs that water is getting in, potentially damaging the wall structure behind the frame.
- Drafts or Sticking: If you feel drafts around a closed door or the door constantly sticks or won’t latch, the frame is likely out of square. No amount of adjusting the door itself will fix a faulty frame.
For more detailed information about when replacement makes sense, check out our door replacement services.
Pre-Hung Door: What Is It and When Should You Choose One?
When replacing front door frame, you’ll encounter the term “pre-hung door.” A pre-hung door is a complete, pre-assembled system where the door slab is already mounted in its frame with hinges attached. This makes the installation process dramatically simpler than trying to fit a new door into an old frame.
The advantages for DIYers are significant, as a pre-hung unit eliminates the most difficult tasks, like cutting hinge mortises and ensuring perfect alignment. While a slab door might seem cheaper initially, a pre-hung unit is often more cost-effective when you factor in the time, tools, and potential for error. For most full frame replacements, a pre-hung unit is the recommended choice for a smooth, successful project.
To explore different door styles and materials that work well with pre-hung systems, take a look at our guide on types of front doors.
Cost Considerations: Repair vs. Replacing Front Door Frame
The choice between repairing and replacing often comes down to budget. Here’s a breakdown of the costs:
- Frame Repair: Typically costs $50 to $200 for materials like wood filler and caulk. This is a low-complexity DIY fix suitable only for minor, cosmetic damage.
- Full Replacement: A new pre-hung unit costs $200 to $700 for materials, depending on quality. Professional labor adds $300 to $600, bringing the total installed cost to between $500 and $1,300.
| Repair | Full Replacement |
|---|---|
| $50-$200 cost | $200-$700 materials |
| Low complexity | Medium complexity (DIY) |
| Temporary fix | Long-term solution |
| Same day completion | 1-2 day project |
| Limited improvement | Major upgrade in security, efficiency, appearance |
While the upfront cost is higher, replacing front door frame with a quality pre-hung unit provides far greater long-term value through improved security, energy efficiency, and curb appeal.
Gearing Up: Tools, Materials, and Measurements
Proper preparation is the key to a smooth installation. Gather your tools and take precise measurements before you begin.
A successful replacing front door frame project depends on having the right tools, materials, and measurements before you start. Proper preparation prevents multiple trips to the hardware store and ensures a professional result.
Essential Tools and Materials Checklist
Gather these items before you begin the demolition phase.
Essential Tools:
- Tape measure
- 4-foot level
- Pry bar and hammer
- Utility knife
- Power drill and screwdriver set
- Reciprocating saw
- Caulk gun
- Safety glasses and gloves
- Wood chisel and nail set
Essential Materials:
- Pre-hung door unit (correct size and swing)
- Cedar shims
- Exterior-grade silicone caulk
- Low-expansion spray foam insulation (for windows & doors)
- Galvanized casing nails or construction screws
- New interior/exterior trim
- Self-sticking flashing tape
- Wood putty
- Paint or stain
How to Take Critical Measurements
Accurate measurements are non-negotiable. One mistake here can derail the entire project.

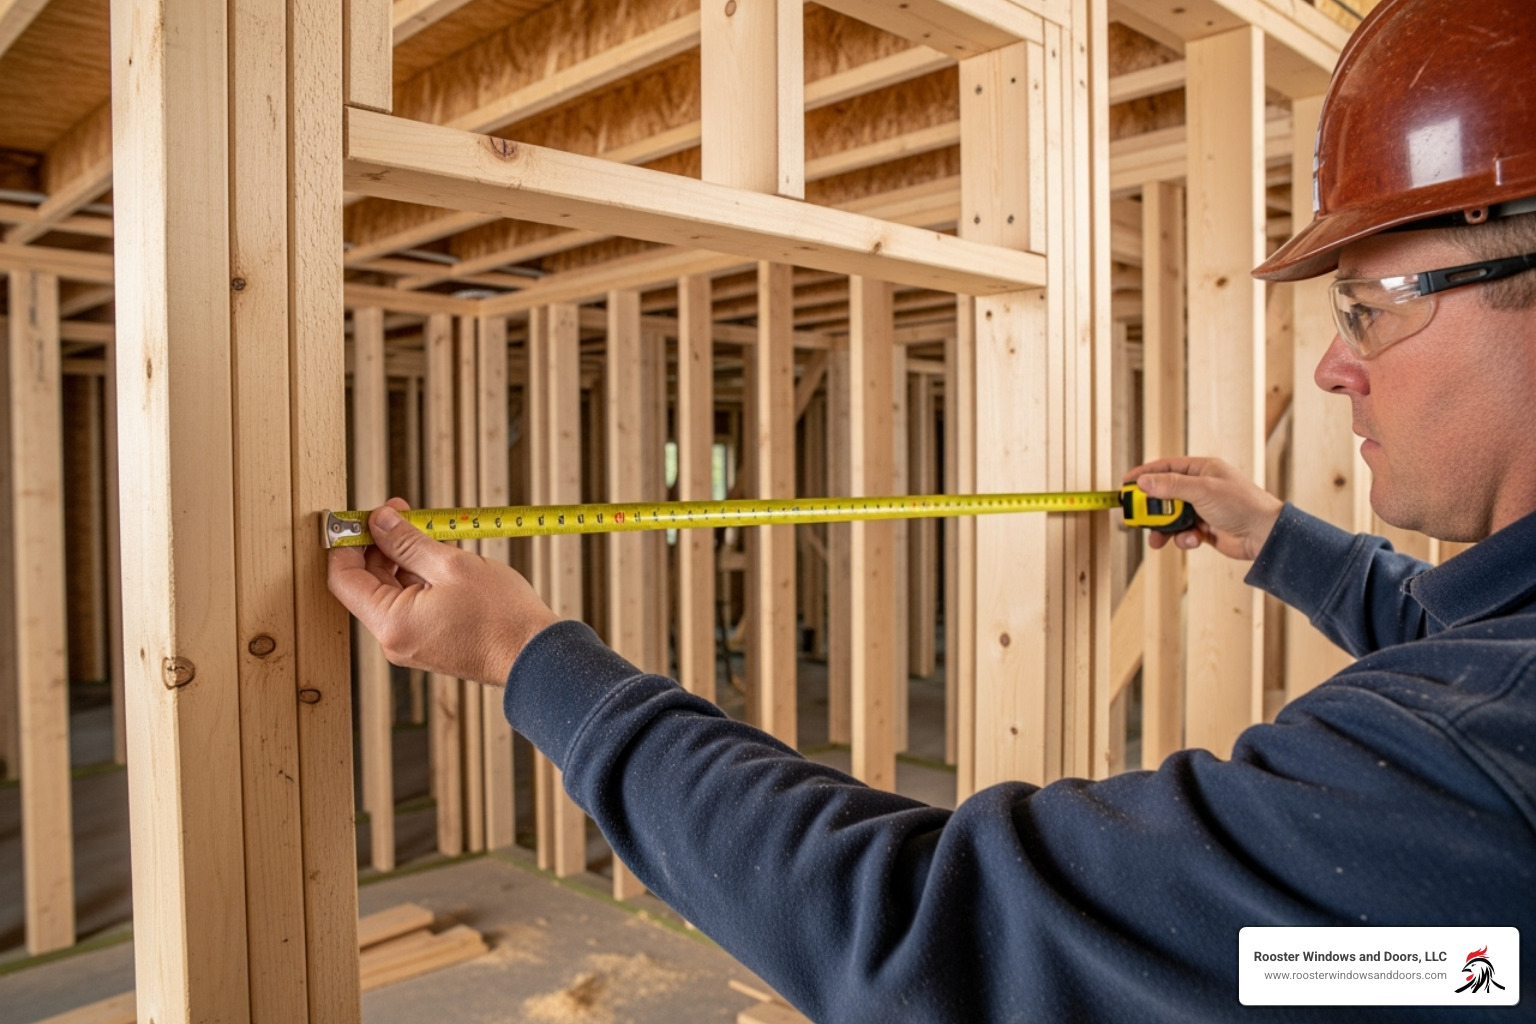
- Rough Opening Width: Measure the width at the top, middle, and bottom. Use the smallest measurement to order your door. A 38-inch rough opening typically requires a 36-inch door unit, leaving room for shims.
- Rough Opening Height: Measure from the subfloor to the header on the left, center, and right. Again, use the smallest measurement.
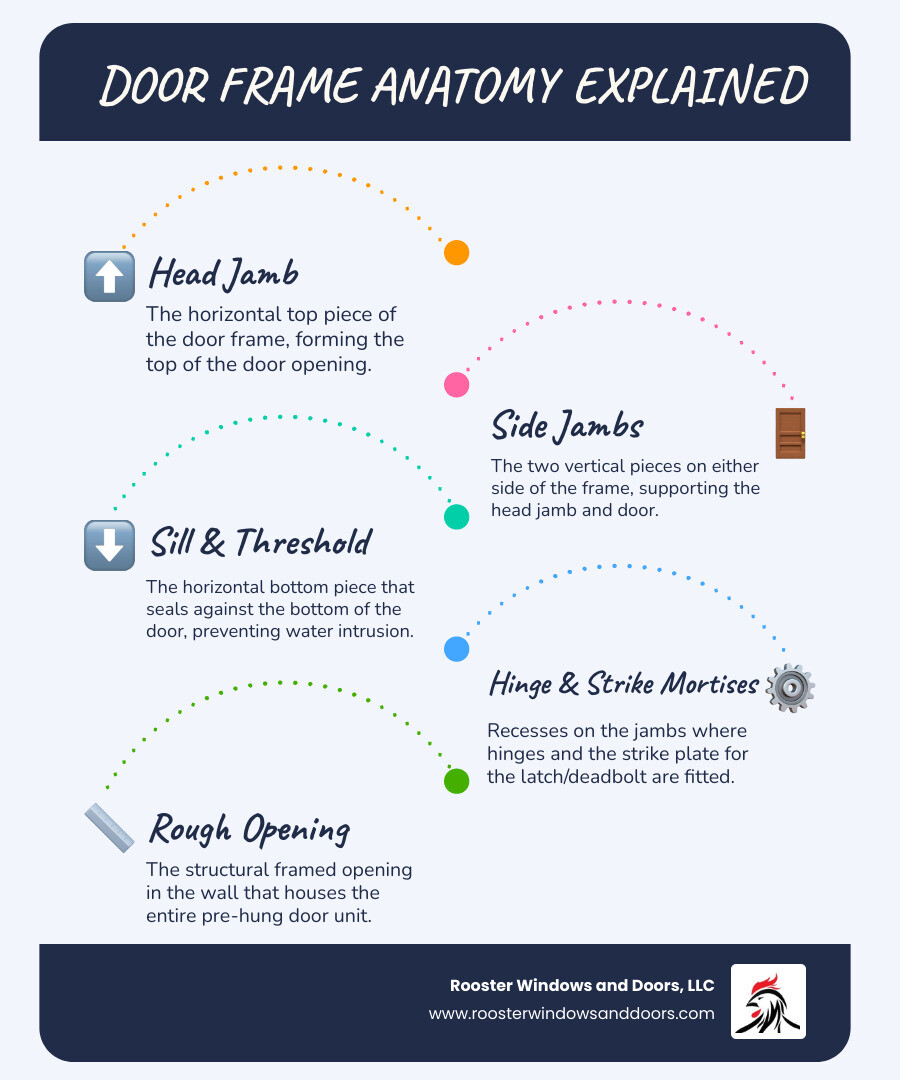
- Jamb Depth (Wall Thickness): Measure from the interior wall surface to the exterior wall surface. Most homes use either 4-9/16 inch jambs (for 2×4 walls) or 6-9/16 inch jambs (for 2×6 walls). Getting this right ensures the frame sits flush.
- Check for Square: Measure the rough opening diagonally from corner to corner. If the two measurements are equal, the opening is square. If not, you’ll need to use shims to square the new frame during installation.
- Door Swing: Stand outside facing the door. If the hinges are on the left and it opens inward, you need a left-hand inswing. If hinges are on the right, you need a right-hand inswing.
The Step-by-Step Guide to Replacing a Front Door Frame
Follow these steps for a secure, weather-tight installation that will last for years.
With your preparation complete, it’s time to begin the installation. Replacing front door frame requires precision and patience, but by following these steps, you can achieve a professional-quality result.
Step 1: Removing the Old Door and Frame
First, remove the door slab by tapping out the hinge pins with a hammer and nail set. Once the door is out, remove all hardware. Next, carefully remove the interior and exterior trim. Score any caulk or paint lines with a utility knife first to avoid damaging the wall. Use a pry bar to gently work the trim loose. Finally, remove the old frame. You may need to cut through a side jamb with a reciprocating saw to release the tension, then pry the jambs and threshold out. Once everything is removed, thoroughly inspect the rough opening and subfloor for any hidden rot or damage.
Step 2: Preparing the Rough Opening
A solid foundation is critical. Clean all debris from the rough opening. If you found any rotted wood, cut it out and replace it with new, pressure-treated lumber. Next, apply self-sticking flashing tape to the sill of the rough opening, extending it several inches up the sides to create a waterproof barrier. Ensure the sill area is completely level, using shims if necessary.
Step 3: Installing the New Pre-Hung Door
This step is best done with a helper.

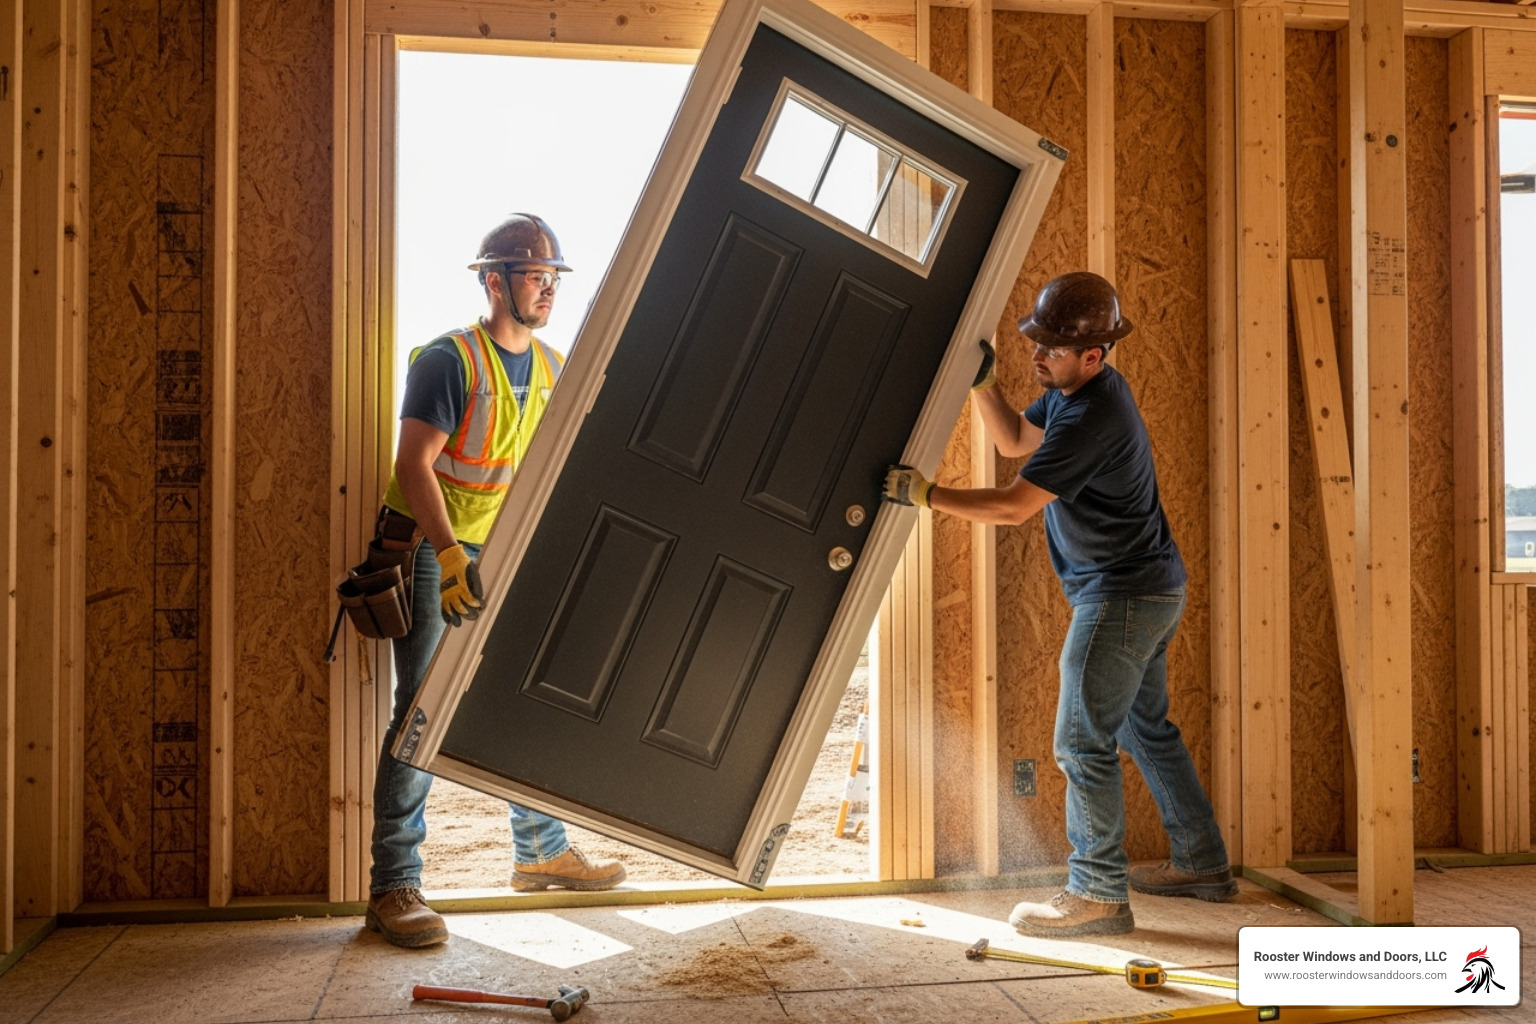
Apply a thick bead of exterior-grade silicone caulk along the subfloor where the threshold will sit. Carefully tilt the new pre-hung unit into the opening from the outside, setting the threshold onto the caulk. Push the unit in until the exterior trim is flush with the siding. Center the unit and use a few shims to temporarily tack the hinge-side jamb in place with casing nails or screws. Do not drive them in all the way.
Step 4: How to Plumb, Level, and Square the Frame
This is the most critical step for ensuring your door operates smoothly. Start with the hinge-side jamb. Place your 4-foot level against it and adjust with shims until it is perfectly plumb (vertically level). Place shim pairs behind each hinge location and at the top and bottom, then secure the jamb by driving 3-inch screws through the jamb and shims into the wall stud. Next, use your level to get the head jamb perfectly level, shimming and securing it. Finally, adjust the latch-side jamb. Close the door and use shims to create a consistent 1/8-inch gap between the door and the frame on all sides. Once the gap is even and the jamb is plumb, secure it with screws.
For a visual guide that really shows the shimming process in action, check out this Video Guide: How to Install a Pre-Hung Door.
Step 5: Weatherproofing for Maximum Energy Efficiency
A proper seal is essential. Carefully fill the gap between the door frame and the rough opening with low-expansion spray foam insulation designed for windows and doors. This creates a continuous air seal. On the exterior, apply a bead of caulk where the trim meets the siding. Finally, adjust the door’s threshold (usually with screws on the sill) until it makes firm contact with the weatherstripping on the bottom of the door, creating a tight seal.
For maximum energy efficiency, we always recommend looking for ENERGY STAR doors. And if you want the peace of mind that comes with professional installation, explore More info about our Door Services.
Step 6: Finishing Touches
Now for the final details. Install the doorknob and deadbolt according to the manufacturer’s instructions. Align the strike plates on the jamb so the door latches securely. Install your new interior and exterior trim, using finishing nails. Fill all nail holes with wood putty and caulk all seams where the trim meets the wall and frame. Once dry, sand smooth and apply your desired paint or stain. Step back and admire your work!
Common Challenges and When to Call a Professional
Even the best-planned DIY projects can have surprises. Here’s how to handle them and when to ask for help.
Even with careful preparation, replacing front door frame can present unexpected challenges. Knowing how to handle them—and when to call for backup—is key to a successful project.
Overcoming Common DIY Problems
- Out-of-Square Rough Openings: If your diagonal measurements don’t match, the opening isn’t square. This is common in older homes. The solution is strategic shimming. Focus on getting the hinge-side jamb plumb, then use shims to adjust the rest of the frame until the gap around the door is even.
- Hidden Rot or Insect Damage: If you uncover soft, dark wood or signs of pests, you must address it. Minor damage can be repaired by cutting out the affected area and sistering in new, pressure-treated wood. However, extensive damage requires a professional.
- Cutting Back Siding: Your new door’s trim may not align with your existing siding. Vinyl and wood siding can be cut with a utility knife or circular saw, respectively. For brick, stone, or stucco, it’s often better to trim the door casing to fit rather than attempting to cut the masonry.
- Door Binds or Won’t Close: If the door doesn’t operate smoothly, re-check that the frame is perfectly plumb, level, and square. Uneven gaps around the door indicate a shimming issue that needs to be corrected.
Know Your Limits: When to Hire a Pro for Your Front Door Frame Replacement
There’s no shame in calling a professional; in fact, it’s often the smartest move. Consider hiring a pro if you encounter any of the following:
- Significant Structural Damage: Extensive rot, termite damage, or a sagging header requires a structural contractor.
- Lack of Proper Tools or Time: A proper installation requires specific tools (like a 4-foot level) and a dedicated block of time. Rushing the job or using the wrong equipment leads to poor results.
- Heavy or Oversized Doors: Installing a heavy Custom Entry Door, especially one with glass, can be difficult and dangerous to handle alone.
- Desire for a Professional Warranty: When we install your door, our work is warrantied. This provides peace of mind that your investment is protected.
- Lack of Confidence: If you feel the project is beyond your skill level, hiring an expert ensures the job is done right, preventing future issues like drafts, leaks, and security vulnerabilities.
If you’re feeling overwhelmed, don’t hesitate to Find Local Pros who can ensure your installation is flawless.
Frequently Asked Questions about Replacing a Front Door Frame
Here are answers to the most common questions we hear about replacing front door frame.
Can you replace just the door frame without the door?
While technically possible, it’s a very difficult task for a non-professional. You would need to perfectly match the new frame to the old door’s dimensions, including the precise locations for hinges and locksets. This often requires specialized carpentry skills and tools. For a reliable, draft-free fit, we strongly recommend a pre-hung unit, where the door and frame are already assembled to work together perfectly.
How long does it take to replace a front door and frame?
The timeline varies based on experience and potential issues:
- Professional Installer: 4-6 hours.
- Experienced DIYer: 6-8 hours for a straightforward job.
- Novice DIYer: Plan for a full weekend, especially if you encounter unexpected repairs like wood rot.
How do you handle the exterior trim and siding during replacement?
First, you must carefully remove the old exterior trim (called brickmould). The good news is that your new pre-hung door comes with new brickmould already attached. You may need to cut back your home’s siding to ensure the new, wider trim fits properly. After the door is installed, it is absolutely crucial to apply a bead of high-quality exterior caulk in the seam between the new trim and the siding to create a weatherproof seal.
A New Doorway to a Better Home
Congratulations on learning the steps for replacing front door frame! This project is one of the most rewarding home improvements, instantly boosting curb appeal while significantly improving your home’s security and energy efficiency. A properly installed door provides a tight seal against the elements, which can lower your energy bills and increase your comfort.
While this guide covers a DIY installation, achieving a flawless, weather-tight fit that lasts for decades requires experience and precision. If you’ve finded unexpected challenges or simply want the peace of mind that comes with a professional job, the experts at Rooster Windows and Doors are here to help.
Ready for a Flawless Finish?
At Rooster Windows and Doors, we specialize in high-quality, energy-efficient door installations across the Chicagoland area. Our professional service guarantees that every detail is handled correctly, from precise measurements to the final weatherproofing, ensuring your new door looks beautiful and performs perfectly for years to come. Your installation is backed by our warranty, protecting your investment.