Why Replace a Window Can Transform Your Home
Learning to replace a window yourself can save thousands of dollars while dramatically improving your home’s energy efficiency and curb appeal. Here’s what you need to know:
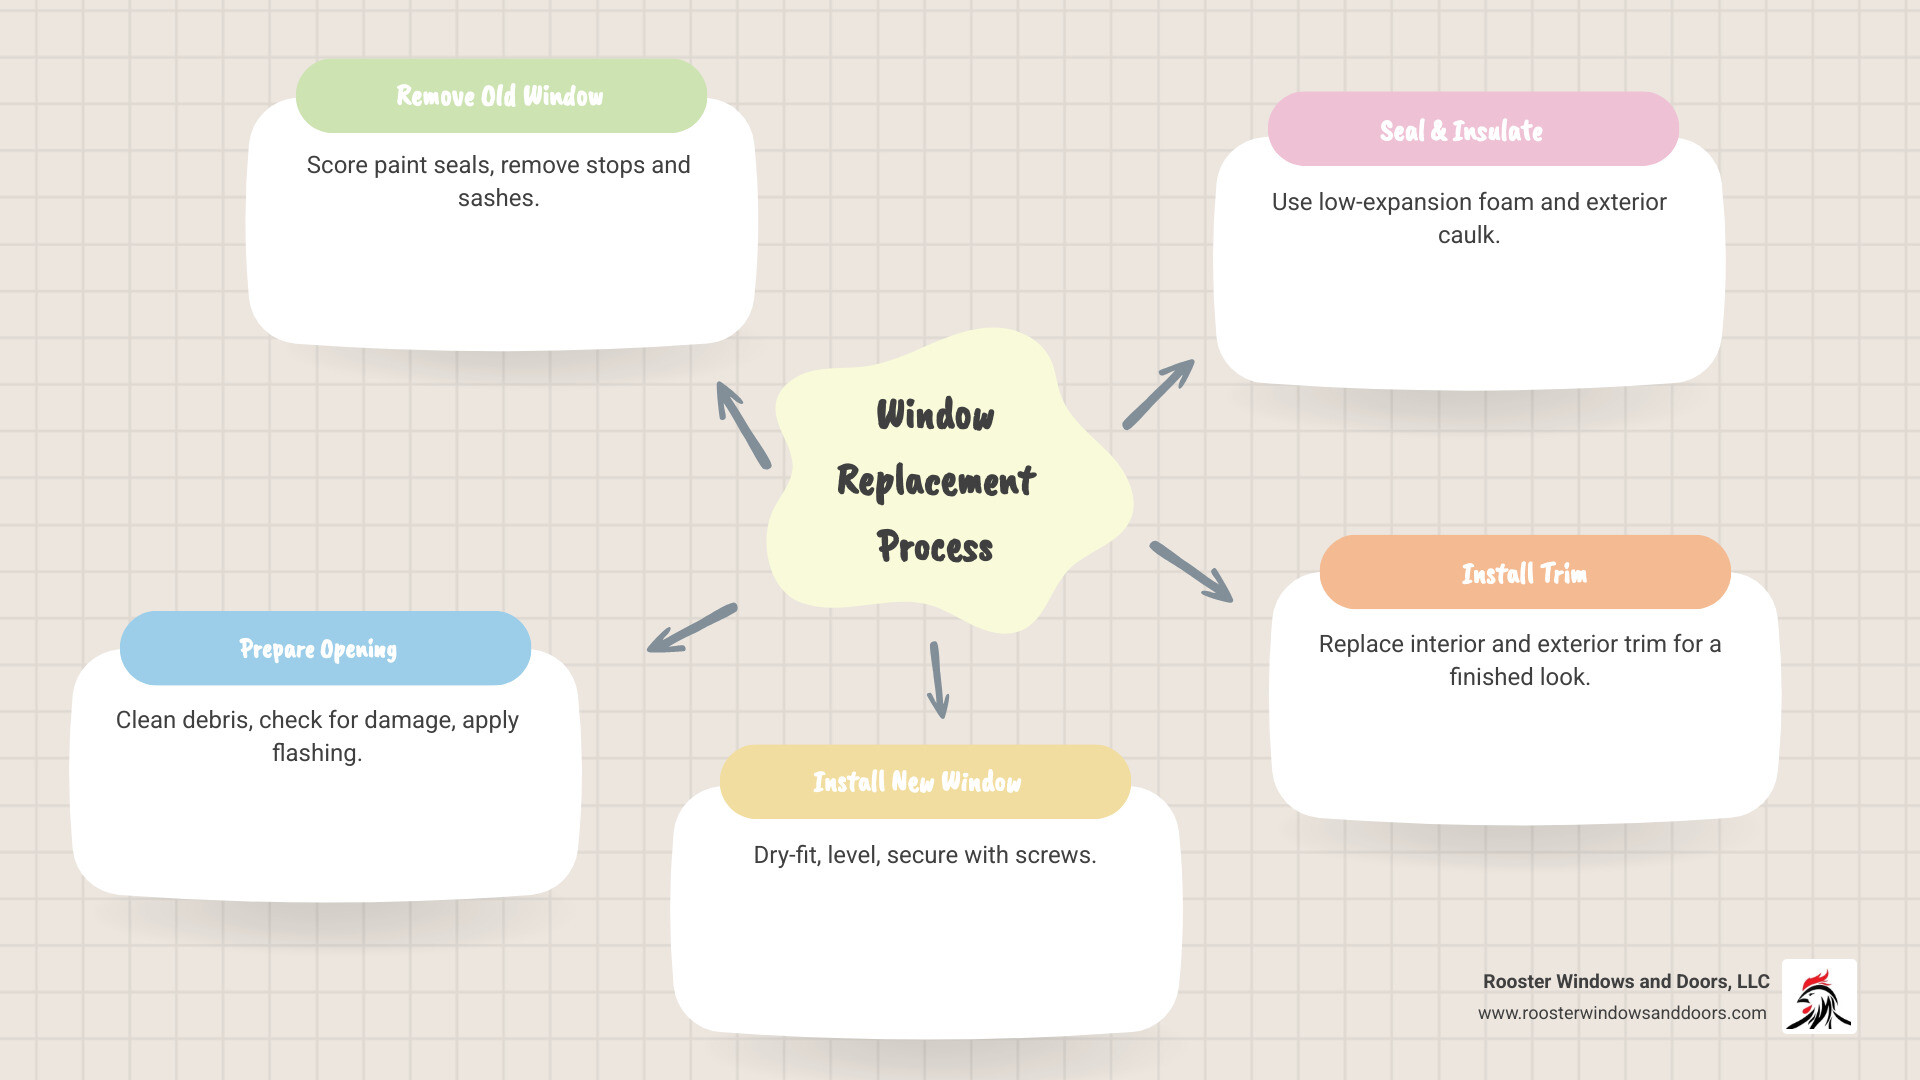
Essential Steps to Replace a Window:
- Remove the old window – Score paint seals, remove stops and sashes
- Prepare the opening – Clean debris, check for damage, apply flashing
- Install the new window – Dry-fit, level, secure with screws
- Seal and insulate – Use low-expansion foam and exterior caulk
- Install trim – Replace interior and exterior trim for a finished look
Key Benefits:
- Energy savings: Up to 12-13% reduction in heating and cooling bills
- Cost savings: Professional installation averages $465 per window
- Home value: 67% of vinyl window replacement costs are recouped at resale
- Improved comfort: Eliminates drafts and reduces outside noise
While it might seem intimidating, window replacement is a manageable DIY project for many homeowners. With the right tools and preparation, you can achieve professional results. The process requires careful measurement, weatherproofing, and finishing work to ensure your new windows perform reliably for decades.
As Piotr Wilk from Rooster Windows and Doors, I’ve helped homeowners replace a window throughout the Chicagoland area for over two decades. This experience has taught me that while DIY is achievable, knowing when to call professionals can make all the difference in your project’s success.
Preparation: What to Know Before You Start
Proper planning is the foundation for a successful window swap. A little homework before you begin saves headaches and ensures your new windows perform as expected.
Key Considerations Before You Replace a Window
When you decide to replace a window, your first choice is between an insert (or pocket) replacement and a full-frame replacement. Each has different implications for cost, effort, and the final result.
| Feature | Insert (Pocket) Replacement | Full-Frame Replacement |
|---|---|---|
| Scope | New window fits into the existing frame. Existing frame, trim, and sill remain. | Entire old window (frame, sash, sill, trim) is removed down to the rough opening. |
| Complexity | Less complex, often quicker. | More complex, requires more labor and skill. |
| When to Choose | Existing frame is sound, square, and free of rot. You want to maintain existing trim. | Existing frame is rotted, out of square, or severely damaged. You want to change window size/shape or maximize glass area. |
| Benefits | Preserves existing trim, faster installation, potentially lower labor cost. | Addresses underlying structural issues, maximizes energy efficiency, allows for complete aesthetic change. |
The condition of your existing frame is the primary factor. If the frame is sound and square, an insert replacement is a great option. However, if you find rot, damage, or an out-of-square frame, a full-frame replacement is necessary to ensure the new window’s longevity and performance.
Next, consider frame materials, which impact durability, maintenance, and efficiency.
- Vinyl: A budget-friendly, low-maintenance, and energy-efficient option. Frames can sometimes be thicker, reducing glass space.
- Wood: Offers classic beauty and excellent insulation. Wood requires more maintenance (painting/staining) but can be clad with aluminum or vinyl for protection.
- Fiberglass: A strong, durable material that resists warping and rotting. It’s more expensive than vinyl but offers superior longevity.
- Composite: A blend of materials, combining the strengths of wood, vinyl, and fiberglass for balanced performance and aesthetics.
Energy efficiency is another critical factor. Look for the Energy Star label, which indicates a window meets specific standards for your region. Key metrics include:
- U-factor: Measures heat loss. A lower U-factor means better insulation.
- Solar Heat Gain Coefficient (SHGC): Measures how much solar heat passes through. Lower SHGC is better in hot climates; higher SHGC can be beneficial in cold climates.
The glazing (glass) also plays a vital role.
- Single-pane: Offers minimal insulation and is common in older homes.
- Double-pane: Two panes of glass with a sealed, gas-filled space to slow heat transfer. Learn more about Single Pane vs. Double Pane windows.
- Triple-pane: Three panes for even better insulation and noise reduction, though the added cost may not be justified outside of extremely cold or noisy areas. Find out if Are Triple Pane Windows Worth It?.
- Low-E coatings: Thin, transparent coatings that reflect heat to improve efficiency.
Finally, consider the style. There’s a vast array of options:
- Double Hung Windows have two operable sashes for ventilation.
- Casement Windows crank open and provide an airtight seal.
- Awning Window Replacement refers to windows hinged at the top, allowing ventilation during light rain.
For a deeper dive, check out A Comprehensive Guide to the Best Window Replacement Options.
How to Properly Measure to Replace a Window
Accuracy is crucial when you replace a window. A small measurement error can lead to a window that doesn’t fit, causing air leaks and water damage.
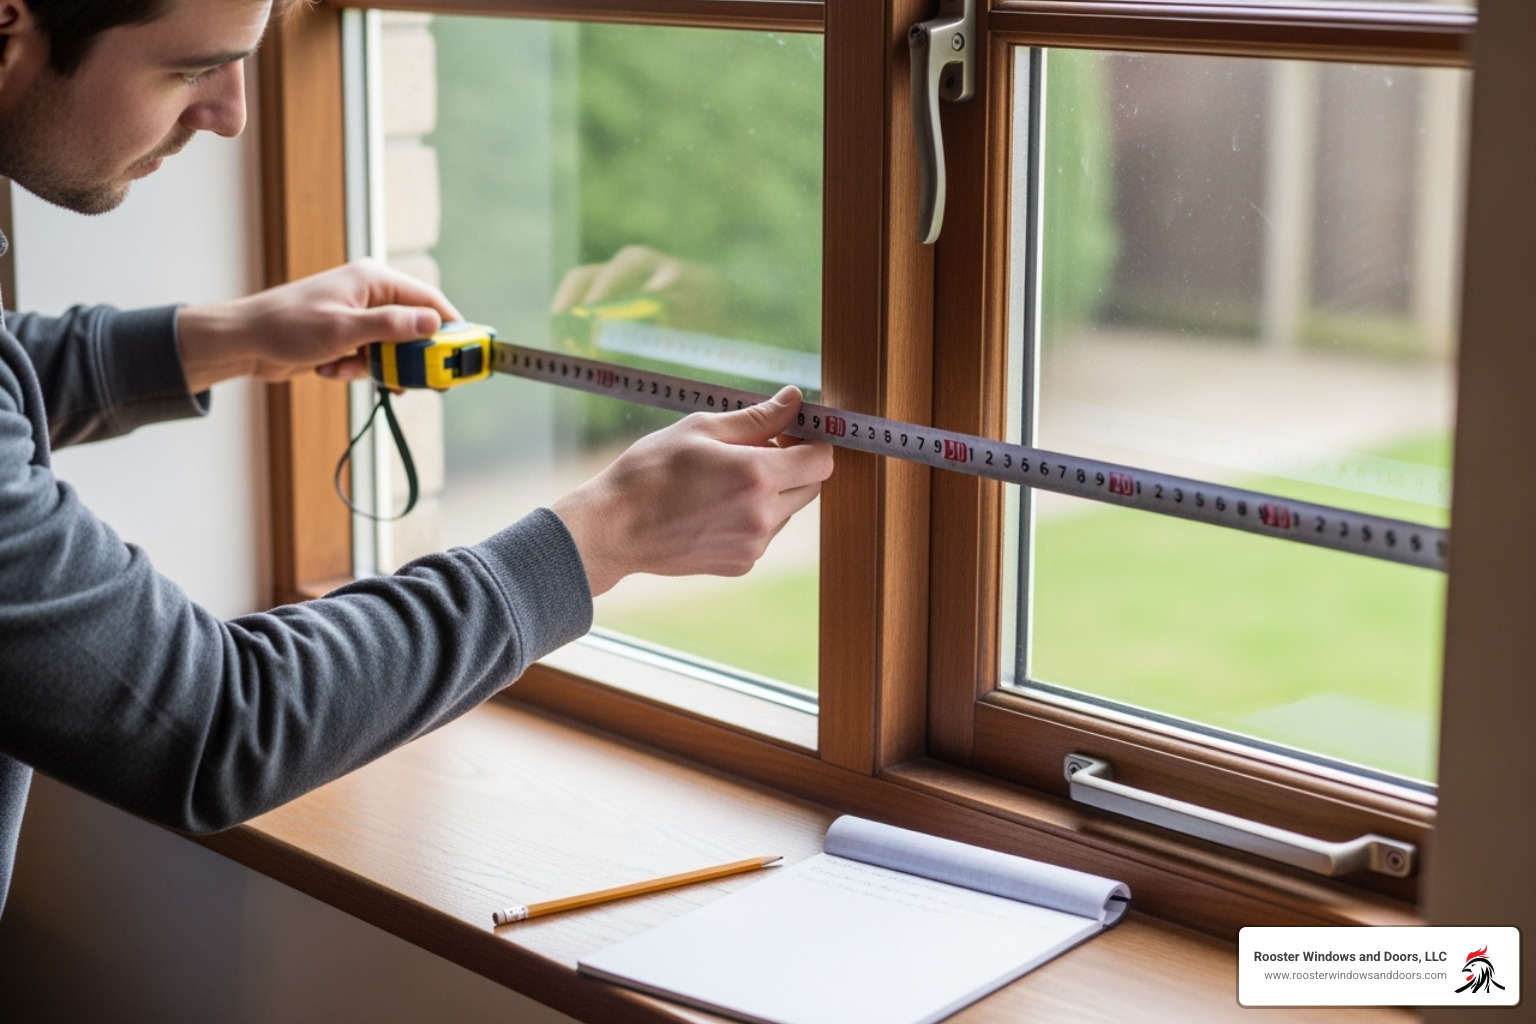
Here’s how to measure correctly:
- Prepare: Clear obstructions around the window. You’ll need a steel tape measure, level, and notepad.
- Measure Width: Measure the width of the opening at the top, middle, and bottom. Use the smallest of the three measurements for your order.
- Measure Height: Measure the height at the left, middle, and right. Again, use the smallest measurement.
- Measure Depth: Measure the frame depth from interior to exterior to ensure the new window will fit.
- Check for Square: Measure the two diagonals of the opening. If they are within 1/8 inch of each other, the opening is reasonably square. If not, you’ll need to account for this with shims during installation.
- Rough Opening: These measurements are for the rough opening. Typically, you’ll subtract about 1/2 inch from your smallest width and height to allow for shimming and insulation.
Always double-check your measurements before ordering.
Tools and Materials Checklist
Having the right gear makes the job much smoother. Here’s what you’ll need:
- Safety glasses and gloves
- Tape measure and level
- Power drill/driver
- Pry bar and hammer
- Utility knife/oscillating tool
- Caulk gun and exterior-grade silicone caulk
- Shims (plastic or wood)
- Flashing tape
- Low-expansion spray foam (window and door specific)
- New replacement window
- Wood filler/putty
- New interior and exterior trim (if needed)
- Shop vacuum
- Scrapers and wire brush
- Lead paint test kit: If your home was built before 1978, it might contain hazardous lead paint. Test before disturbing any surfaces.
The Step-by-Step Process to Replace a Window
This is where your preparation pays off. Take your time with these steps to ensure a professional-looking result that will last for years.
Removing the Old Window
Removing the old window is often the messiest part of the job, but it’s a satisfying first step.
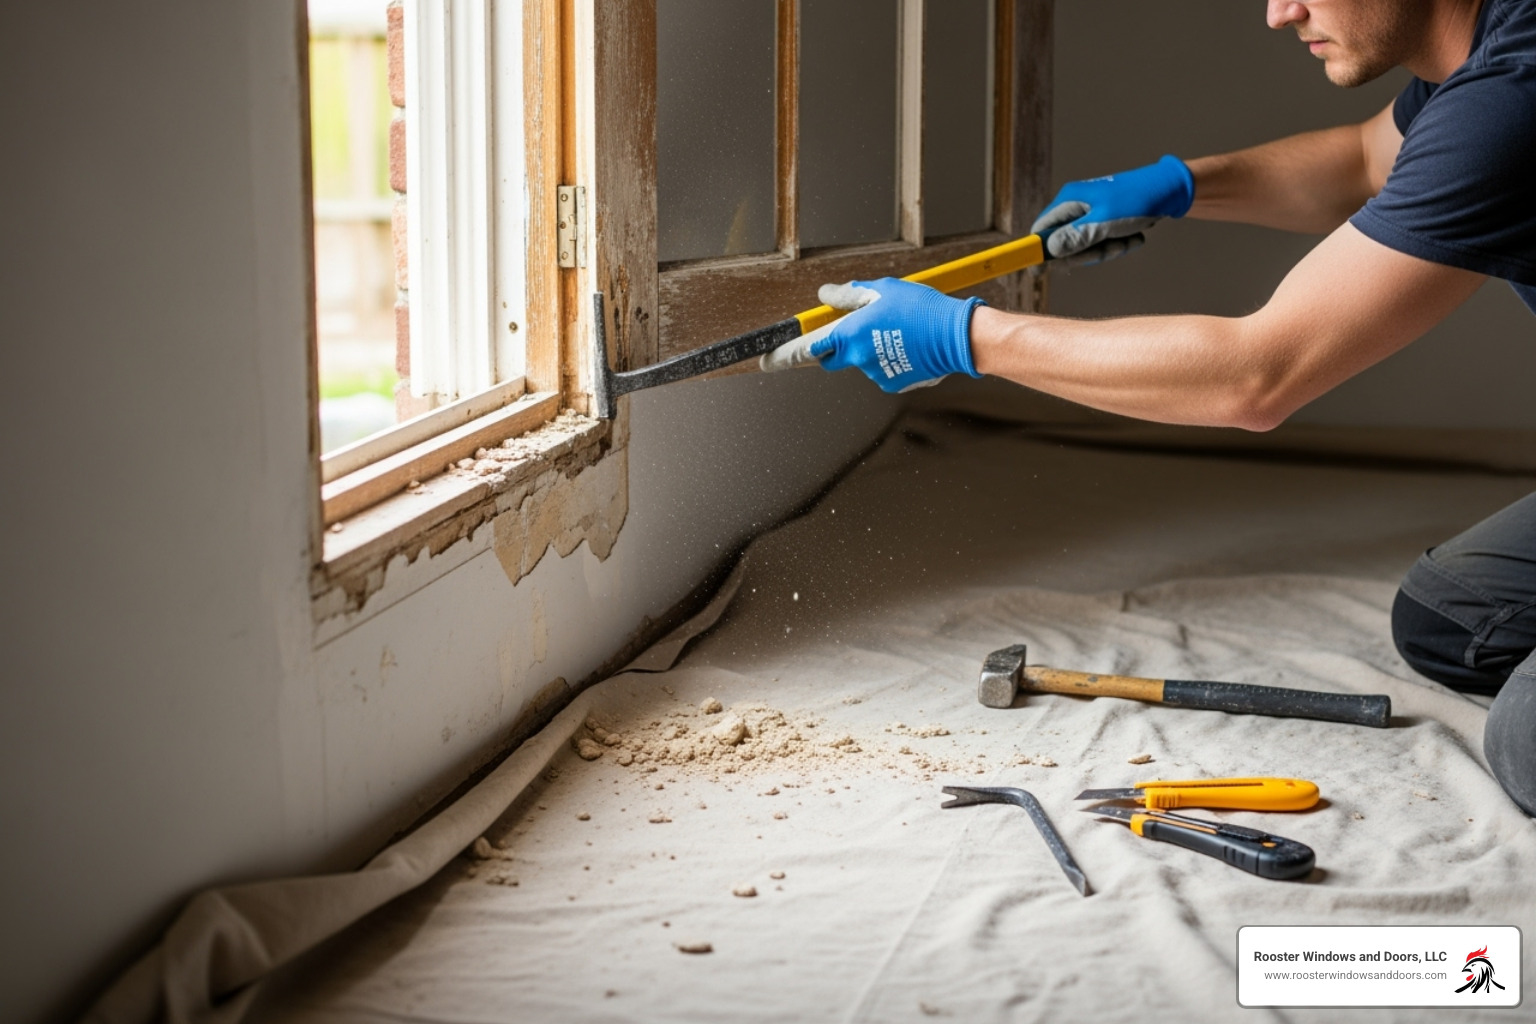
First, prepare the area with drop cloths inside and out, and put on your safety glasses and gloves.
Next, score paint seals with a utility knife where the trim meets the wall, both inside and out. This breaks the paint bond and prevents damage.
Then, remove interior stops and trim. Use a small pry bar with a wood shim behind it to protect your walls. Work slowly to avoid cracking the trim, especially if you plan to reuse it.
Removing the sashes depends on the window type. For double-hung windows, release the sash locks to tilt or slide the sashes out. Cut any old sash cords carefully. For casement or awning windows, you’ll typically unscrew hinges or release clips.
If present, pry out the parting stops—the thin strips separating the sashes.
For a full-frame replacement, you must pry out the old frame. Locate the nails or screws connecting it to the wall studs and work your pry bar around the perimeter to loosen it.
Finally, clean the opening thoroughly. Scrape away old caulk, paint, and debris, then vacuum the area. A clean opening is essential for a good fit and seal.
Installing the New Replacement Window
Proper installation is key to decades of energy-efficient performance. Rushing this stage can compromise the entire project.
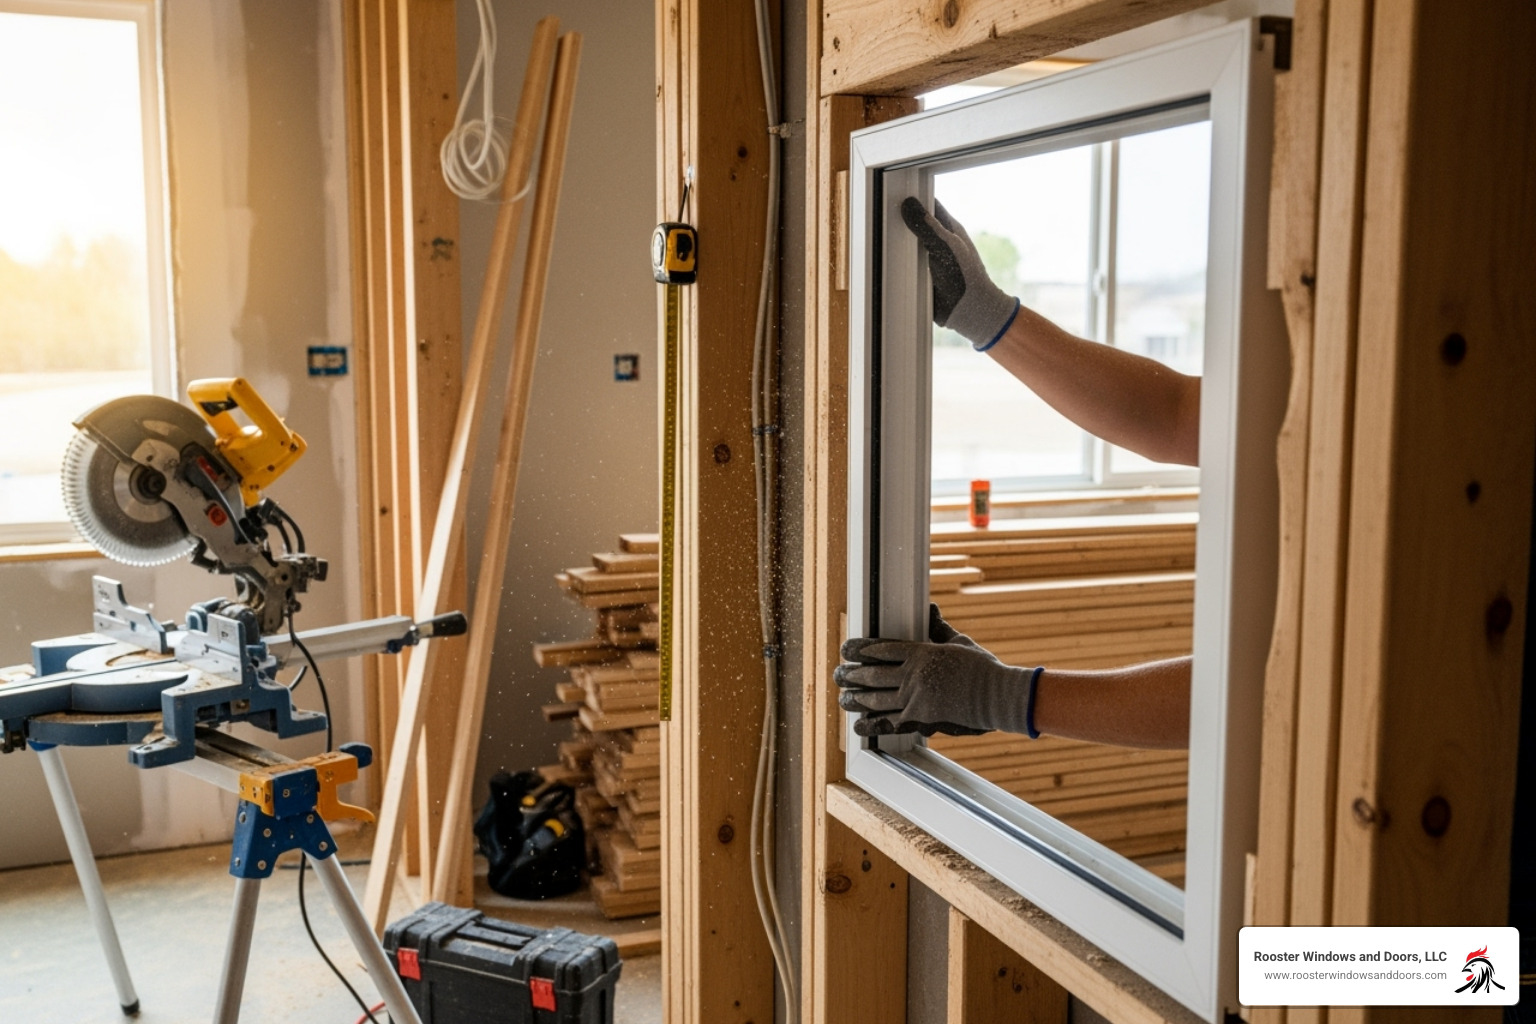
Start by preparing the sill of the rough opening. Ensure it’s clean, level, and slopes slightly to the exterior for water drainage. Use shims to level it if needed.
Applying flashing tape is critical for waterproofing. Apply tape across the sill first, extending it up the side jambs. Then, apply tape up the side jambs, overlapping the sill tape. Finally, tape across the top header, overlapping the side tape. This shingle-style application ensures water drains away properly.
Before permanent installation, dry-fit the new window. Lift it into the opening to check the fit. There should be a consistent gap of about 1/4 to 1/2 inch around the perimeter.
Once you confirm the fit, remove the window and apply a caulk bead. Use high-quality exterior-grade silicone caulk on the back of the nailing fin (for flanged windows). Leave the bottom flange unsealed to allow for drainage.
Now, set the window in place, pressing it firmly into the caulk. Center it and ensure it’s flush with the exterior sheathing.
Next, shim for plumb and level. From the inside, use shims at the bottom corners and up the sides to make the window perfectly plumb (vertical), level (horizontal), and square. Check window operation as you go; if sashes stick, you may have over-shimmed.
Secure with screws through the nailing fin or pre-drilled frame holes. Do not overtighten, as this can bow the frame and cause operational issues.
Finally, verify smooth operation. Open and close the sashes and test the locks to ensure everything works correctly. Make any final shim adjustments as needed.
Finishing Touches: Sealing, Insulating, and Trim
These final steps are vital for energy performance, weather resistance, and achieving a beautiful, finished look.
How to Ensure a Proper Seal and Insulation
Proper sealing and insulation prevent drafts, moisture, and heat loss, making your new windows truly energy-efficient.
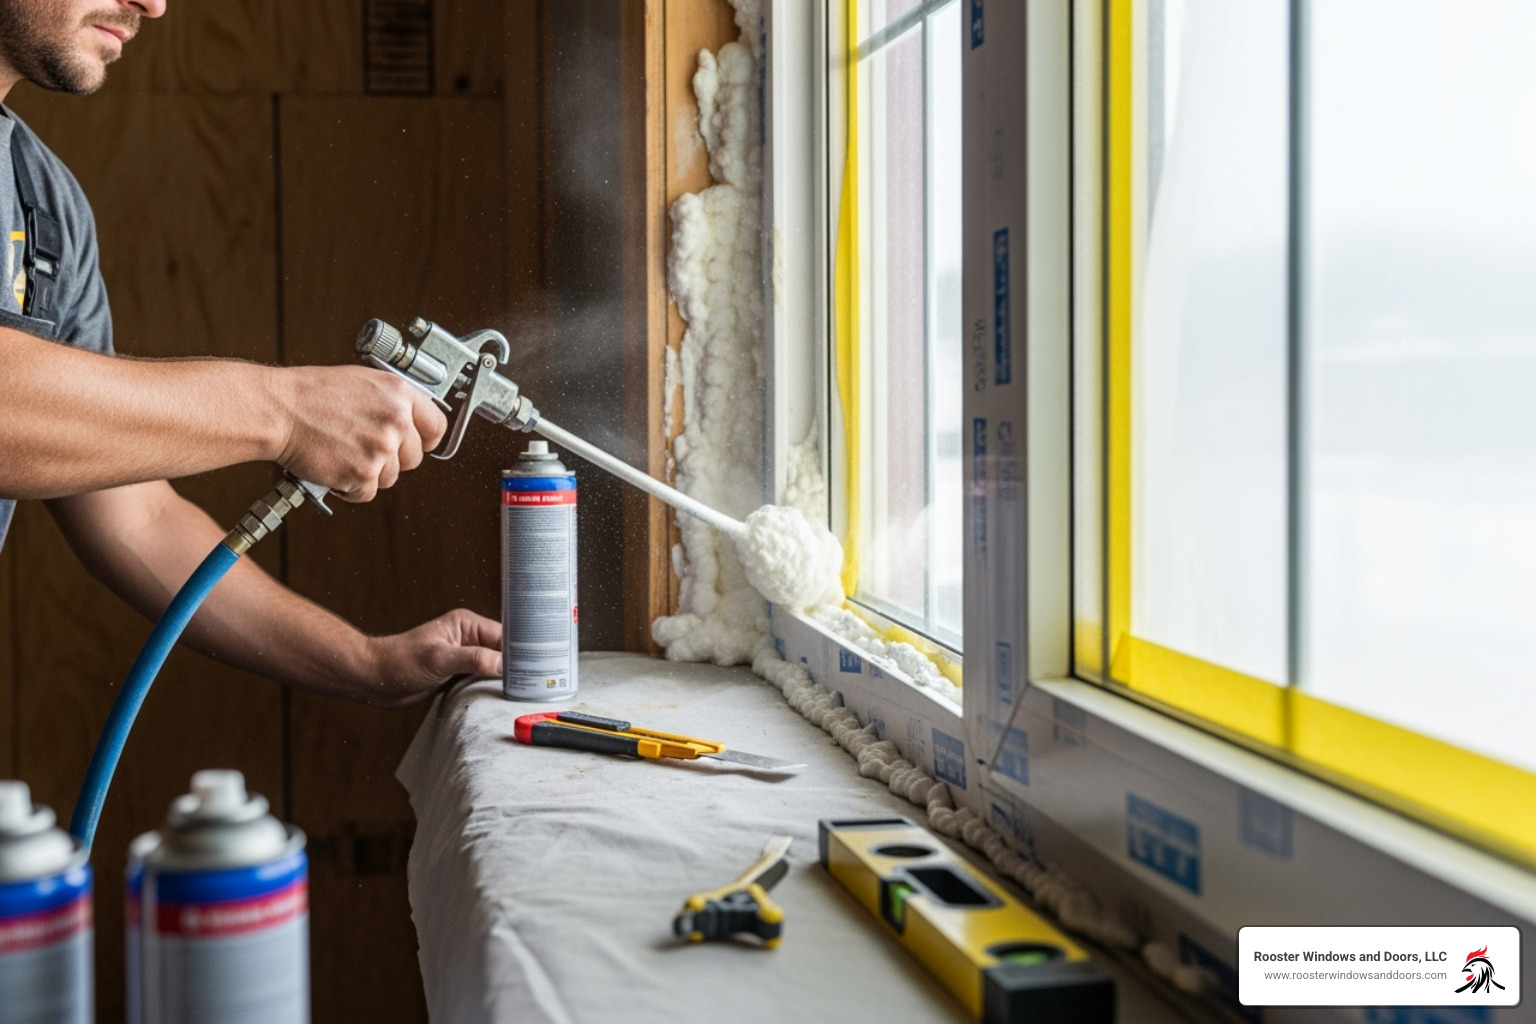
- Insulate with Low-Expansion Spray Foam: Fill the gaps between the new window frame and the rough opening with a window-and-door-specific low-expansion spray foam. This type expands gently to avoid bowing the frame. Fill gaps about 50-75% full, as it will expand. For more tips, see our guide on How to Insulate Windows.
- Exterior Caulk: Apply a continuous bead of high-quality, exterior-grade silicone caulk where the window frame meets the siding or exterior trim. This creates a watertight seal against the elements.
- Weep Holes: Ensure any weep holes (small drainage openings) on your window are clear of caulk. They are essential for allowing trapped moisture to escape.
Installing Interior and Exterior Trim
The trim provides the finishing touch for your new window.
- Exterior Trim: Install new or reinstalled exterior trim around the window. For homes with brick, this may require specialized flashing techniques. Our guide on Replacing Windows in a Brick House offers specific advice. Nail the trim in place and caulk the seams.
- Interior Trim: Install the interior casing, nailing it to the window frame and wall studs. Fill nail holes with wood putty and sand smooth.
- Paint or Stain: Once the putty is dry, paint or stain the trim to match your home’s interior.
DIY vs. Professional Installation: When to Call for Help
While DIY window replacement is rewarding, it’s not always as straightforward as it seems. Many projects are within a handy homeowner’s capabilities, but recognizing when to call for help is wisdom, not defeat.
Consider calling a professional if you encounter these common challenges:
- Rotted frames or out-of-square openings: If you remove the old window and find crumbling wood or an opening that isn’t square, structural carpentry work may be required.
- Structural issues: Finding water damage in the surrounding wall framing or an improperly sized header can turn a simple project into a major one. Altering window sizes also involves structural considerations.
- Upper-story windows: Handling a heavy window on a ladder is dangerous. Professionals have the equipment and experience to work safely at heights.
- Time commitment: A single window can take an experienced DIYer 4-6 hours. Unexpected issues can stretch a weekend project into weeks, leaving your home exposed.
- Lead paint: Homes built before 1978 may have lead paint, which requires specific safety protocols to handle without creating a health hazard.
Assess your skill level honestly. If you’ve successfully completed other projects involving precise measurements and exterior work, you may be ready. If not, professional installation is the smarter choice.
For complex projects or when you want a guaranteed, flawless, energy-efficient result, professional services like Rooster Windows and Doors bring expertise that’s hard to replicate. We handle everything from simple replacements to challenging structural modifications and stand behind our work with comprehensive warranties.
If you’re considering professional help, our guide on How to Find Window Installation Services in 5 Simple Steps can walk you through selecting the right contractor.
Frequently Asked Questions about Window Replacement
After two decades in the business, I’ve heard just about every question. Here are the most common ones homeowners ask when deciding to replace a window.
How much does it cost to replace a window?
The cost varies based on the window, materials, and installation method.
- DIY projects save on labor, which typically runs $100 to $300 per window. You still pay for the window and materials like flashing tape and foam.
- Professional installation averages around $465 per window for a standard vinyl unit. A project to replace 10 old windows with new, energy-efficient vinyl ones could range from $5,600 to $10,300.
Key price factors include the window material (vinyl is most budget-friendly, wood and fiberglass cost more), glazing type (triple-pane costs more than double-pane), and style (casement or bay windows cost more than double-hung). Custom sizes also add to the cost. For a detailed breakdown, see our guide on the Cost to Replace a Window.
How much can I save with energy-efficient windows?
This is where your investment truly pays off. The average homeowner sees a 12 to 13 percent reduction in annual heating and cooling costs after installing Energy Star certified windows. For homeowners in the northern U.S., replacing 10 single-pane windows with Energy Star models can save an average of $568 per year.
These savings come from better insulation and reduced air leaks, which means your HVAC system works less. Additionally, a 30 percent federal tax credit (up to $600 annually) is available through 2032 for installing Energy Star’s Most Efficient windows. You can find more details on the IRS website.
How long does it take to replace a window?
The timeline depends on your experience, the replacement type, and the number of windows.
- DIY timeframes: Plan on 4 to 6 hours per window for a full-frame replacement if you’re handy. Your first window will likely take the longest. Upper-story windows also take more time due to safety logistics.
- Professional installation is much faster. An experienced crew can often install multiple windows in a single day.
Custom order lead times are often the biggest factor. While standard windows may arrive in a couple of weeks, custom windows can take 6 to 12 weeks to be delivered. Order your windows well in advance of your planned installation date.
Conclusion
Congratulations! You now have a complete roadmap to replace a window. This project offers incredible rewards, from slashing energy bills by 12-13% to adding significant value to your property. We’ve covered choosing the right window, measuring accurately, and executing each step for a successful installation.
The long-term value of quality windows includes decades of performance, lower utility bills, and the satisfaction of a job well done. A smart investment in your home’s future.
Of course, not every project is ideal for DIY. For complex installations, structural challenges, or simply the peace of mind that comes with professional craftsmanship, expert help is a great option.
For homeowners who prefer a guaranteed, professional outcome, our team at Rooster Windows and Doors brings over two decades of Chicagoland experience to every project, ensuring your new windows perform beautifully for years to come.
Whether you DIY or go pro, you’re making a fantastic choice for your home’s comfort, efficiency, and value.
Learn more about our professional Window Installation services