Transform Your Home with Professional Patio Door Installation
Installing a patio door into an existing wall is one of the most impactful home improvements you can make. This project opens up your living space, floods your home with natural light, and creates seamless access to your outdoor areas.
Quick Answer for Installing a Patio Door into an Existing Wall:
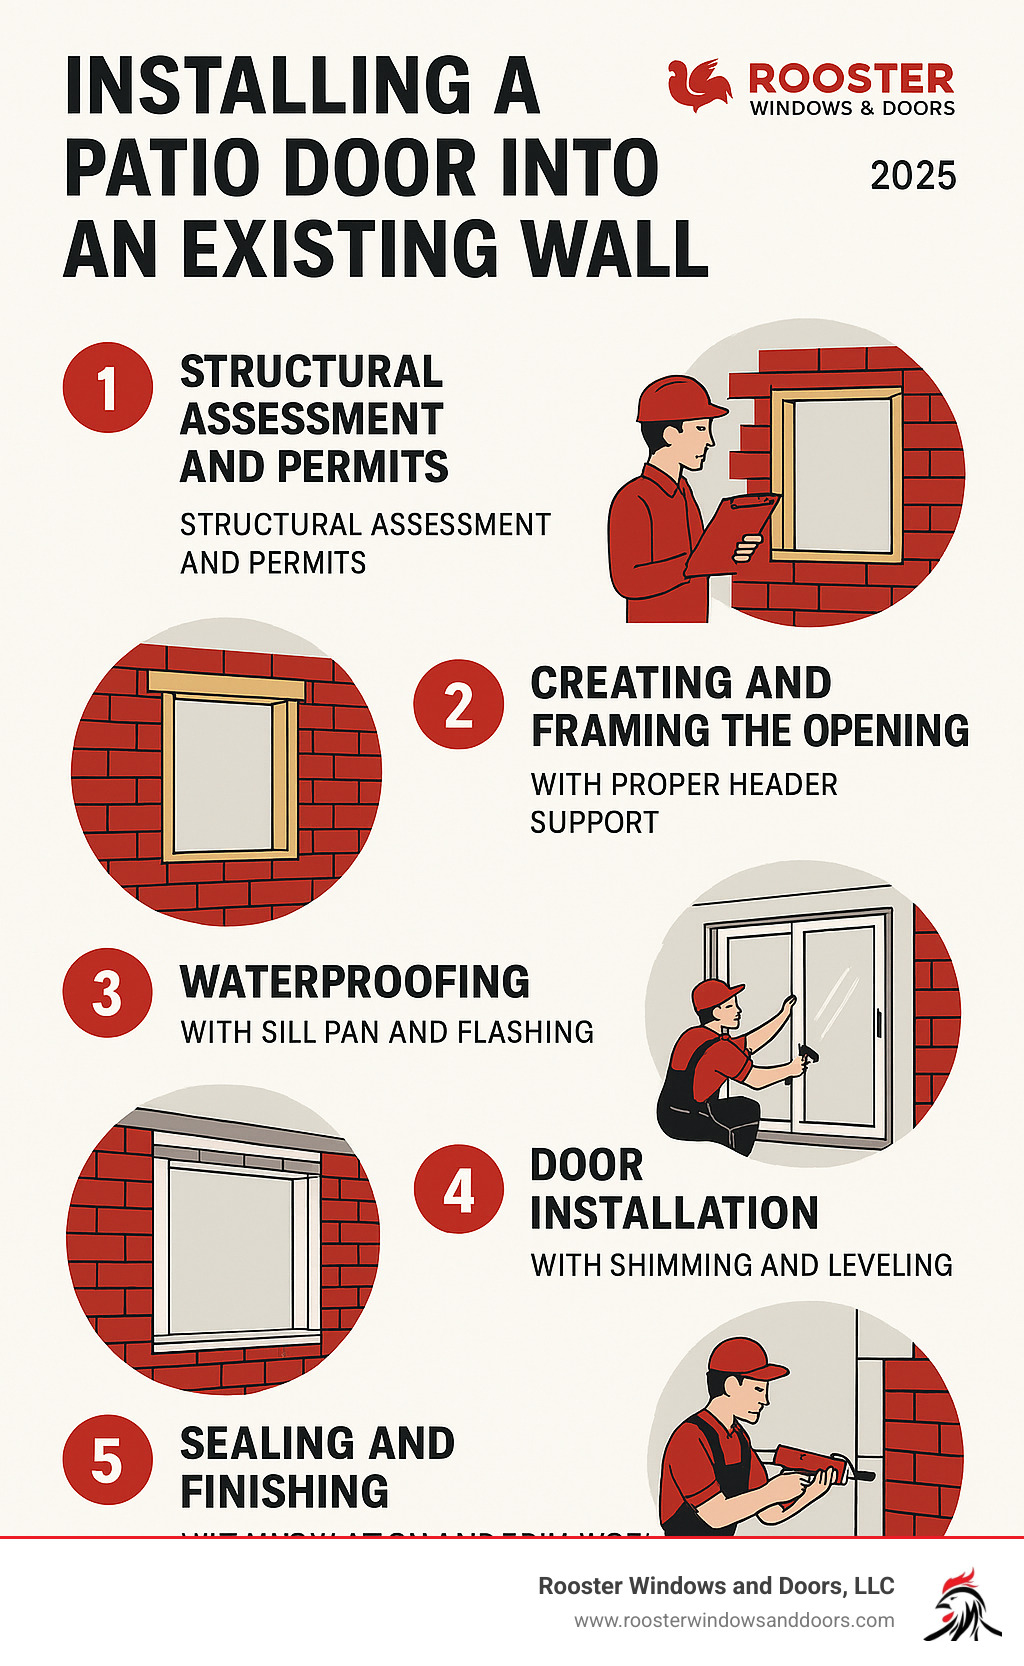
- Plan and prepare – Get permits, choose your door type, and assess wall structure.
- Create the opening – Remove drywall/siding, install a proper header and framing.
- Install the door – Apply waterproofing, position the door, and shim for square and plumb.
- Seal and finish – Insulate gaps, apply exterior caulk, and install trim.
- Test operation – Verify smooth sliding, proper locking, and a weathertight seal.
The installation can take 4-8 hours for a simple replacement or several days for a new opening. Most projects require building permits, especially when structural modifications are needed.
As one homeowner found: “Tearing out a wall to add a sliding glass door can transform a room, creating an open and bright space.” However, this isn’t a simple weekend project. It involves structural considerations, waterproofing, and precise measurements that are critical to your investment.
Key challenges include:
- Determining if your wall is load-bearing
- Installing proper structural support (headers and framing)
- Ensuring a weathertight seal
- Meeting local building codes
I’m Piotr Wilk. With over two decades of experience installing windows and doors in the Chicagoland area, I’ve handled countless projects involving installing a patio door into an existing wall. I know that proper planning and execution are crucial for success.

Key terms for installing a patio door into an existing wall:
Pre-Installation Essentials: Planning and Preparation
Can you open up an existing wall to install a patio door? Absolutely, but installing a patio door into an existing wall is a complex project that requires careful planning, safety assessments, and often, building permits. Proper preparation is your insurance against costly mistakes. Before cutting, you must choose the right door, assess your wall’s structure, and steer building codes to avoid structural or safety issues.
Choosing Your Perfect Patio Door
The right patio door impacts your home’s curb appeal and energy bills. The style you choose will define the look and feel of your space.
| Door Type | Space Needed | Cost | Aesthetic |
|---|---|---|---|
| Sliding | Minimal | Moderate | Modern, sleek, maximizes glass |
| French | Ample | Moderate | Traditional, neat, classic |
| Bi-fold | Ample | High | Contemporary, panoramic, large openings |
Sliding glass doors are space-savers, gliding horizontally on a track. They provide abundant natural light with a clean, modern look. Standard sizes range from 60 to 144 inches wide and 80 to 96 inches high.
French doors offer timeless elegance, swinging open from the center to create a grand entrance. They provide a traditional feel but require clearance space to open.
Bi-fold doors are showstoppers that fold back in sections, creating massive, unobstructed openings that merge indoor and outdoor living. They have a higher price point but deliver stunning panoramic views.
The door material is just as important. Vinyl is low-maintenance and energy-efficient. Wood offers classic beauty but requires more upkeep. Fiberglass combines the look of wood with the durability of vinyl.
For energy efficiency, the glass is crucial. Double-paned glass offers excellent insulation. Adding a Low-E coating reflects heat, keeping your home comfortable and reducing energy bills. For the Chicago climate, triple-pane glass provides maximum energy efficiency.
For a deeper dive, see our comparison of French Doors vs. Sliding Doors.
Is Your Wall Ready? Structural and Safety Checks
The most critical question is whether the wall is load-bearing. A load-bearing wall supports the weight of the structure above it. Cutting into one without proper support can lead to a structural disaster.
To identify a load-bearing wall:
- Check the attic: Walls running perpendicular to roof trusses or floor joists are typically load-bearing.
- Consider location: Center walls and exterior walls almost always bear weight.
- Analyze roof style: Understanding different roof types can provide clues.

If there’s any doubt, get a professional structural assessment. An engineer can specify the correct header size to safely transfer the load. Also, check for hidden electrical wiring, plumbing, and HVAC ducts before cutting.
For homes built before the late 1970s, test for hazardous materials like asbestos and lead paint before demolition. If present, specialized remediation is required for safety.
Permits, Codes, and Professional Help
Almost any project involving installing a patio door into an existing wall requires a building permit. Permits ensure your project meets safety standards.
Local building codes specify requirements for:
- Header sizing: Calculated based on span and load, with strict deflection limits.
- Framing: Dictates requirements for king and jack studs that support the header.
- Exterior landings: Often required if the door isn’t at ground level, typically at least 42 inches deep.
- Guardrails: Needed if the landing is more than 24 inches above ground.
The permit process can take 90 days or more. We handle the entire process for our clients, ensuring all paperwork is submitted correctly.
When should you hire a professional? While a skilled DIYer might replace an existing door, creating a new opening is a different challenge. We strongly recommend professional help when:
- Dealing with a load-bearing wall.
- You’re uncomfortable with demolition, framing, or waterproofing.
- Hidden obstructions like wiring or plumbing are present.
At Rooster Windows and Doors, we deliver flawless, energy-efficient installations that meet all local building codes. For help choosing a pro, see our article on Choosing the Right Contractor for Your Custom Entry Door.
The Ultimate Guide to Installing a Patio Door into an Existing Wall
With planning complete, it’s time to create the new doorway. Installing a patio door into an existing wall is a multi-day project that requires precision, patience, and a commitment to safety. Always wear protective gear: safety glasses, work gloves, hearing protection, and a dust mask.
Gathering Your Tools and Materials
Having the right tools and materials on hand is essential for a smooth project.
Essential Tools:
- Quality tape measure
- 4-foot and 8-foot level
- Reciprocating saw and circular saw
- Drill/driver
- Caulk gun
- Utility knife, pry bar, hammer, and wood chisels
Essential Materials:
- Pre-hung patio door unit
- Properly sized lumber for the header
- Sill pan for waterproofing
- Flashing tape and exterior-grade silicone caulk
- Low-expansion spray foam
- Fasteners and finishing materials
Step-by-Step: Creating the Opening and Framing
This stage transforms a solid wall into a new opening. Accuracy is key.
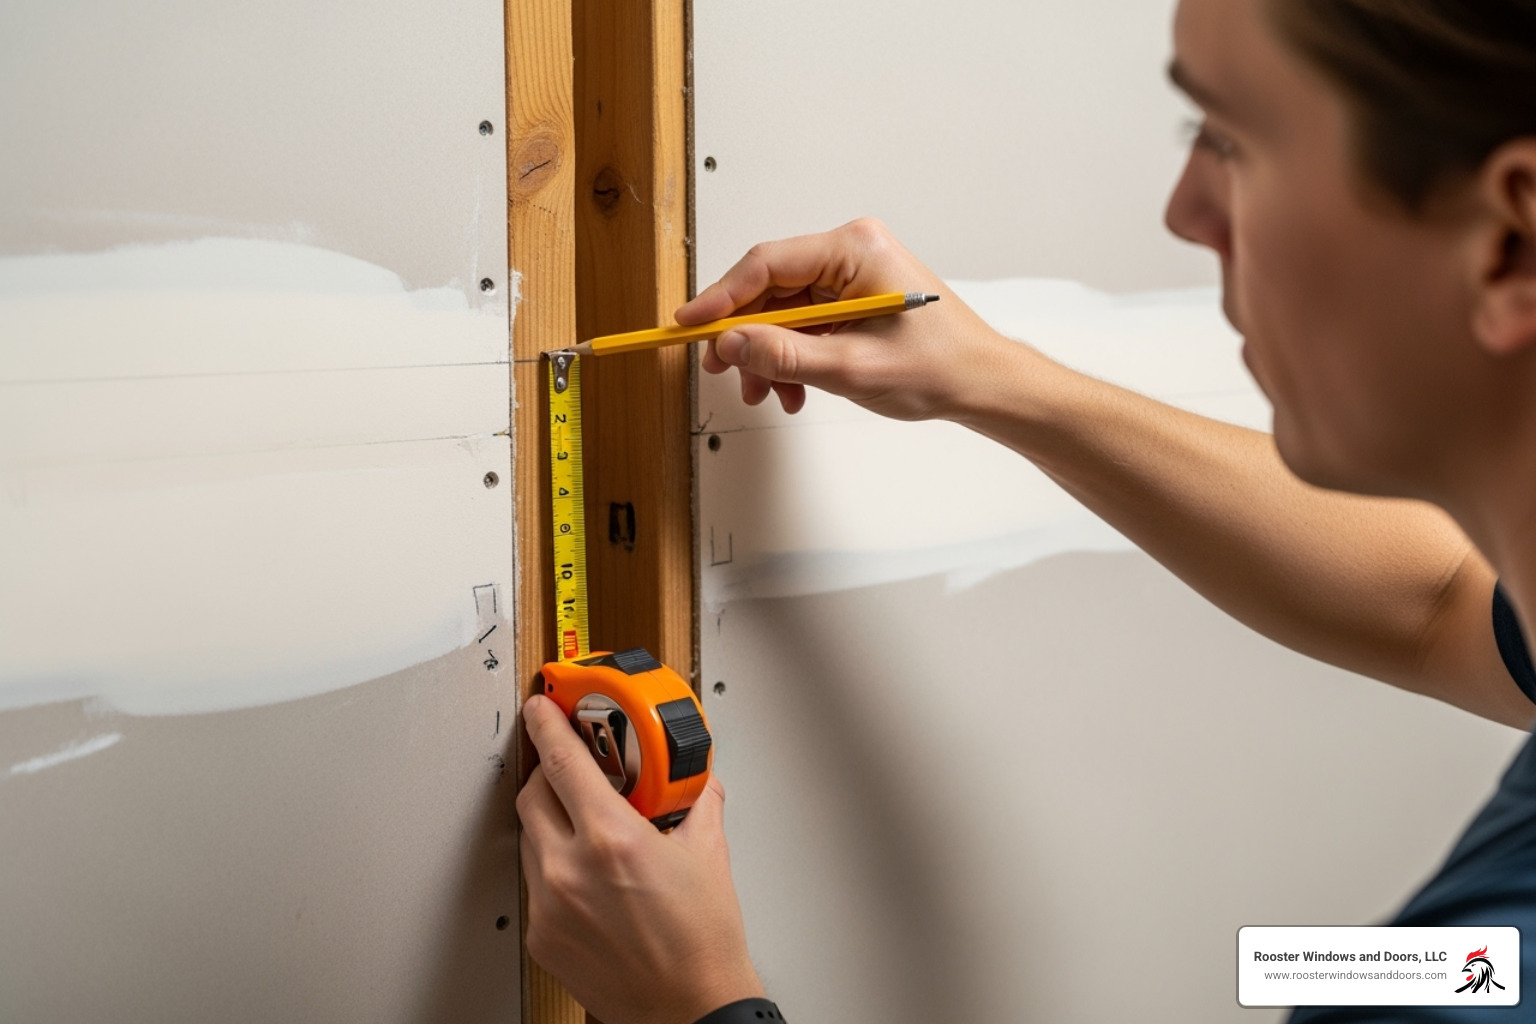
- Measure and Mark: The rough opening should be about 1/2-inch wider and taller than the door unit to allow for shimming. Measure multiple times.

- Prepare the Interior: Carefully remove trim, baseboards, and drywall to expose the framing and any hidden utilities.
- Install Temporary Support: If the wall is load-bearing, you must build temporary support walls on both sides of the opening to carry the load during construction.
- Cut the Opening: Work from the inside out, cutting through drywall and studs first, then the exterior sheathing and siding. Specialized tools are needed for brick or stone.
- Install the Header: The header is a horizontal beam that carries the weight above the opening. It must be sized based on engineering calculations and rests on vertical jack studs, which are supported by king studs.
- Frame the Rough Opening: Ensure the entire frame—including the sill plate at the bottom—is perfectly plumb, level, and square. Check that diagonal measurements are within 1/8-inch of each other.
Step-by-Step: Setting and Securing the Door
This stage focuses on precision installation and waterproofing for long-term performance.
- Waterproof the Sill: Install a sill pan with a bead of silicone caulk underneath. This pan directs any water that gets past the door safely outside.
- Apply Flashing: Use flashing tape around the entire opening, starting from the bottom and overlapping layers as you move up to create a continuous weather barrier.
- Apply Caulk: Run a bead of exterior-grade caulk along the sill and up the sides of the opening where the door frame will sit.
- Position the Door: With a helper, tilt the door unit into the opening, bottom-first. Ensure any nailing fins sit tight against the exterior sheathing.
- Shim for Plumb and Square: Place shims every 12 inches around the frame to get it perfectly vertical, horizontal, and square. Check constantly with a level.
- Fasten the Frame: Secure the door by driving screws through the nailing fins or through the jambs (and shims) into the framing. Fasten only into solid wood.
Following these steps and Best Practices for Patio Door Installations ensures your new door will operate smoothly for years.
Finishing Touches for a Flawless Installation
With the door secured, the final steps are crucial for a flawless installation. Proper insulation, sealing, and trim work ensure your investment delivers maximum energy efficiency and protection from Chicago’s weather.
Ensuring a Weathertight Seal for Your New Patio Door
A weathertight seal is critical when installing a patio door into an existing wall. This protects your home from drafts and moisture, preventing high energy bills.
Insulating the Gaps:
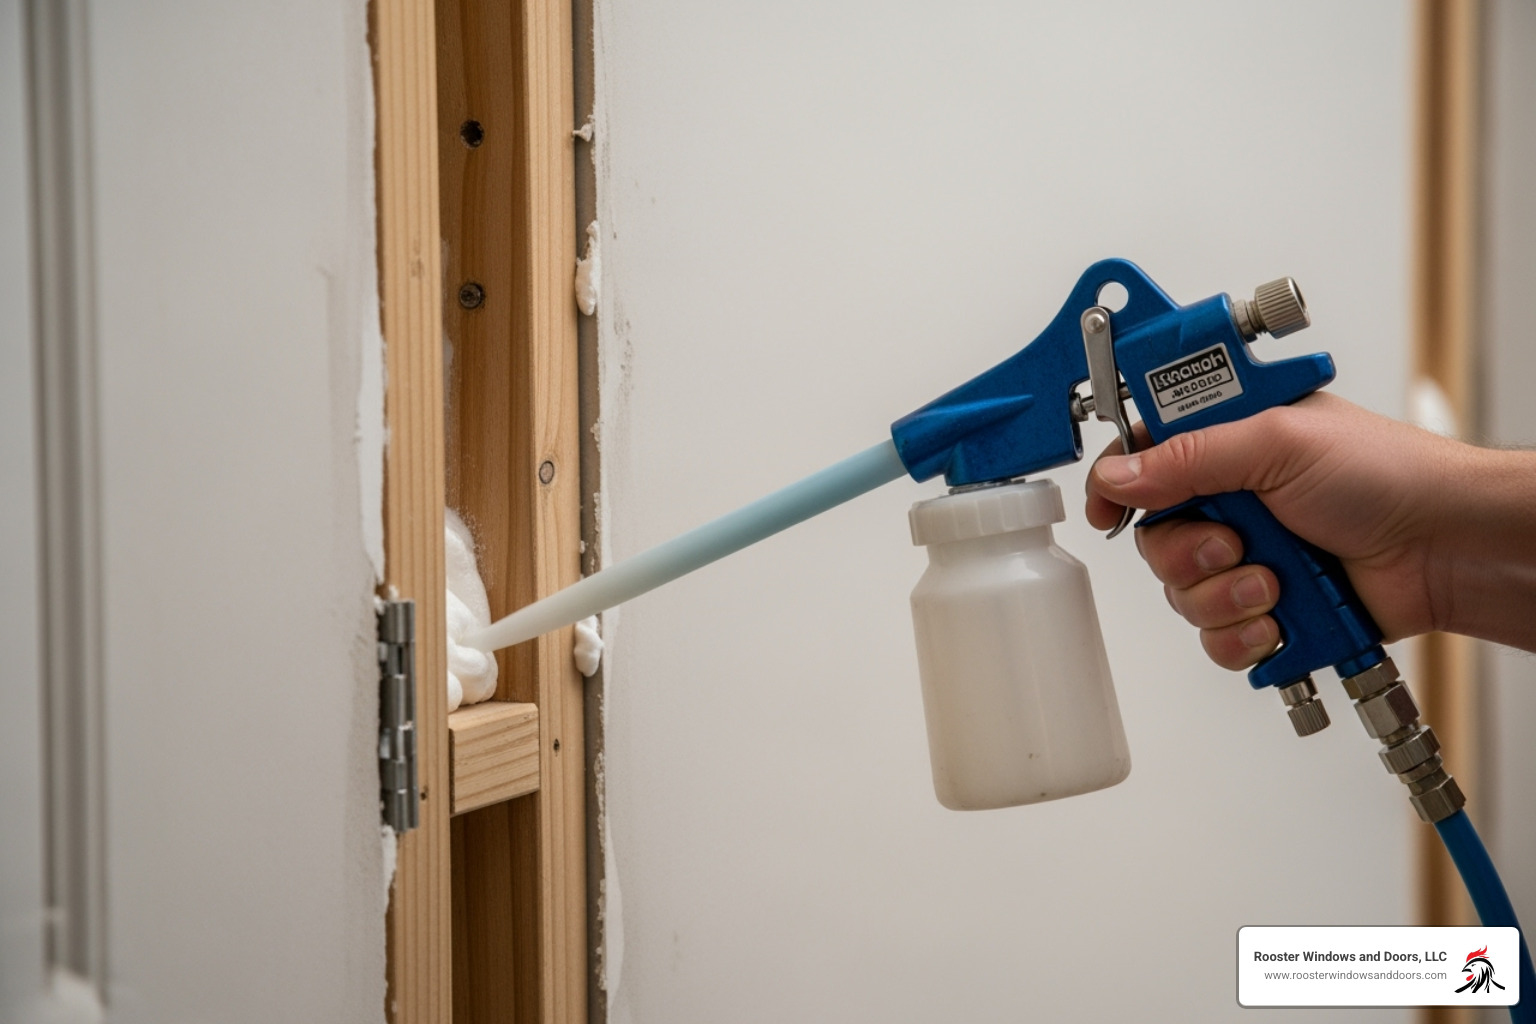
We carefully fill the space between the door frame and the rough opening with low-expansion spray foam insulation. This type of foam creates an effective thermal barrier without bowing the door frame. We apply it in layers, let it cure, and trim any excess for a clean finish.

Exterior Sealing:
For larger exterior gaps, we first insert foam backer rod to control the depth of the sealant joint. Then, we apply a continuous bead of premium exterior-grade silicone caulk around the entire door perimeter, sealing the frame to the siding. Every nail head is also sealed to prevent water intrusion. For vinyl siding, we install J-trim to ensure proper water runoff and a professional look.
Interior Finishing:
We install new interior trim to cover the shims, foam, and rough edges, creating a seamless transition to your walls. If you saved the original trim, we reinstall it with care. Finally, we apply paintable caulk where the trim meets the wall and fill nail holes, leaving the area ready for paint. This attention to detail ensures your new door looks like it was always part of your home.
Our commitment to a flawless installation means we never rush these finishing steps. For more on DIY approaches, see our article Doorway to DIY: Installing Your Own Exterior Door, though we recommend professional help for this type of project.
Final Checks and Adjustments
Before we consider the job done, we perform thorough final checks to ensure your door operates perfectly.
- Test Door Operation: We open and close the door multiple times to ensure it glides smoothly without sticking or binding. We verify that the latch and lock engage securely.
- Adjust Rollers: For sliding doors, we fine-tune the rollers for an effortless glide. This prevents premature wear and ensures smooth long-term operation.
- Verify Weather Seals: We check that all weather interlocks between panels engage fully to keep out drafts and moisture.
- Clean the Work Area: We believe in leaving your home cleaner than we found it. All construction debris is hauled away, and we sweep or vacuum the entire work area.
- Final Inspection: We walk through the project with you to ensure every detail meets your expectations and our high standards of quality.
This meticulous finishing work is what makes an installation truly exceptional.
Frequently Asked Questions about Patio Door Installation
When considering installing a patio door into an existing wall, homeowners often have similar questions. Here are answers to the most common ones we receive.
How long does it take to install a patio door in an existing wall?
The timeline depends on the project’s complexity. A simple replacement of an existing door of the same size can often be done in 4 to 8 hours.
However, creating a new opening is a multi-day project:
- Planning and Permits: This phase can take up to 90 days as local departments review structural plans.
- Structural Work: Cutting the opening and framing takes 1-3 days, depending on wall construction (brick takes longer).
- Door Installation: Setting, shimming, and securing the door typically requires a full day.
- Finishing Work: Insulation, sealing, and trim work can add another 1-3 days.
Factoring in all stages, a new installation is a significant project that can span several days of active work.
How much does installing a patio door into an existing wall cost?
The cost varies dramatically based on the project scope. A comprehensive project involving design, permits, structural work, and the door itself can start at $25,000, especially if a new deck or landing is needed.
Key factors that influence the final price include:
- Professional vs. DIY: Professional installation costs more upfront but includes warranties and protects against costly errors.
- Door Type and Size: Bi-fold doors are more expensive than sliding or French doors, and custom sizes increase costs.
- Wall Construction: Cutting through brick is more labor-intensive than a wood-frame wall.
- Structural Modifications: If the wall is load-bearing or utilities (electrical, plumbing, HVAC) must be rerouted, expenses will increase significantly.
- Finishing Materials: The cost of new trim, siding repair, paint, and any deck work adds to the total.
We provide competitive pricing for the highest quality standards in the Chicagoland area, ensuring your investment adds lasting value.
Can I install a patio door myself?
While a highly skilled DIYer might tackle a simple replacement, installing a patio door into an existing wall where no opening exists is a job for professionals.
The risks of a DIY installation for a new opening are significant:
- Structural Damage: Improperly installed headers can lead to sagging floors, cracked walls, and catastrophic failure.
- Water Damage: Poor waterproofing can cause mold, rot, and extensive damage to your home’s structure.
- Energy Loss: Inadequate insulation and sealing will lead to drafts and higher utility bills.
- Code Violations & Safety Hazards: Non-compliant work can cause issues when selling your home, and accidentally cutting into wiring or plumbing is dangerous.
Call a professional if you are creating a new opening, dealing with a load-bearing wall, or are uncertain about any structural or waterproofing step. The cost of mistakes far outweighs the savings on labor. At Rooster Windows and Doors, we ensure your project is done correctly and safely the first time.
Conclusion: Enjoy Your New View and Seamless Indoor-Outdoor Living
Installing a patio door into an existing wall is a transformative project. We’ve covered the essential steps, from planning and structural assessment to the precise installation and finishing touches that guarantee lasting quality.
The rewards are significant:
- Abundant Natural Light: Brightens your home and creates a more welcoming atmosphere.
- Seamless Indoor-Outdoor Living: Makes your patio or deck a natural extension of your living space.
- Improved Energy Efficiency: Modern doors with Low-E glass reduce utility bills.
- Increased Home Value: A desirable feature that pays dividends in enjoyment and resale potential.
Proper installation is absolutely critical to realizing these benefits. A correctly installed door performs flawlessly, with weathertight seals to keep out drafts and robust structural support to maintain your home’s integrity. Cutting corners can lead to costly water damage, structural issues, and energy loss.
At Rooster Windows and Doors, we have built our reputation on delivering high-quality, flawless, and energy-efficient installations throughout the Chicagoland area. Our team brings the expertise to transform your vision into reality, offering a wide variety of options from sleek sliding doors to neat French doors to match your home’s style.
The difference is in the details. Our meticulous approach ensures you’ll enjoy your new view without worrying about future problems.
Ready to transform your home? For a professional patio door installation that transforms your home, contact our experts today! Let’s bring more light, space, and joy into your life.