Why Installing Bifold Closet Doors is a Smart Home Upgrade
Learning how to install folding closet doors is a rewarding DIY project. Here are the essential steps:
Essential Steps to Install Folding Closet Doors:
- Measure the closet opening (width and height)
- Remove old doors and hardware
- Install the top track centered on the frame
- Mount pivot brackets at top and bottom
- Hang the doors using pivot pins
- Adjust for smooth operation and proper alignment
- Add handles and final touches
Bifold doors are ideal for doorways where space is limited, as their folding design is more compact than traditional swing doors. This intermediate-level project can typically be completed in one day with the right tools and patience. Bifold doors save space while adding a modern, clean look to any room.
The installation involves securing a top track, installing pivot brackets, and carefully hanging the door panels. Proper measurement and alignment are key to ensuring your doors operate smoothly and fold neatly to one side.
At Rooster Windows and Doors, we’ve helped homeowners install folding closet doors throughout the Chicagoland area for over two decades. Our experience has taught us the best techniques for a flawless installation.
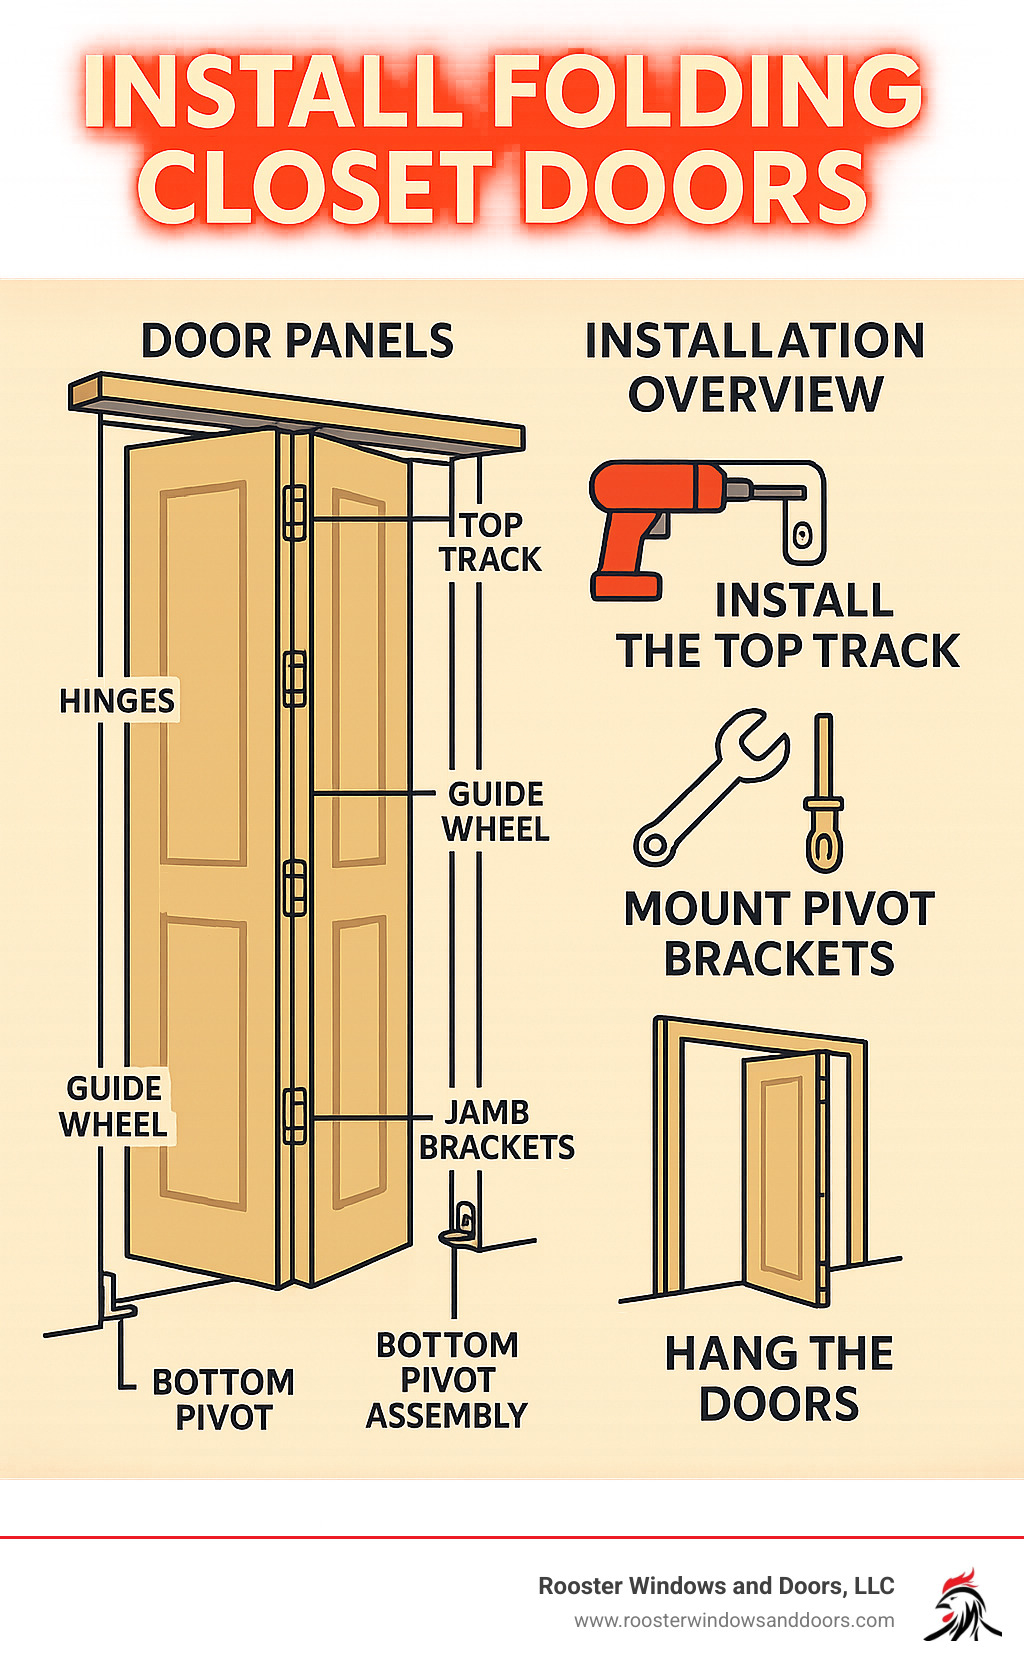
Basic install folding closet doors vocab:
Preparation: Gathering Tools and Choosing Your Doors
When you’re ready to install folding closet doors, proper preparation is key to success. Gathering your tools and materials beforehand will prevent delays and frustration.
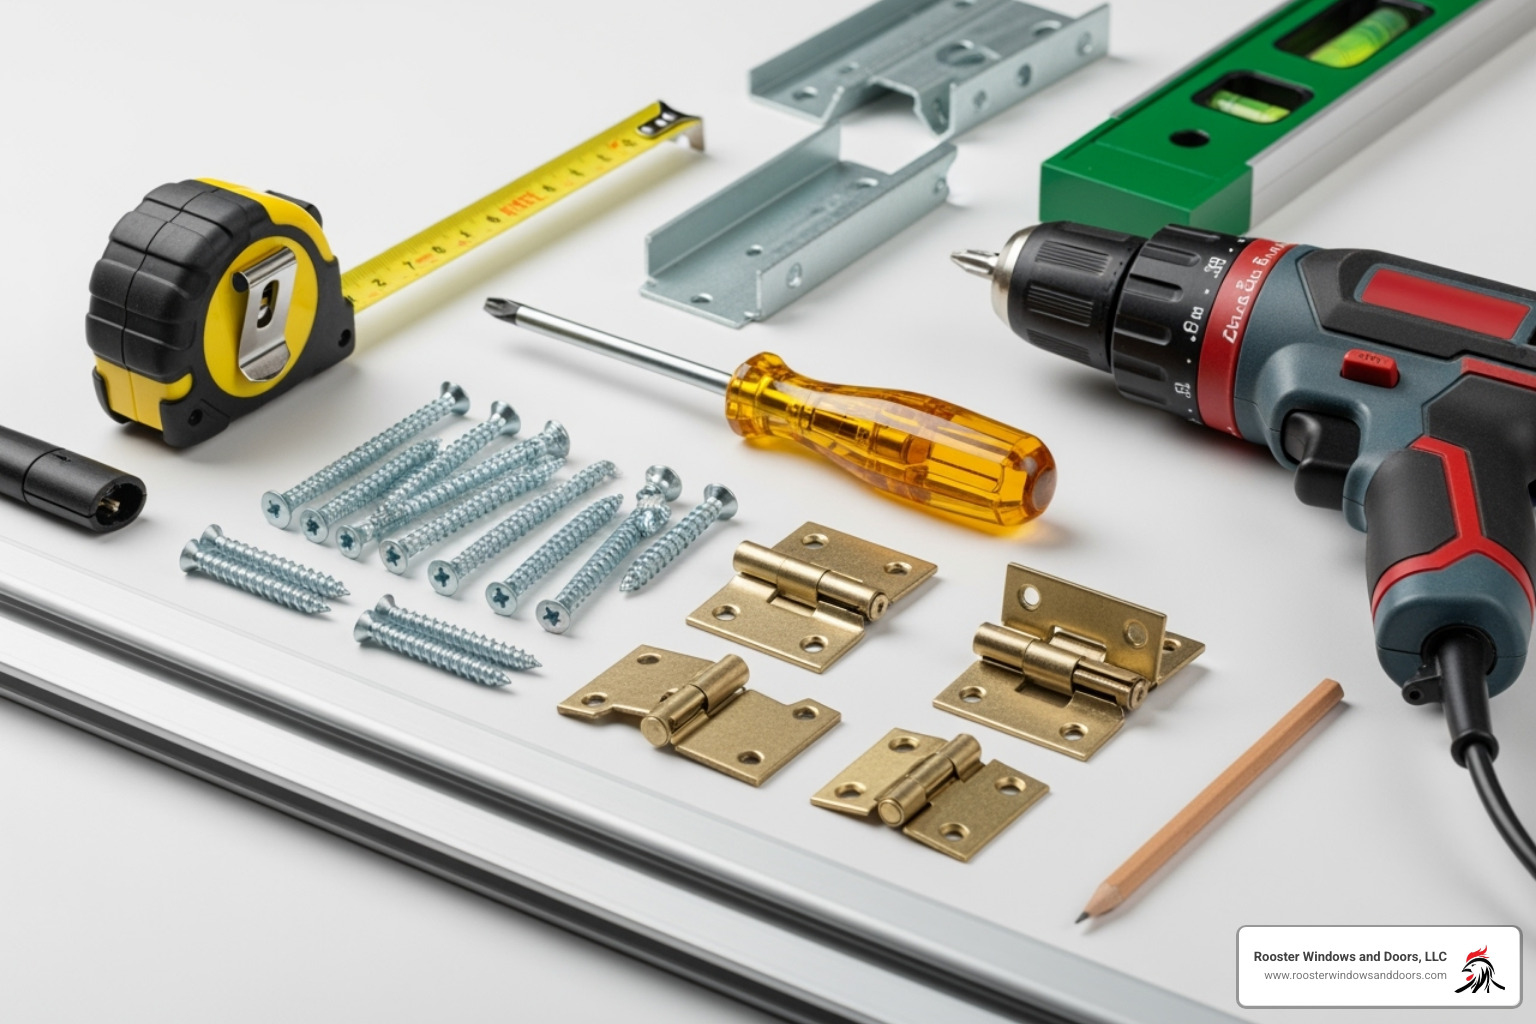
Most of the tools you’ll need are likely already in your toolbox. You will need a measuring tape, a drill, a screwdriver set (Phillips and flathead), a level, a hacksaw for the track, a pencil, and wood shims. Always use safety goggles and gloves.
The main component is your bifold door kit, which includes the door panels, top track, pivot brackets, and guide wheel. You have several options for door materials. Wood doors offer a classic, warm feel and can be painted or stained. MDF doors are a budget-friendly, stable option that often comes pre-primed. Mirrored doors can make a room feel larger and add a stylish touch.
Measure the opening carefully. Check the width at the top, middle, and bottom, and the height on both sides and in the center. Use the smallest measurement to ensure a good fit.
Standard bifold doors come in widths like 18″, 24″, 30″, 32″, 36″, and larger sizes up to 72″, with most standing 80 inches tall. If you need specifics on sizing, this guide to common door sizes has you covered.
Understanding Bifold Door Components
Familiarizing yourself with the components will make the installation process much smoother.
- The pivot pins are inserted into the top and bottom of the door. The top pin slides into the top track, and the bottom pin sits in a floor bracket, allowing the door to pivot.
- The top track is a metal rail mounted above the door opening. It supports the door’s weight and guides the pivot pin and guide wheel.
- The guide wheel (or snugger guide) is on the non-pivot side of the door and travels in the top track to keep the door aligned.
- The jamb bracket is an L-shaped piece that anchors to the floor or door frame and holds the bottom pivot pin securely.
- The hinges connect the door panels, allowing them to fold accordion-style.
- The door panels are the visible sections of the door, usually two or four panels that fold together.
If you’re curious about other door options, you might find it interesting to explore the variety of Types of Front Doors available.
Step-by-Step: How to Install Folding Closet Doors
Learning how to install folding closet doors requires intermediate DIY skills, but with patience and attention to detail, you can achieve professional-looking results. Follow each step methodically to avoid common issues like sticking or misaligned doors.
Step 1: Prepare the Door Opening
A properly prepared opening is the foundation for a successful installation.
- Remove old doors and hardware from the closet, taking care not to damage the door frame.
- Re-measure the opening, even if you measured before. Check the width at the top, middle, and bottom, and the height on the left, center, and right. Use the smallest measurements.
- Standard finished openings are typically 80-3/4 inches tall, with hardware allowing about 3/8 inch of adjustment.
- Check if the opening is plumb and square using your level. Most openings aren’t perfect, which is normal. If your opening is only 1/8 inch out of square, the door’s adjustability can usually compensate.
- Inspect the door jamb for damage. Use wood filler for any holes or rough spots, then sand smooth.
- Clean the frame thoroughly to remove any dust and debris.
For larger projects, our guide on Replacing Interior Doors can help.
Step 2: Install the Top Track and Pivot Brackets
This step creates the support system for your doors.
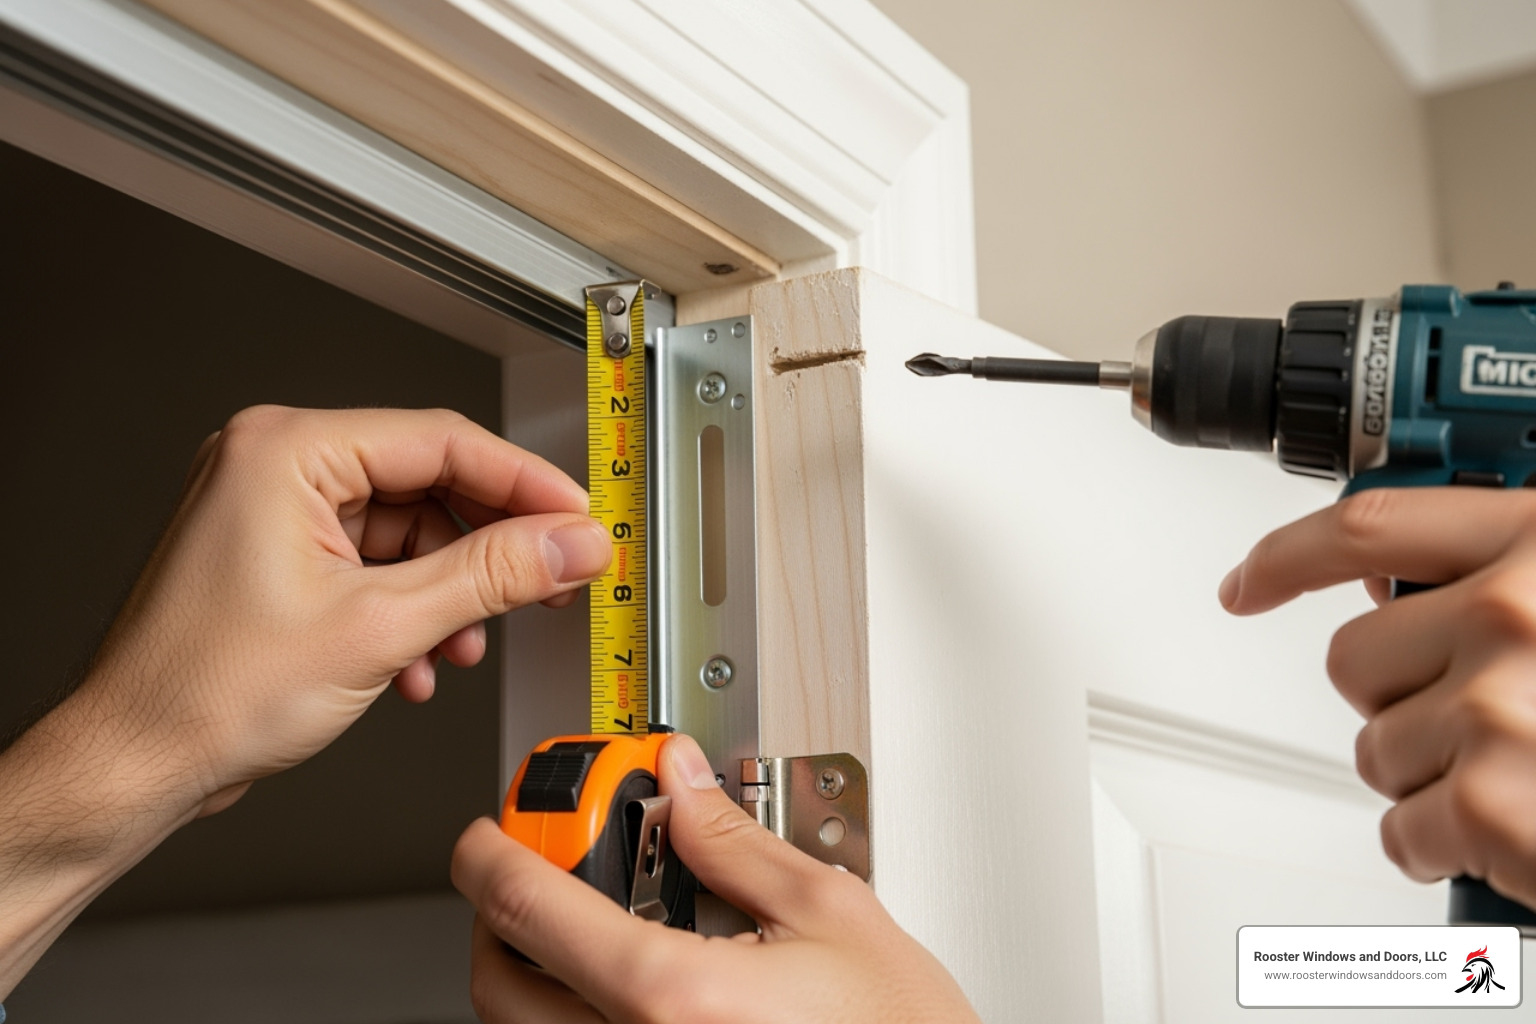
- Cut the top track with a hacksaw to be about 1/16 to 1/8 inch shorter than the opening’s width.
- Position the track by marking a line about 2 inches from the front edge of the top door header. Center the track on this line and secure it with the provided screws, but don’t fully tighten them yet.
- Level the track using your level. Add shims behind the track if the header isn’t level, then tighten the screws firmly.
- Install the top pivot bracket according to your door’s specifications, usually on the side where the door will pivot.
- Install the bottom bracket on the floor, 2 inches in from the front edge and directly below the top pivot bracket. This alignment is critical. Secure the bracket to the floor, into a stud if possible. Use your level to ensure the top and bottom brackets are perfectly aligned vertically.
Step 3: A Guide to Hanging and Installing the Folding Closet Doors
Hanging the doors can be awkward, so a helper is recommended.
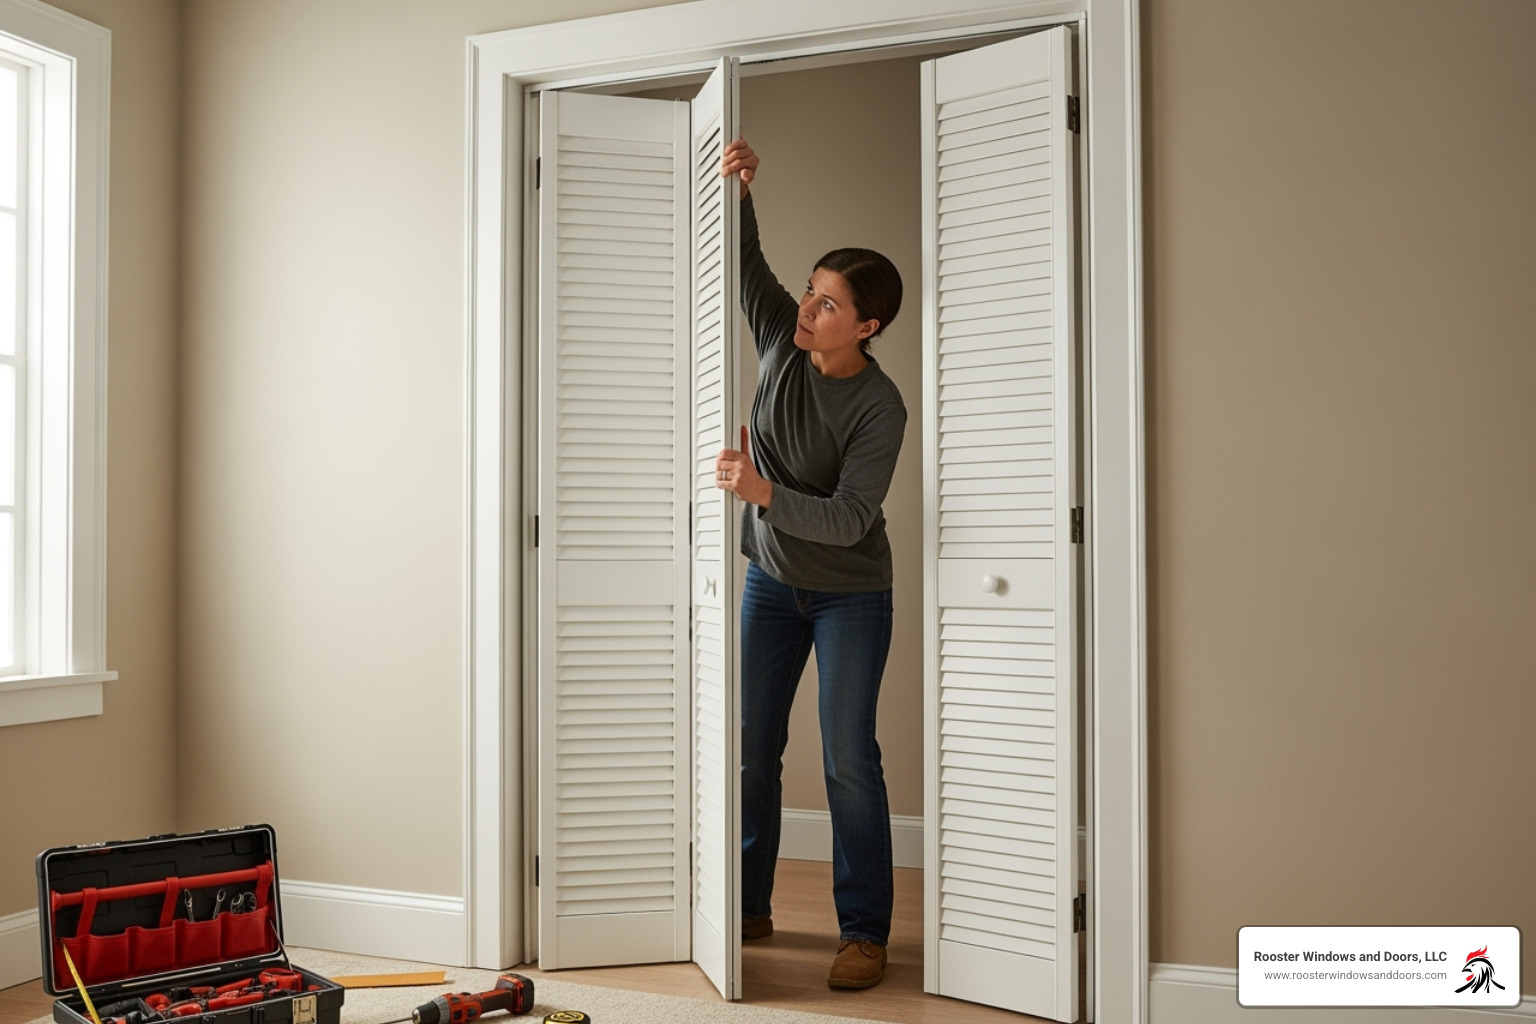
- Install the pivot pins into the pre-drilled holes on the top and bottom of the door panels. The top pin is usually spring-loaded, and the bottom pin threads into a sleeve. A gentle tap with a hammer may be needed.
- Hang the doors by folding the panels in half to make them more manageable.
- Insert the top pivot pin into the pivot bracket in the track. You may need to press the spring-loaded pin down with a screwdriver to seat it properly.
- Seat the bottom pivot pin by aligning it with the floor bracket and carefully lowering the door until it clicks into place.
- Engage the guide wheel on the non-pivot side of the door into the top track. This allows the door to glide smoothly.
It may take a few tries to get the alignment right. Patience is key. For visual learners, great video tutorials can demonstrate these steps.
Fine-Tuning: Adjustments and Final Touches
Once the doors are hung, the next phase is fine-tuning. These adjustments ensure your install folding closet doors project is flawless and functions smoothly.
Step 4: Adjusting for Perfect Alignment
Proper adjustment is critical for the look and function of your doors.
- Adjusting Door Height: If the door is too high or low, lift it slightly and rotate the threaded bottom pivot pin. Turning it clockwise raises the door, while counter-clockwise lowers it. Adjust until it clears the floor evenly.
- Adjusting Side-to-Side Gaps: To fix uneven gaps, loosen a set screw on the top pivot bracket, slide the door left or right, and then retighten. You may also need to adjust the bottom jamb bracket. Aim for even gaps of around 1/8 inch.
- Using a Level for Plumbness: Hold your level against the leading edge of the doors. If they are not hanging straight, make further adjustments to the top and bottom pivots until they are plumb.
- Tightening All Screws and Hardware: Once alignment is correct, securely tighten all screws on the track and brackets to prevent wobbling.
- Testing Door Movement: Open and close the doors several times to check for smooth operation. Make minor adjustments as needed. A little lubricant on the track and pivots can improve movement.
Step 5: Finishing the Job with Hardware and Trim
The final touches provide functionality and a finished look.
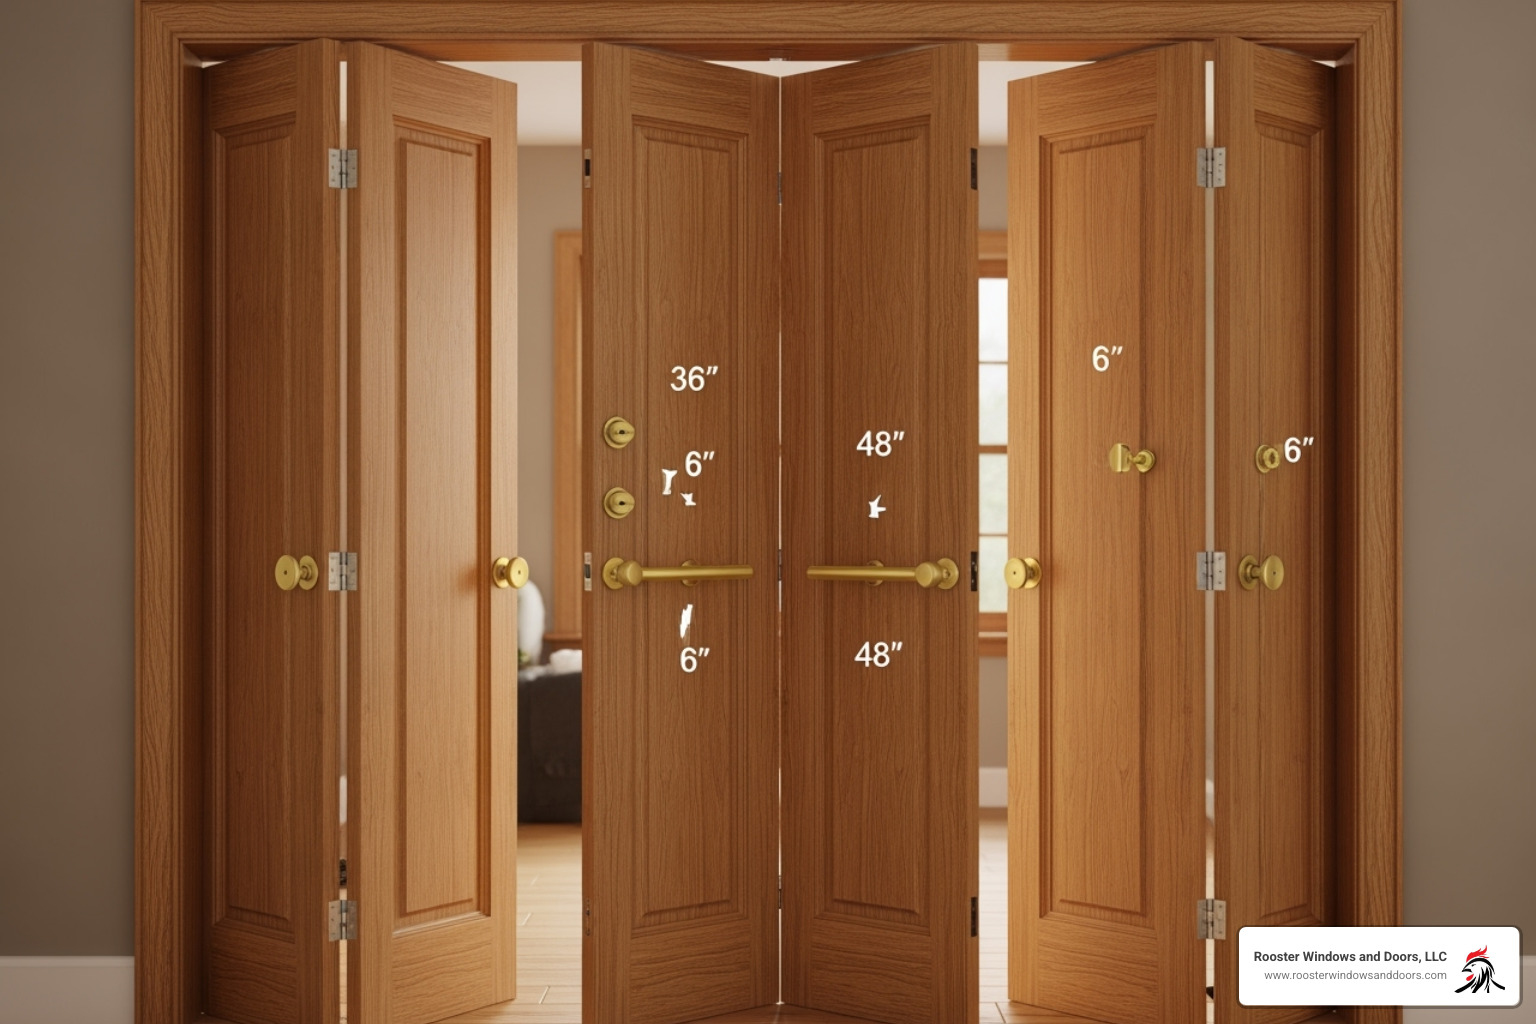
- Optimal Knob Placement: Proper knob placement makes the doors easier to use. The best spot is usually the middle of the leading door, centered vertically. Consider upgrading to a more attractive knob for a custom look.
- Installing Handles or Knobs: Mark your chosen spot and drill a pilot hole to prevent the wood from splitting. This quick guide on How Do I Drill A Pilot Hole? can help. Attach the handle with the provided screws, ensuring they aren’t too long.
- Installing Door Aligners: Many kits include aligners (clips or magnets) to keep doors closed. Attach them to the back of the doors, about 12 inches from the floor, and adjust them so the doors snap shut. This is optional and based on personal preference.
- Painting or Staining Doors: For the best finish, paint or stain your doors after installation. This allows you to fill any nail holes or touch up scuffs. If painting dark wood a lighter color, use a primer. For staining, lightly sand the doors first to help the grain absorb the stain.
Special Considerations and Troubleshooting
While learning how to install folding closet doors is straightforward, you might encounter challenges, especially in older homes with out-of-square openings. Here are some special considerations and proven fixes.
How to install folding closet doors without a bottom track
You can install folding closet doors without a bottom track for a cleaner, more modern look that allows for a seamless transition between flooring.
- Top-hung systems are used for trackless installations. The entire door system hangs from a robust top track, which carries all the weight.
- Instead of a track, these systems use small, discreet floor guides (pins or rollers) that fit into the bottom edge of the door to prevent it from swinging out of alignment.
- Frame strength requirements are more critical, as the top track must support the full weight of the doors. Your door header needs to be solid and may require reinforcement.
- Installation differences are minimal. You will skip the bottom track but must ensure the top track is perfectly level and secure. The bottom pivot bracket still needs to be precisely aligned with the top pivot.
Common Installation Challenges and Fixes
Here are solutions to the most common installation problems.
- Uneven or out-of-square openings: Perfectly level door frames are rare. For slight issues (1/8 inch), the door’s built-in adjustments should suffice. For more significant gaps, shimming the track with thin wood shims will level it out.
- Doors not closing properly: This is usually an alignment issue. Check if the doors are plumb with a level. Adjust the height with the bottom pivot pin and the side-to-side position with the top pivot bracket. Ensure door aligners are positioned correctly.
- Doors falling off the track: This typically means the pivot pins or guide wheels are not fully seated. Double-check that all components are properly engaged in the track and that all hardware is securely fastened.
- Sticking or rubbing doors: This indicates an alignment problem. The door may be rubbing against the floor, header, or jamb. Revisit your height and side-to-side adjustments. A spray of silicone lubricant on the track and pivots can also help.
For issues with door warping, see our guide on How to Keep a Door from Warping. Patience is key during adjustments. If you encounter a problem you can’t solve, don’t hesitate to call a professional.
Frequently Asked Questions about Bifold Door Installation
Here are answers to some of the most common questions we receive about how to install folding closet doors.
Can I install bifold doors by myself?
Yes, installing folding closet doors is a manageable project for most homeowners with basic DIY skills and patience. It is considered an intermediate-level project that can be completed in a single day. However, having a second person to help lift and position the awkward door panels is highly recommended and makes getting the alignment right much easier.
What holds bifold doors in place?
Bifold doors are held in place by several key components working together as a system.
- The top track is the main support, mounted at the top of the door opening and bearing most of the door’s weight.
- Pivot brackets at the top and bottom of the frame hold the pivot pins, which are installed on the door panels. The top pivot pin is often spring-loaded to keep it secure.
- A guide wheel on the non-pivot side of the door slides within the top track, keeping the door aligned and preventing it from swaying.
How much can I trim off a bifold door to make it fit?
Trimming bifold doors requires a careful approach to avoid damaging them. For width, you can safely trim about 1/4 inch off each outer edge. If you need to remove more, divide the amount evenly between both sides. Cutting too much can compromise the door’s structure or interfere with the pre-drilled hardware holes.
For height adjustments, be even more cautious. The pre-drilled holes for the bottom pivot pin must remain structurally sound. If you cut too much, you may need to perform a more complex repair by adding a new wood block and drilling new holes.
If your opening is too large, consider adding trim around the opening instead of cutting the door. This provides a cleaner look and maintains the door’s integrity.
Conclusion: Enjoy Your New Space-Saving Doors
Congratulations on learning how to install folding closet doors. You’ve completed a rewarding project that transforms your space into something both functional and beautiful. Your new bifold doors save floor space and add a modern touch to your room, proof of your growing DIY skills.
The benefits are both visual and practical. You’ve created a space-saving solution that improves your daily routine by providing full closet access without the inconvenience of a traditional swing door. Completing a DIY project like this is satisfying. You’ve learned new skills, saved money, and gained confidence for future home improvements.
Of course, not every installation is straightforward. Older homes can present challenges like uneven headers or out-of-square openings. If you run into trouble or prefer a professional touch, that’s where we come in.
For over two decades, Rooster Windows and Doors has helped homeowners across Chicagoland with every type of door installation challenge. Our experienced team can handle tricky situations like uneven openings, stubborn hardware, and alignment issues. We deliver flawless, professional installations that operate smoothly for years. Our expertise covers standard and custom bifold doors, and we use the right tools and techniques to ensure a perfect result.
Whether you need a full installation or help finishing your project, we’re here for you. For a flawless, professional door installation, contact our experts today! We’ll handle the details so you can enjoy your beautiful, space-saving doors.