Transform Your Dark Basement Into a Bright Living Space
A how to install new basement window project can transform a dark basement into a bright, welcoming living space that adds value to your home. This is a beginner to intermediate DIY project that usually takes a few hours, though complexity varies by wall type and existing conditions.
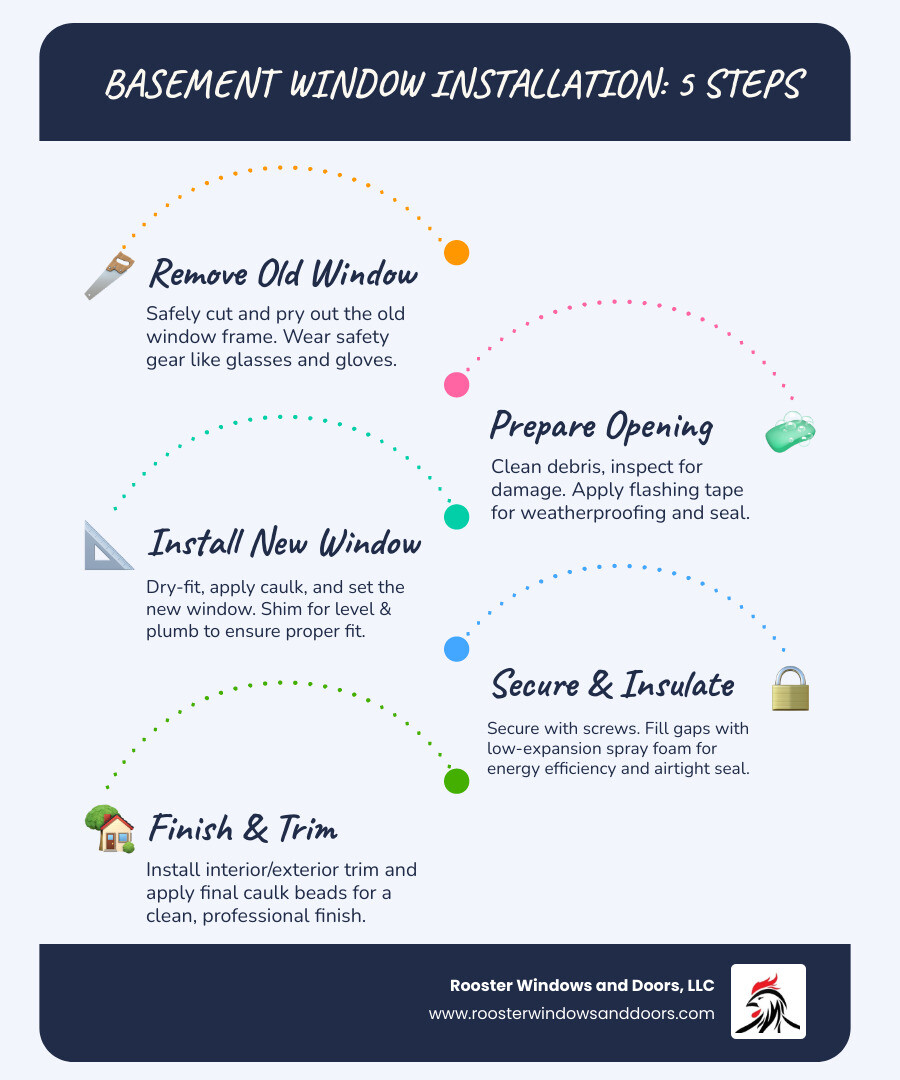
Quick Installation Overview:
- Remove the old window – Cut through frame with reciprocating saw, pry out pieces
- Prepare the opening – Clean debris, check for damage, apply flashing tape
- Install the new window – Dry-fit, apply caulk, set in place, shim level
- Secure and seal – Screw into frame, fill gaps with low-expansion foam
- Finish the job – Install trim, caulk edges, prime and paint
New basement windows offer compelling benefits beyond DIY satisfaction. They bring in natural light, improve energy efficiency by eliminating drafts, and increase your home’s value. Modern vinyl windows are airtight, easy to operate, and low-maintenance compared to old metal or wood frames prone to rust or rot.
The installation process varies depending on whether you’re working with a wood-framed opening or cutting into concrete, but the basic principles remain the same. Most basement windows are held in place with shims and expanding foam rather than extensive hardware, making removal and replacement more straightforward than you might expect.
I’m Piotr Wilk from Rooster Windows and Doors. For over two decades, I’ve helped Chicagoland homeowners with how to install new basement window projects in wood-framed and concrete homes. My experience ranges from simple slider swaps to complex egress window installations that create legal living spaces.

Before You Begin: Planning Your Basement Window Replacement
Dealing with condensation between glass panes, drafts, or rotting frames? These red flags mean your old window is costing you money in high energy bills and making your basement uncomfortable.
Water leaks around the frame are another giveaway, especially with older steel-framed units that rust easily. Single-pane glass is an open invitation for drafts and energy loss. When you spot these warning signs, upgrading to an energy-efficient window is about protecting your investment.
A DIY how to install new basement window project saves money. Small basement windows (around 25×25 inches) cost $60-$300 for the unit. Professional installation typically adds $700-$1,000 per window.
For egress windows, you’re looking at a bigger investment – anywhere from $3,000 to $8,000 nationwide when you factor in permits, materials, and labor. Our comprehensive Cost to Replace a Window: The Ultimate Guide breaks down all these costs in detail, so you can budget accordingly.
Building codes are the law, not optional paperwork. You will likely need permits for an egress window or when converting a basement into living space. Codes dictate specific requirements, such as buck frames for concrete foundations and egress window sizes, which vary by location.
While the National Building Code of Canada (NBCC) offers guidelines, your local authorities have the final say. Getting it right avoids expensive do-overs. For detailed requirements, see our Egress Window Installation guide.
Choosing the Right Type of Basement Window
Choosing the right basement window is about function, not just looks. Each type serves a specific purpose.
| Window Type | Pros | Cons | Best Use Case |
|---|---|---|---|
| Slider | Easy to open, good ventilation, common for non-egress | Can be harder to clean, limited opening size | General basement lighting and ventilation |
| Awning | Hinge at top, open outward or inward, protect from rain | Limited ventilation, can obstruct exterior if opening out | Basements needing ventilation without direct rain exposure |
| Hopper | Hinge at bottom, open inward (often) | Limited view, can collect debris if opening in | Small openings, maximum ventilation for laundry rooms |
| Egress | Emergency exit, natural light, increases home value | Requires larger opening, often more complex installation, needs window well | Converting basement into a legal bedroom or living space |
| Glass Block | Excellent security, privacy, energy efficient, low maintenance | No ventilation, permanent installation | Basements where security and privacy are paramount, no ventilation needed |
Slider windows are reliable for basic light and air. Awning windows allow ventilation during rain but can obstruct walkways. Hopper windows are great for airflow in tight spaces like laundry rooms. Egress windows are legally required for bedrooms and living spaces to provide an emergency exit. Glass block windows offer top security and privacy but no ventilation.
Gathering Your Tools and Materials
Gather these tools and materials before you start:
You’ll need a hammer, pry bar, impact driver, level, and measuring tape. For sealing, have a caulk gun, quality caulk, rot-resistant shims, flashing tape, and low-expansion spray foam insulation for windows. A shop vac helps with cleanup. Safety glasses and work gloves are essential for protection against debris.
How to Accurately Measure for a New Window
Accurate measurements are critical to avoid delays. First, remove any interior trim to measure the rough opening—the space within the frame where the new window will sit.
Measure the width at three points: top, middle, and bottom of the opening. Measure the height at the left side, center, and right side. Use the smallest measurement from each direction. This accounts for any imperfections in your opening.
Once you have your smallest width and height measurements, deduct 1/4 to 1/2 inch per your window manufacturer’s specifications. This leaves room for shimming and insulation. The goal is a rough opening about 1/2 inch larger than your window dimensions in both directions.
Check if the opening is square by measuring the diagonals; they should be within 1/16 inch of each other. If the difference is over 1/4 inch, you may need to adjust the opening or seek professional help.
Your Step-by-Step Guide on How to Install a New Basement Window
Let’s get started on how to install new basement window. Safety first: wear safety glasses and work gloves. For dust control, use plastic sheeting, shut off your HVAC, and cover nearby ducts. Following these steps methodically will ensure a perfect fit and lasting performance.

Step 1: Removing the Old Window
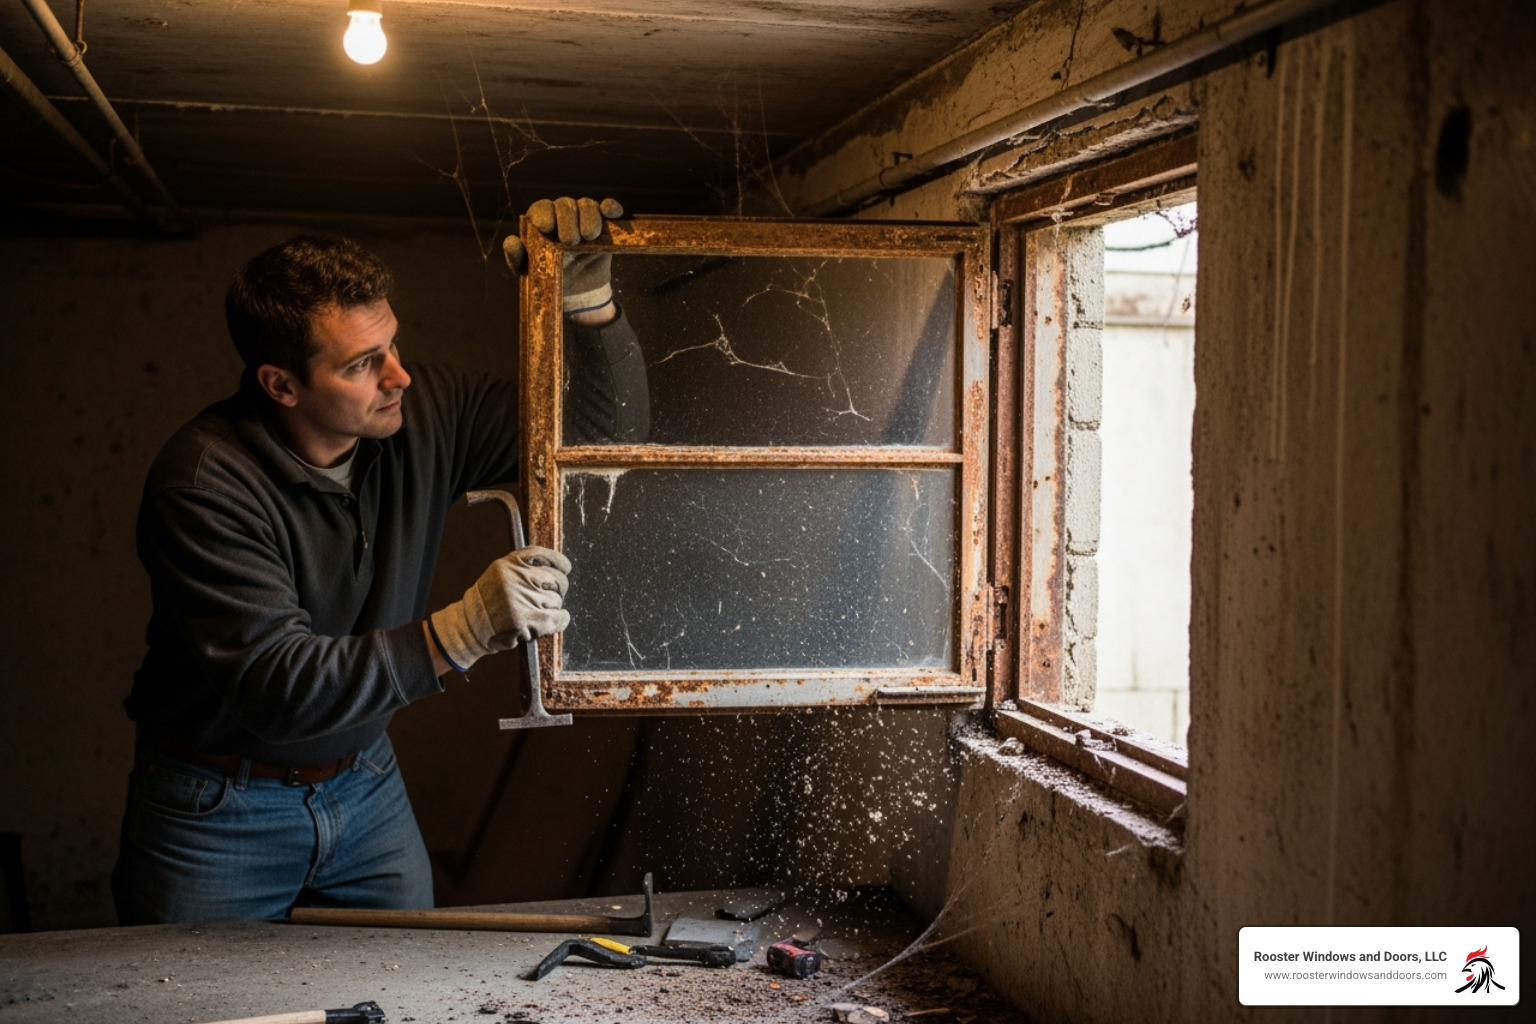
Begin by removing the window sash (the movable part) to make the frame lighter and easier to handle. Depending on the window, it may lift out or require removing screws.
Frame removal varies by material. Older metal frames in concrete are stubborn and may require a reciprocating saw to cut through the frame and any attachments. For wooden frames, a pry bar is usually sufficient.
Carefully pry out the old frame pieces once you’ve made your cuts. Take your time to avoid damaging the surrounding wall. Some frames come out in one piece, while others might break apart.
Finally, clean up thoroughly with your Shop vac. Remove all debris, loose mortar, old insulation, and dust from the opening for a clean workspace.
Step 2: Preparing the Window Opening
A well-prepared opening is key to performance. Inspect the opening for rot, mold, or damage. Repair or replace any damaged wood with rot-resistant material. For concrete, check for cracks or crumbling.
Clean and smooth all surfaces with a paint scraper or utility knife to remove old caulk. For masonry openings, a chisel helps clean up rough edges. You want a smooth, even seat for your new window.
The sill (bottom of the opening) must be level. Check with your level and use shims to correct it. A common professional technique is to install a sloped (5-10 degrees), pressure-treated sill secured with masonry screws and sealant to aid drainage.
For wood-framed openings, apply flashing tape to the sill and partway up the sides to create an extra moisture barrier.
Step 3: How to Install a New Basement Window: The Core Steps
Start with a dry-fit. Place the new window in the opening to ensure it slides in smoothly. If it’s too snug, you may need to adjust the opening or shave the frame.
Once it fits, remove the window and apply a continuous bead of high-quality caulk where the frame will contact the wall. Use butyl Caulk or another exterior-grade sealant. If your window has a nailing flange, apply caulk to its backside.
Set the window carefully into the opening, tilting it from the bottom and seating it against the caulk. Ensure any weep holes face outside at the bottom for drainage.
Use rot-resistant shims to center the window. Use your Level to ensure it is perfectly plumb and level. Confirm it’s square by measuring the diagonals (they should be within 1/16th of an inch). Place shims behind each installation hole for support.
Secure with screws through the frame’s pre-drilled holes. Do not overtighten, as this can bow the frame and affect window operation.
Step 4: Sealing and Insulating for Maximum Efficiency
Proper sealing is crucial for energy efficiency and weatherproofing.

Apply exterior caulk along the top and sides where the window meets the wall. Crucially, never seal the bottom outside edge of the window. This must remain open for drainage to prevent water damage.
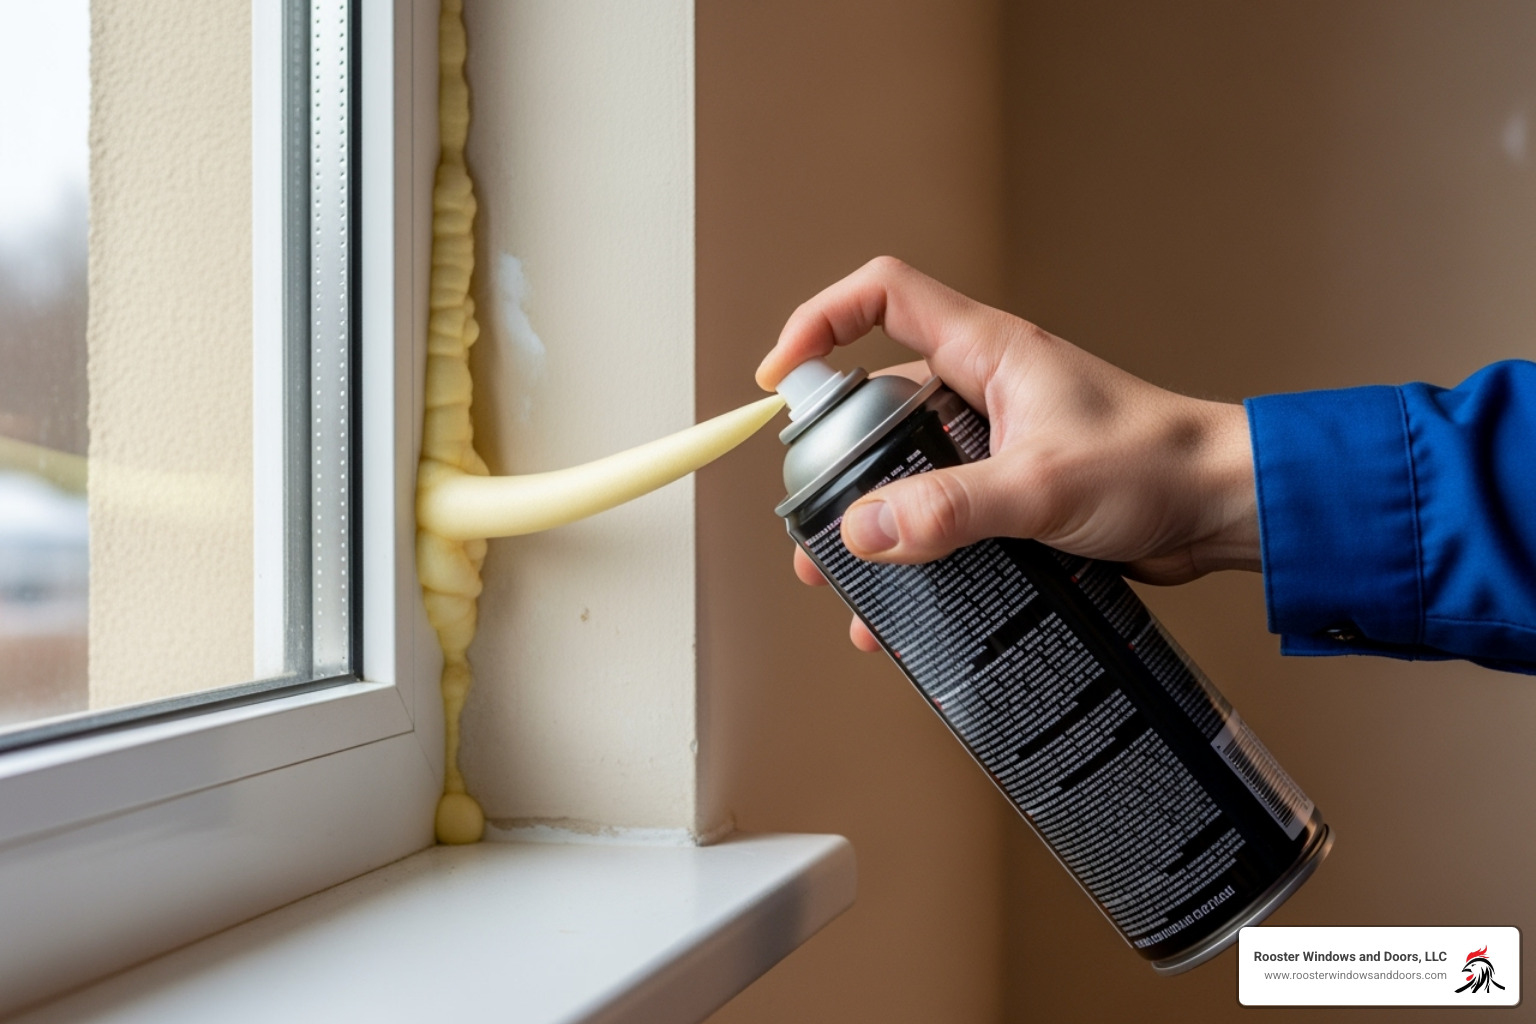
Fill the interior gaps between the frame and rough opening with low-expansion Spray foam insulation for windows. Regular expanding foam can bow the frame. Apply it carefully to avoid overfilling.
After the foam cures, trim any excess with a utility knife for a professional look.
If your window has a nailing flange, apply flashing tape over it, overlapping onto the wall’s weather-resistant barrier to create a robust moisture shield.
This careful sealing process separates a professional-quality installation from a basic DIY job. For more insights, see our Window Installation Services: A Complete Guide.
Step 5: Finishing and Trimming
Install your interior trim by measuring, cutting, and fitting pieces around the frame. Choose a style, from simple casing to decorative molding, that matches your basement.
Add exterior trim using the same approach. For brick or masonry, you might skip trim and apply caulk directly between the frame and wall.
Prime and paint all wood trim with exterior-grade primer and two topcoats. Doing this before installation offers better protection.
Fill any nail holes with wood putty or caulk and sand smooth once dry.
Apply a final, thin bead of caulk along all interior and exterior trim seams to seal every joint against air and moisture.
Now you can admire your work—a completed how to install new basement window project that adds value and light to your home.
Common Challenges and Best Practices
A how to install new basement window project can have surprises. The most common challenges are uneven openings, water drainage, and working with concrete foundations. Here’s how to handle them.

How to Install a New Basement Window in a Concrete Foundation
Working with concrete differs from wood framing. It’s important to know your limits and when to call a professional.
For existing openings in concrete, the process is manageable. Clean up the edges with a masonry chisel and hammer drill to create a smooth surface, chipping away old mortar.
Building a pressure-treated wood buck frame is often the best approach. This frame fits into the concrete opening, giving you a solid, square surface to attach the window.
Use concrete screws (Tapcons) for fastening, as they provide a secure hold in masonry.
Sealing against concrete requires extra care. Use plenty of high-quality caulk and flashing tape to create multiple moisture barriers.
If you need to cut a new opening or enlarge an existing one in concrete, I strongly recommend calling professionals. This requires specialized saws and expertise to avoid structural damage and is not a DIY job.
Handling Uneven Openings and Water Damage
Older homes often have out-of-square openings, and basements are prone to water issues.
Use rot-resistant shims to make the window perfectly plumb, level, and square, even in openings that are significantly off.
Addressing rotted wood before installation is critical. Stop and replace any compromised wood with pressure-treated lumber. Installing a new window over rotted framing is a recipe for failure.
Water management is a critical long-term consideration. Ensure the exterior grade slopes away from your foundation for at least six feet to prevent water issues.
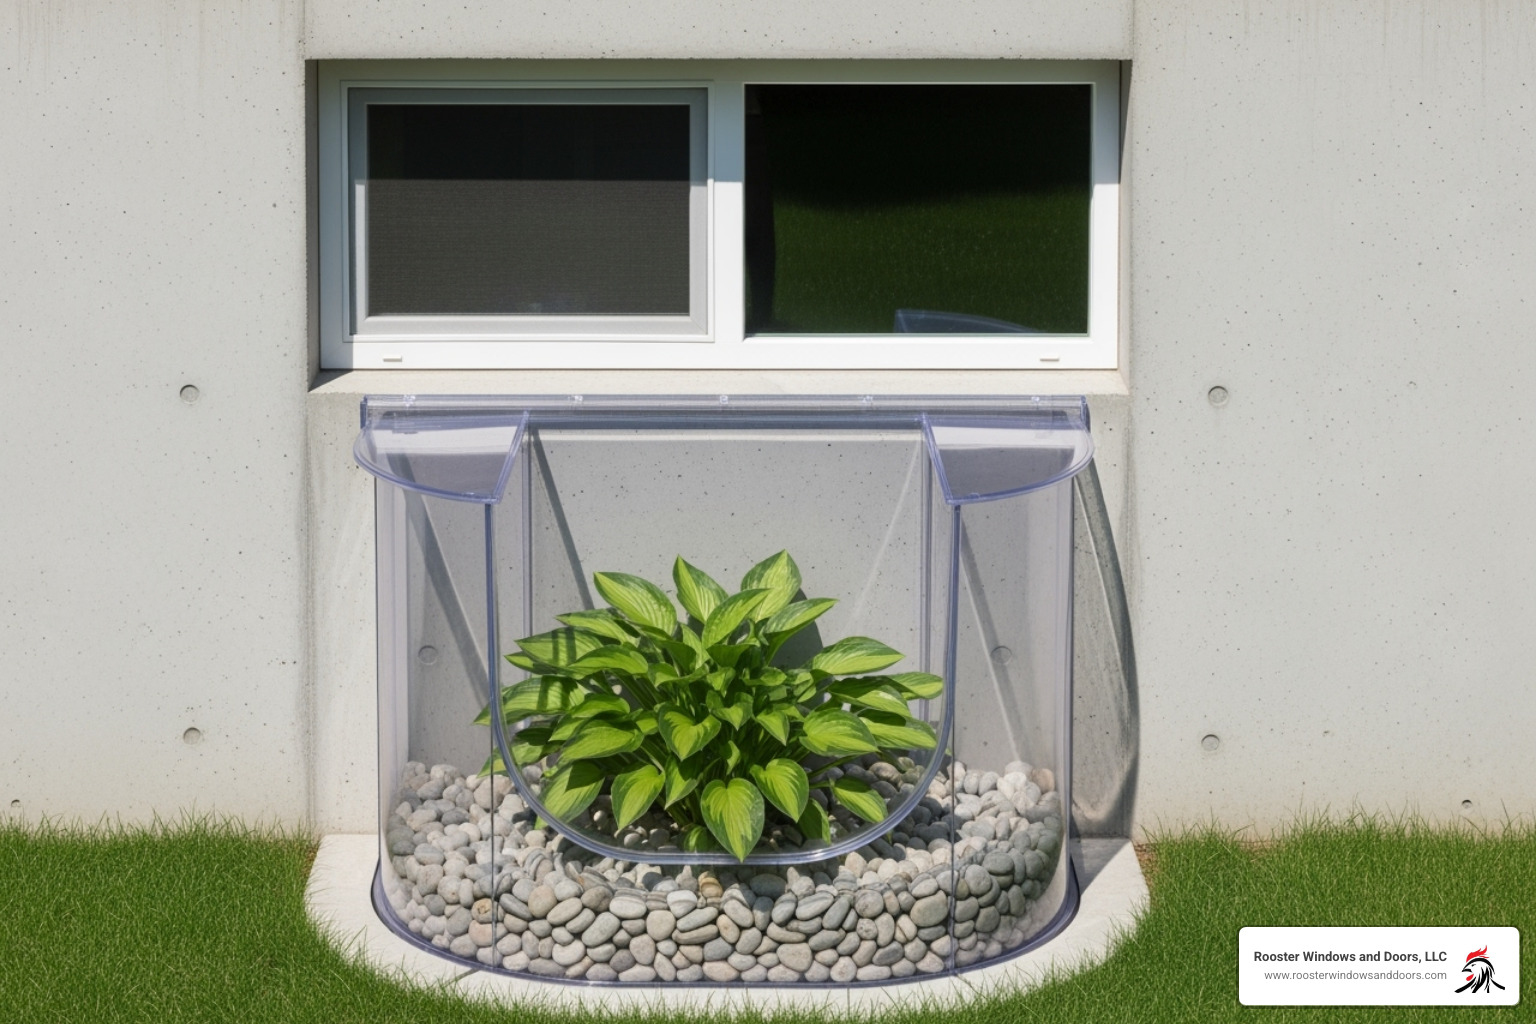
Installing a window well with drainage is essential for any window below grade. The well allows light in and prevents soil pressure. Crucially, the well needs proper drainage connected to your home’s drainage system or a sump pump to prevent standing water.
For egress windows, the well must be large enough for the window to open fully and provide a clear escape route. Our guide on Covers for Basement Windows can help you choose the right protection.
Window maintenance tips include regular cleaning with mild detergent, annual inspection of seals, checking for drafts, and lubricating moving parts. These small steps will keep your new window performing for decades.
Frequently Asked Questions about Basement Window Installation
Here are answers to some of the most common questions from homeowners.
Is replacing a basement window a difficult DIY project?
How to install new basement window projects are typically beginner to intermediate DIY work that can be done in a few hours. The difficulty depends on the wall type. Replacing a window in a wood-framed opening is straightforward.
Concrete foundations are more challenging, requiring specialized tools like concrete screws (Tapcons), a hammer drill, and more patience for a proper seal.
When should you call a professional? If you find significant rot, structural damage, or severely uneven openings, it’s wise to get expert help. For peace of mind, our team offers expert installation services. You can find qualified Window Installers Near Me to ensure a flawless project.
What are egress window requirements?
Egress windows are life-saving emergency exits required by building codes when converting a basement into a bedroom or living area.
Requirements are specific: a minimum opening size of 5.7 square feet, a height of at least 24 inches, and a width of at least 20 inches. The bottom of the opening can’t be more than 44 inches from the interior floor.
If the window is below grade, you need a properly sized window well that allows the window to open fully. If the well is deeper than 44 inches, a ladder is required.
Local code variations exist, so always check with your building department. Our team specializes in Egress Window Installation and understands local codes to ensure your basement is safe.
How do I maintain my new basement window?
Modern basement windows are low-maintenance, but regular care ensures they function well for decades.
Regular cleaning with mild detergent and water is all that’s needed for the glass and frame. Avoid harsh or abrasive cleaners.
Annual inspections of caulk and seals are important. Look for cracks or gaps and re-caulk as needed to prevent moisture problems.
Check for drafts by holding your hand near the edges on a windy day. Drafts usually indicate it’s time to refresh the caulk or weatherstripping.
For moving parts like sliders, apply a silicone-based lubricant to tracks and hinges once or twice a year to keep them operating smoothly.
These simple steps will ensure your new window provides efficiency and comfort for years.
Your Flawless Finish: When to Call the Pros
Completing a how to install new basement window project yourself is rewarding, saving you money and teaching you new skills.
However, not every installation is suited for a DIY approach. You might encounter unexpected challenges like thick concrete, complex egress window requirements, or significant water damage that exceeds your comfort level or expertise.
Recognizing when to call for professional help is a smart decision. For structural changes, cutting concrete, or installing code-compliant egress windows, the stakes are too high for trial and error.
Professional installation provides peace of mind. You’re investing in expertise, proper tools, and code compliance, ensuring the job is done right. A poor installation can lead to water damage, energy loss, and costly repairs.
For a guaranteed, energy-efficient, and flawless result, the expert team at Rooster Windows and Doors ensures every installation meets the highest standards. We have decades of experience changing basements across the Chicagoland area. From simple replacements to complex solutions, we’re dedicated to bringing light and comfort to your home.
Ready to transform your basement with a professionally installed window? Explore our Basement Window Installation services and find out how we can help brighten your home’s lower level.