Transform Your Home with a Professional-Quality Patio Door Installation
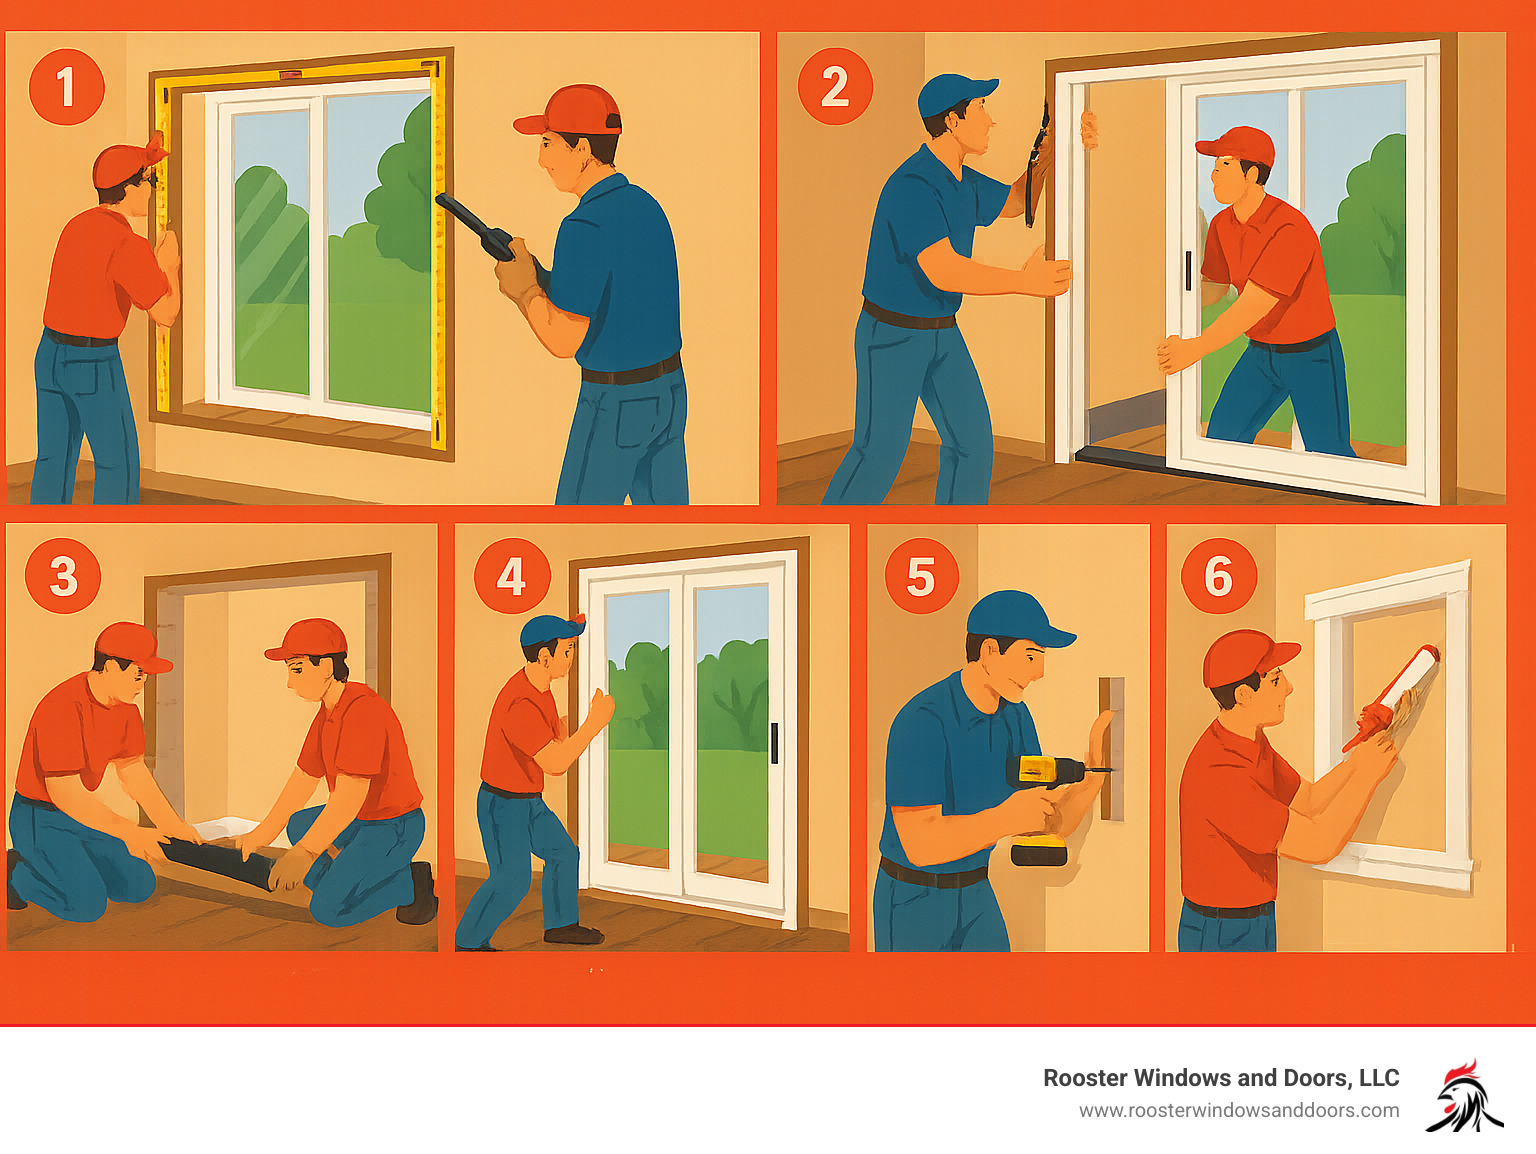
How to install a replacement patio door is a rewarding weekend project that can dramatically improve your home’s energy efficiency, natural light, and outdoor access. Here’s the complete process at a glance:
Essential Steps for Patio Door Installation:
- Measure the rough opening (width, height, diagonal)
- Remove old door panels and frame
- Prepare opening with flashing and sill pan
- Install new prehung door frame with proper shimming
- Secure frame with screws and nails
- Insulate gaps with minimal-expanding foam
- Install trim and finish with caulk
Installing a prehung patio door is an intermediate skill level project that typically takes one weekend to complete. The key to success lies in precise measurements, proper sealing techniques, and ensuring the frame is perfectly plumb, level, and square.
Whether you’re replacing a drafty sliding door or upgrading to neat French doors, this comprehensive guide will walk you through each step of the installation process. You’ll learn about essential tools, critical measurements, weatherproofing techniques, and the finishing touches that make your installation look professional.
I’m Piotr Wilk from Rooster Windows and Doors, and over two decades of residential door and window installations in the Chicagoland area have taught me that understanding how to install a replacement patio door properly is crucial for both functionality and energy efficiency. My experience with countless patio door projects has shown me the common pitfalls to avoid and the professional techniques that ensure a successful installation.

Before You Begin: Essential Prep and Measurements
Proper preparation is the groundwork for success. Before you begin how to install a replacement patio door, gather all necessary tools and materials to avoid interruptions.
Prehung doors are highly recommended for DIY projects. They come as a complete, pre-assembled package including the door slab, frame, hinges, and weatherstripping, which eliminates the complex work of fitting individual components.
Before installation, carefully remove the old trim and casing. If it’s in good condition, you can save it for reuse. After removing the trim, thoroughly inspect the rough opening for rot, water damage, or structural issues. Any damage must be repaired before proceeding to ensure a stable installation.
If you’re considering a complete door makeover or need professional guidance, our comprehensive Door Replacement services can help ensure everything goes smoothly.
Your toolkit should include essential tools like a measuring tape, 4-foot level, drill, caulk gun, utility knife, and reciprocating saw. Safety gear (glasses, gloves, dust mask) is mandatory. Materials include the prehung door, wood shims, exterior silicone caulk, minimal-expanding foam, self-adhering flashing tape, a sill pan, finishing nails, exterior screws, and trim.
Critical Measurements: The First Step in How to Install a Replacement Patio Door
Accurate measurements are critical when learning how to install a replacement patio door. A small mistake here can cause significant problems.
Start by measuring the rough opening. Measure the width at the top, middle, and bottom, and the height at the left, center, and right. Always use the smallest measurement for both width and height when ordering your door to ensure it fits. The rough opening should be about half an inch wider and taller than the door unit to allow room for shimming.
Next, check for level and plumb. Use a level to verify the sill is horizontal (level) and the sides are vertical (plumb). This helpful video explains What Do Level and Plumb Mean? in simple terms.
Finally, check for squareness with diagonal measurements. Measure from the upper left to the lower right corner, and then from the upper right to the lower left. The two measurements should be within an eighth of an inch of each other. If not, you can correct it during the shimming process to ensure the frame is perfectly square.
Your Step-by-Step Guide on How to Install a Replacement Patio Door
This stage involves removing the old door and preparing the opening for the new one. With the right approach, this process can be straightforward.

Safety first! Wear safety glasses and gloves. Patio doors are heavy (75-150+ lbs), so a helper is essential for safety and to prevent damage.
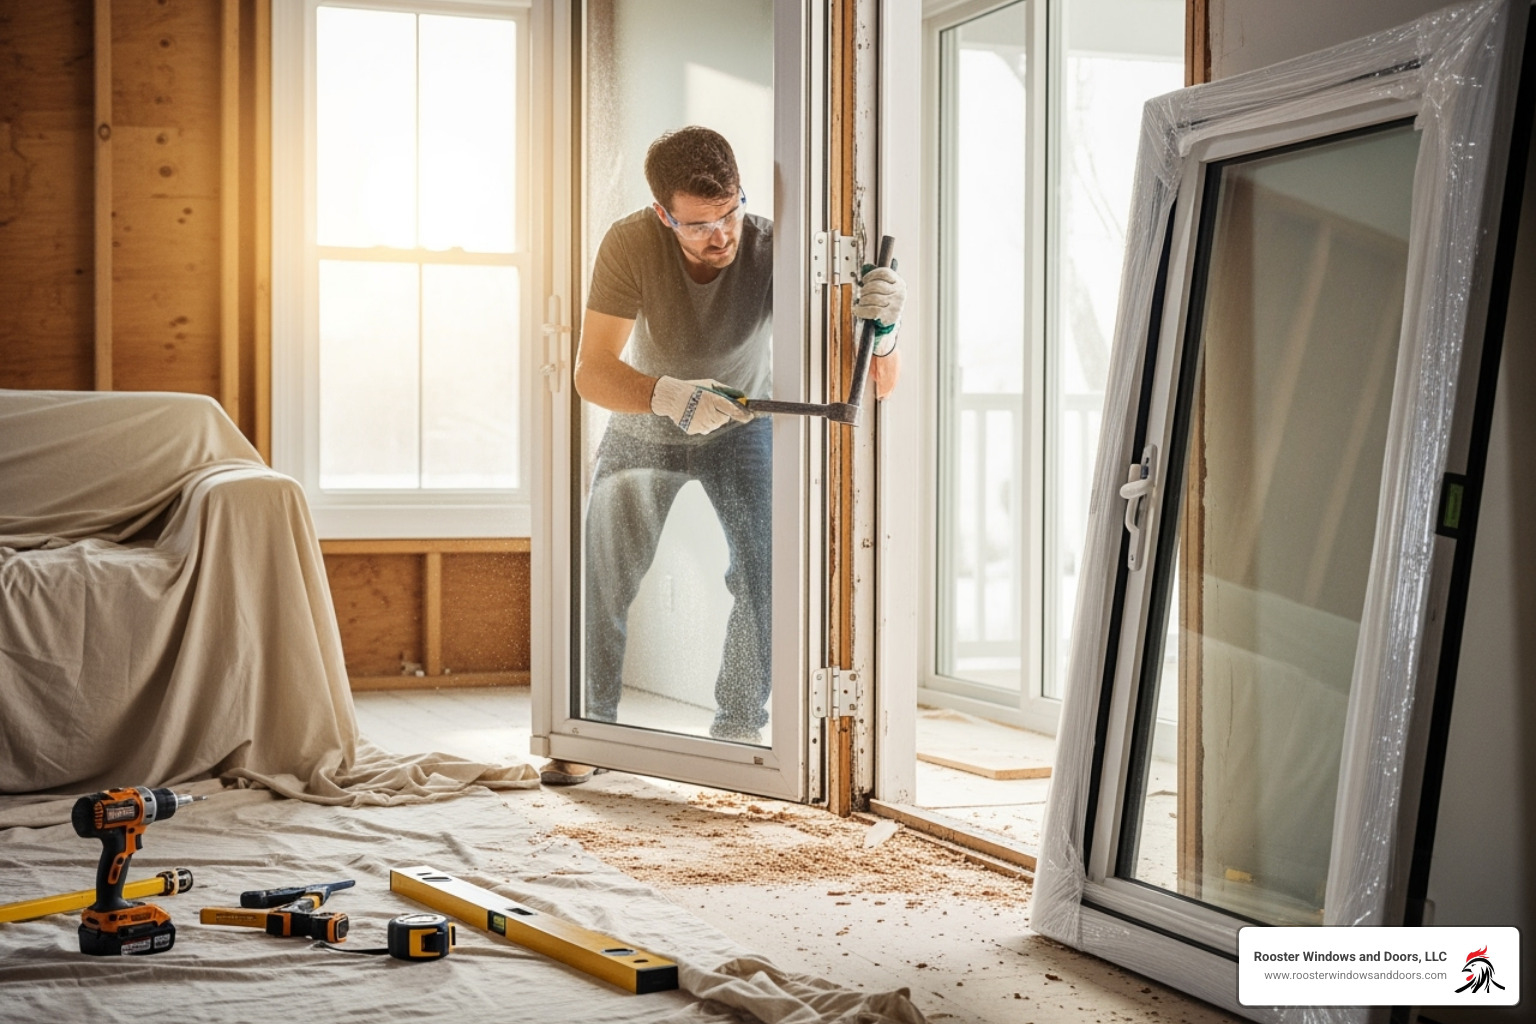
The removal process starts with the door panels. For sliding doors, lift each panel to clear the bottom track and angle it out of the frame. For hinged French doors, remove the hinge pins or unscrew the hinges to free the door slabs.
With the panels out, tackle the old frame. Use a reciprocating saw to cut between the old door jamb and the wall framing. Work carefully around the perimeter to free the frame without damaging the surrounding drywall or siding. Protect the surrounding area with drop cloths to simplify cleanup.
Once all cuts are made, pry the old frame out of the opening. Clear away all debris, old insulation, and fasteners to create a clean slate for the new door.
Preparing the Rough Opening for a Perfect Seal
Properly preparing and weatherproofing the rough opening is crucial for an energy-efficient, long-lasting installation of your replacement patio door.
First, clean out any debris from the opening. If you found any damaged framing during your earlier inspection, repair it now. A solid structure is essential.
Next, install a sill pan. This component catches and directs water outside, protecting your subfloor. Apply a bead of caulk to the bottom of the rough opening and press the sill pan firmly into place.
Then, apply self-adhering flashing tape around the opening to create a continuous waterproof barrier. Start at the sill, overlapping the sill pan, then work up the sides and across the top, overlapping each piece like shingles.
Finally, install a drip edge along the top of the opening. This metal flashing directs water away from the top of the door. For more detailed insights into comprehensive door protection, explore our Door Services.
Setting, Shimming, and Securing the New Door Frame
Now it’s time to install the new door. This step requires patience and precision.
Prepare the threshold by applying two generous beads of silicone caulk along the sill pan where the door frame will sit. This creates a critical watertight seal. For tips on application, this video explains How Do I Use Caulk?.
With your helper, tilt the new frame into place from the outside. Carefully set the bottom of the frame onto the fresh caulk and center it in the opening.
Shimming the frame is a critical step for achieving a perfect fit. Check for plumb, level, and square constantly as you add shims around the perimeter (every 12 inches) and under the threshold (every 6 inches where support is needed). Shims should be snug but not so tight that they bow the frame.
Once aligned, secure the frame with screws through the pre-drilled holes into the wall studs. Add extra screws at each hinge location for security.
Finally, nail through the brickmould (the exterior trim) into the framing using 10d finishing nails every 12 inches. From the inside, nail through the shims into the framing, countersinking all nail heads for a clean finish.
Finishing Touches and Final Adjustments
The final steps involve insulating, trimming, and making adjustments. These finishing touches are key to a professional-quality patio door installation.

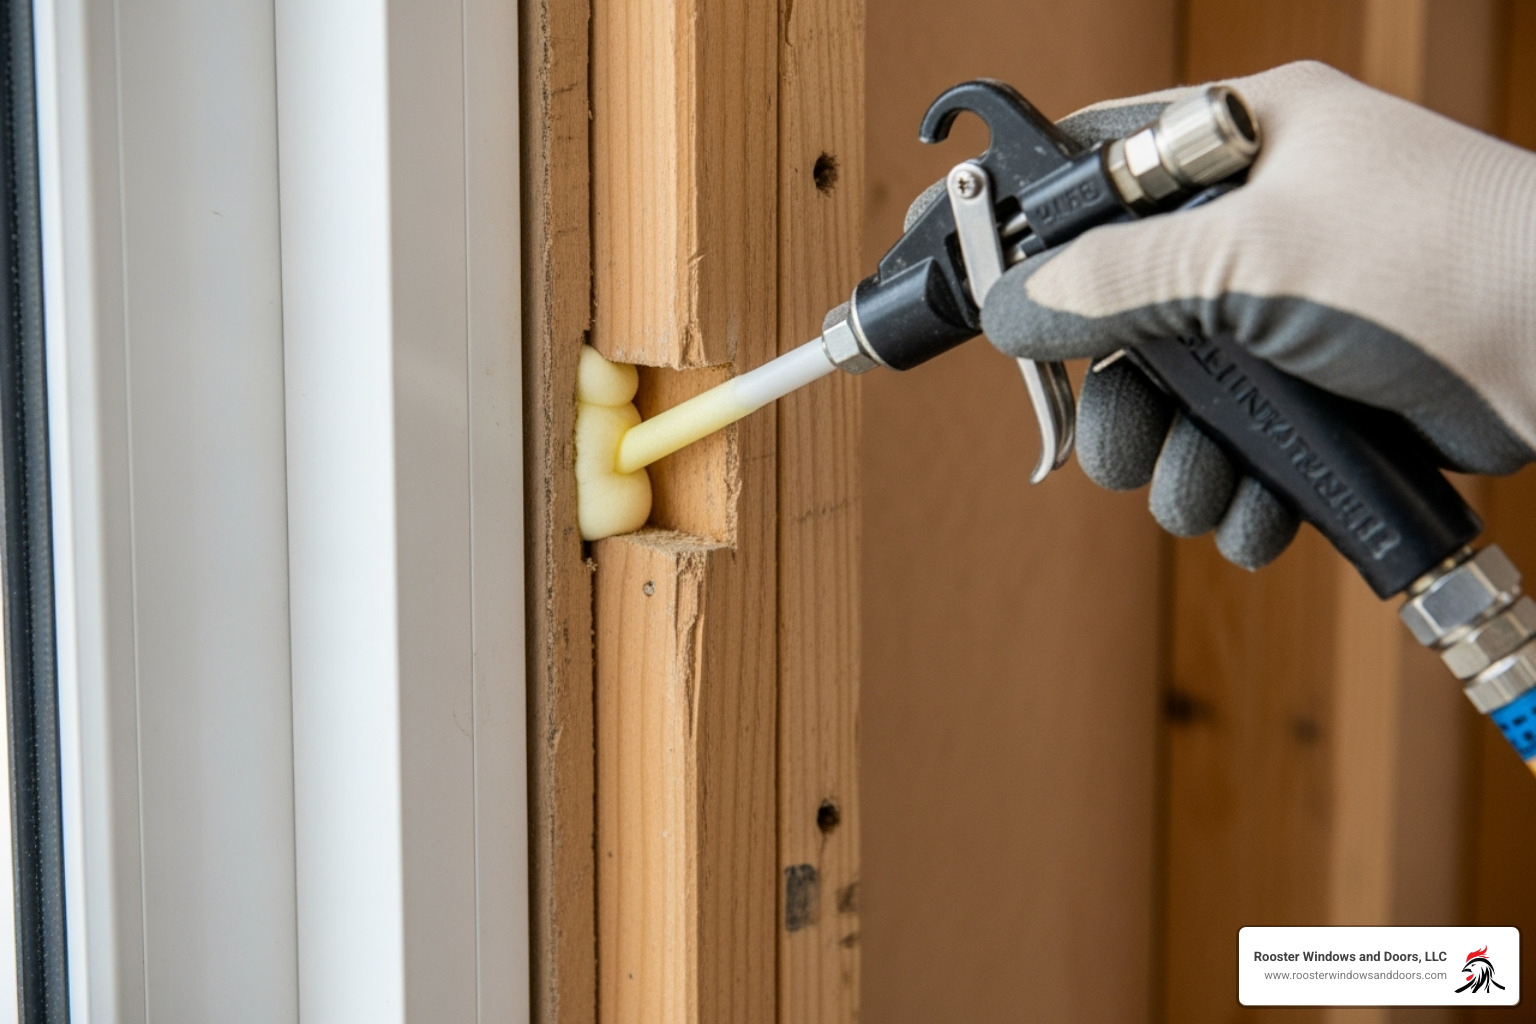
First, insulate the gaps around the frame for energy efficiency. Use minimal-expanding spray foam designed for doors and windows to avoid bowing the frame. This helpful video explains How Do I Use Spray Foam?. Apply the foam carefully around the perimeter, and once cured, trim any excess flush with the wall.
Next is the trim installation. Reinstall the old trim if it’s in good shape, or install new trim for an updated look. Secure it with finishing nails, countersinking the heads for a smooth finish.
Finally, caulk all the seams. Use a paintable caulk for the interior where the trim meets the wall. On the exterior, caulk around the door casing where it meets the siding to create another layer of weatherproofing. Fill all nail holes with wood filler, let it dry, and sand it smooth before painting or staining.
Final Adjustments: The Last Step in How to Install a Replacement Patio Door
These final adjustments ensure your new patio door operates perfectly.
If you removed the door panels, reinstall them carefully. Lift sliding panels back onto their track and reattach hinged doors to the frame.
Once the panels are in, adjust the rollers on sliding doors or fine-tune the hinges on French doors. For sliding doors, use the adjustment screws on the bottom edge of the panels to raise or lower them. The goal is a door that glides smoothly and sits parallel to the frame.
Next, test the locking mechanism. The lock should engage smoothly and securely. If needed, adjust the strike plate on the frame until the lock engages with a firm click.
Install any remaining hardware, such as handles and pulls, following the manufacturer’s instructions.
Give everything a thorough cleaning, removing any caulk residue, fingerprints, or dust. A solution of 10% white vinegar and 90% water works well for cleaning the glass without streaks.
Your door should now operate flawlessly. If you encounter issues later, our guide on How to Keep a Door from Warping offers helpful maintenance tips.
Understanding Different Patio Door Types
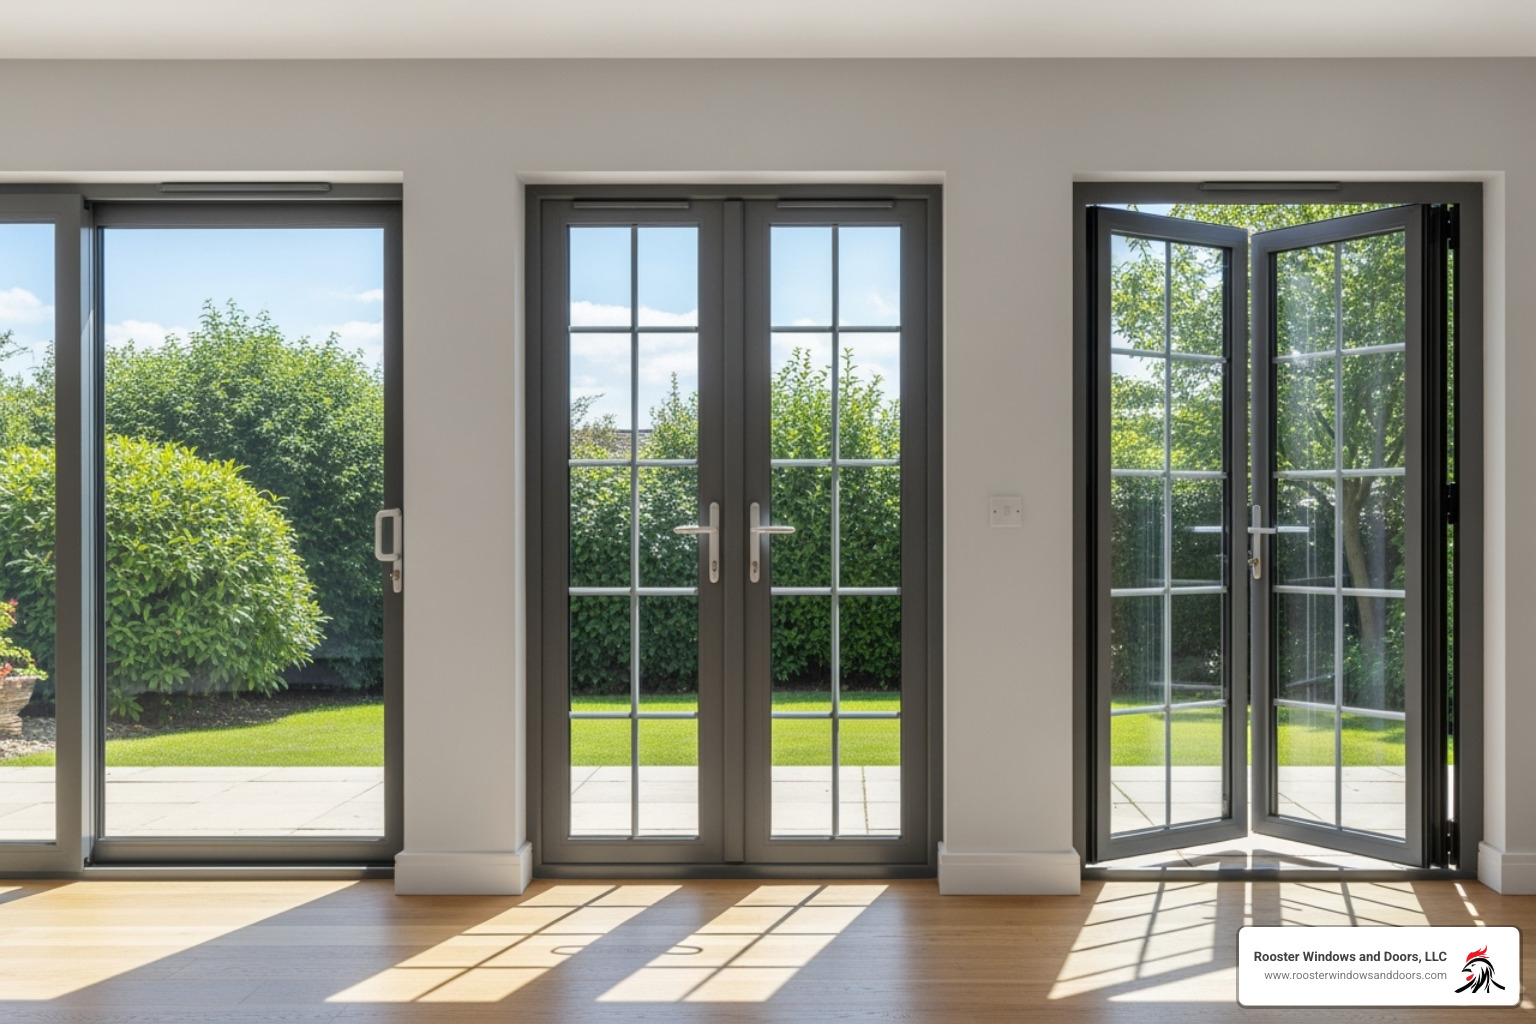
While the fundamental steps of how to install a replacement patio door are similar, different patio door types have unique considerations. For example, installing a sliding door focuses on a level track, while French doors require precise shimming for a proper swing.

Each style offers different benefits and presents different installation challenges.
| Feature | Sliding Doors | French Doors | Bi-fold Doors |
|---|---|---|---|
| Space Usage | Excellent for limited space (panels slide) | Requires clear swing space (in/out) | Requires clear stack space (panels fold) |
| Operation | Glides on a track; typically one fixed panel | Hinged; swing open like traditional doors | Panels fold accordion-style to one side |
| View/Opening | Half to two-thirds opening; clear view | Full opening (when both panels open); neat | Maximum opening for panoramic views |
| Complexity | Intermediate | Intermediate (requires precise shimming for swing) | Advanced (complex tracking and panel alignment) |
Sliding and Hinged (French) Doors
Sliding and French doors are the two most popular choices for DIY installation.
Sliding doors are functional and ideal for homes where space is limited. The key to their installation is ensuring the track is perfectly level for smooth operation. The roller adjustments are also critical for an effortless glide. If you’re weighing your options, our detailed comparison of French Doors vs. Sliding Doors can help you decide.
French doors offer a classic, grand entrance. These hinged doors can open inward or outward. Their installation demands precision shimming on both the hinge and latch sides to ensure the doors swing and latch correctly without sticking or binding. The result is a timeless look with smooth operation. For more insights, check out our guide on What are French Doors?.
While multi-slide and bi-fold doors offer more dramatic openings, their complex tracking systems are typically best left to professionals. For any door type, precise installation is the key to long-term performance and energy efficiency.
Frequently Asked Questions about Patio Door Installation
Here are answers to common questions about patio door installation.
What is a prehung door and why should I use one?
A prehung door is a complete, self-contained unit. It includes the door slab already mounted in its frame, with hinges and weatherstripping pre-installed. This factory-assembled package is perfectly aligned and ready to install.
I always recommend prehung doors for DIYers because they eliminate the most technical work, such as cutting hinge mortises and fitting the door to the frame. This simplifies the how to install a replacement patio door project, saving significant time and ensuring a better fit. The convenience and quality make prehung doors a worthwhile investment.
How long does it take to install a replacement patio door?
For most DIYers, plan for a full weekend. A typical installation takes 4 to 8 hours. A straightforward replacement of a same-sized door might take a single day, but it’s wise to reserve a second day in case you encounter issues like damaged framing or an out-of-square opening.
Project complexity, your skill level, and whether you have a helper will all affect the timeline. A careful, unhurried approach is better than a rushed job. For more guidance on exterior door projects, check out our article Doorway to DIY: Installing Your Own Exterior Door.
Can I install a patio door by myself?
While it’s a feasible DIY project for those with intermediate skills, you should not attempt it alone.
The heavy lifting is a major factor. Patio doors can weigh 150 pounds or more, making a helper essential for safety and to avoid damaging the new unit.
You’ll also need solid technical skills for measuring accurately, shimming for a perfect fit, and creating a weatherproof seal. These steps require patience and attention to detail.
Unexpected issues like rotted framing or structural problems can also add complexity. Be honest about your skill level and available help. If you have a reliable partner and the right tools, it’s a great project. If you feel uncertain, calling a professional ensures the job is done right and often comes with a warranty.
Your Doorway to a Brighter Home
Congratulations on completing a rewarding DIY project. By following these steps, how to install a replacement patio door is an achievable goal that adds significant value to your home.
You’ve done more than just replace a door; you’ve improved your home’s energy efficiency, which can lead to lower heating and cooling bills. The increased natural light and improved access to the outdoors improve your home’s beauty, comfort, and functionality.
Flawless installation is the key to open uping these benefits. Every step, from precise measurements to careful weatherproofing and final adjustments, ensures your door will perform beautifully for years.
Of course, not everyone has the time or confidence for this project. At Rooster Windows and Doors, we have provided professional, energy-efficient installations across the Chicagoland area for over two decades. Our team handles every detail with precision, from Antioch to Wheaton.
If you’re considering professional installation, choosing the right contractor is critical. Our guide on Doorway to Success: Choosing the Right Contractor for Your Custom Entry Door can help you make an informed decision.
Ready to transform your home? We’d love to help you bring more light and comfort into your space. Explore our professional Patio Door Installation services and find how we can make your vision a reality.