Why Door Trim Installation Transforms Your Home’s Look
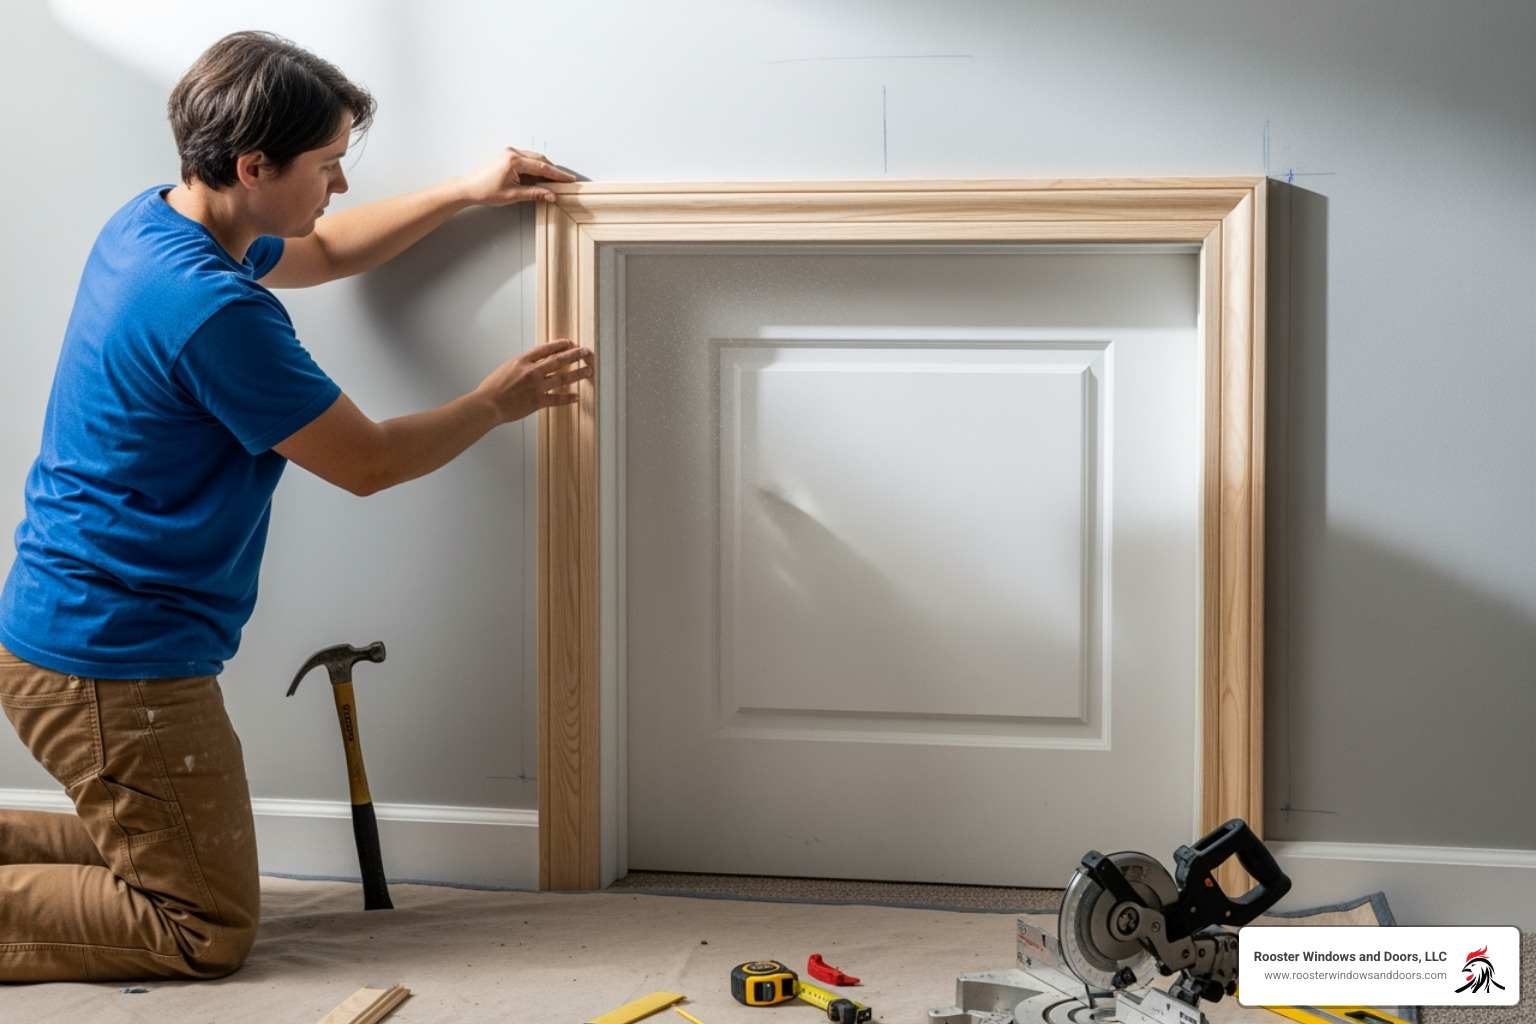
Door trim installation is one of the most impactful DIY projects for instantly upgrading your home’s appearance. Whether you’re dealing with outdated trim or bare door frames, new casing can transform a room’s aesthetic and add significant value to your property.
Quick Answer for Door Trim Installation:
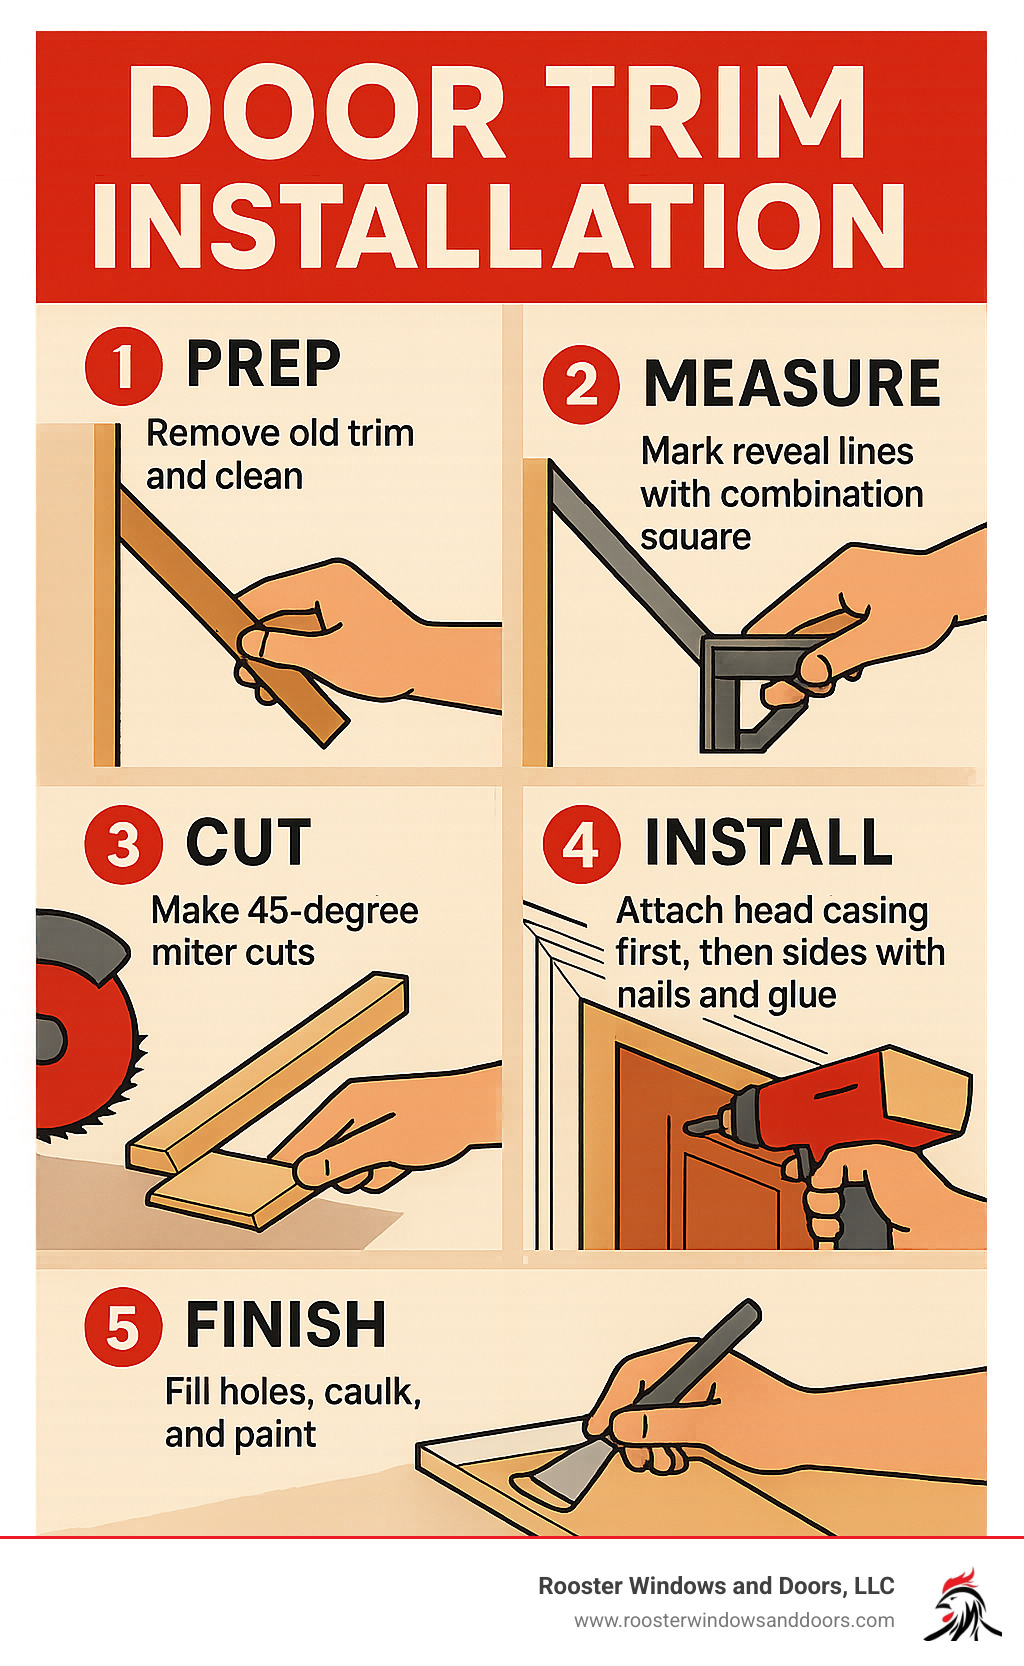
- Prep – Remove old trim and clean the area
- Measure – Mark a 1/8″ to 1/4″ reveal on door jambs
- Cut – Make precise 45-degree miter cuts for corners
- Install – Attach head casing first, then side pieces with nails and glue
- Finish – Fill nail holes, caulk gaps, and paint or stain
While the process might seem intimidating, it’s a manageable afternoon project for most DIYers. The key is that precision matters more than speed; careful measurements and cuts ensure a professional finish.
This project is also cost-effective. DIY installation typically costs $35 to $100 in materials per door, compared to $100 to $250 for professional installation, offering substantial savings when updating multiple rooms.
I’m Piotr Wilk, and with over two decades of residential door trim installation experience in the Chicagoland area, I’ve learned that the right techniques are crucial. This guide will walk any DIYer, from novice to experienced, through every step to achieve a flawless, professional look.
Gearing Up: Essential Tools and Trim Types
Proper preparation is key to a successful door trim installation. Selecting the right trim and assembling your toolkit beforehand will save you headaches later!
Choosing Your Trim: Styles and Materials
Choosing a trim style is like framing a painting; it defines the doorway’s look and feel.
Mitered joints, with precise 45-degree cuts meeting at the corners, create the seamless, clean lines seen in high-end homes. While they require precision, the professional look is worth the effort.
Butted joints are a simpler, Craftsman style approach where the top piece sits on the side pieces at 90-degree angles. This method, sometimes improved with decorative corner blocks (rosettes), eliminates the need for miter cuts and works well in rustic homes.
Let’s talk materials. Wood trim is a classic choice that can be painted or stained. It’s more expensive and not ideal for high-moisture areas like bathrooms.
MDF trim is a cost-effective alternative with a smooth surface perfect for painting. However, it’s highly susceptible to moisture damage and will swell or warp if exposed to water.
For high-moisture areas, PVC trim is the best choice. It’s waterproof, rot-proof, and insect-resistant, making it ideal where moisture resistance is the top priority.
To match trim to your home’s style, aim for consistency with the existing trim throughout your house to create a cohesive look.
Your Door Trim Installation Toolkit
Having the right tools makes the project more enjoyable and ensures better results. These essentials will set you up for success.
Your miter saw is the most important tool. A powered miter saw is highly recommended over a hand saw and miter box for clean, accurate 45-degree cuts.
A tape measure, level, and combination square are essential for accuracy. Remember the mantra: “Measure twice, cut once.”

For fastening, a nail gun (brad nailer) is faster and leaves smaller holes, but a hammer and nail set also work well.
Wood glue creates strong mitered corners, while finishing nails hold the trim in place as the glue dries. Use shorter nails for jambs and longer ones for wall studs.
Use wood filler for nail holes and paintable caulk for sealing gaps between the trim and walls. Wood filler can be sanded smooth for a flawless finish, while caulk shrinks and cannot be sanded.
Choosing quality tools for best results is a wise investment. Sharp blades and reliable equipment make the work easier and more satisfying.
The Main Event: A Step-by-Step Guide to Door Trim Installation
Follow these detailed steps for a successful door trim installation. Precision is more important than speed for achieving a professional-quality result that will transform your space.
Step 1: Preparation and Measurement
Proper preparation is the foundation for a professional result. If you are replacing trim, use a pry bar carefully to remove the old pieces without damaging the wall. Pull any remaining nails and scrape away old caulk.
Cleaning the work area is crucial. Ensure the door frame and wall are clean and dry for proper adhesion and a smooth finish.
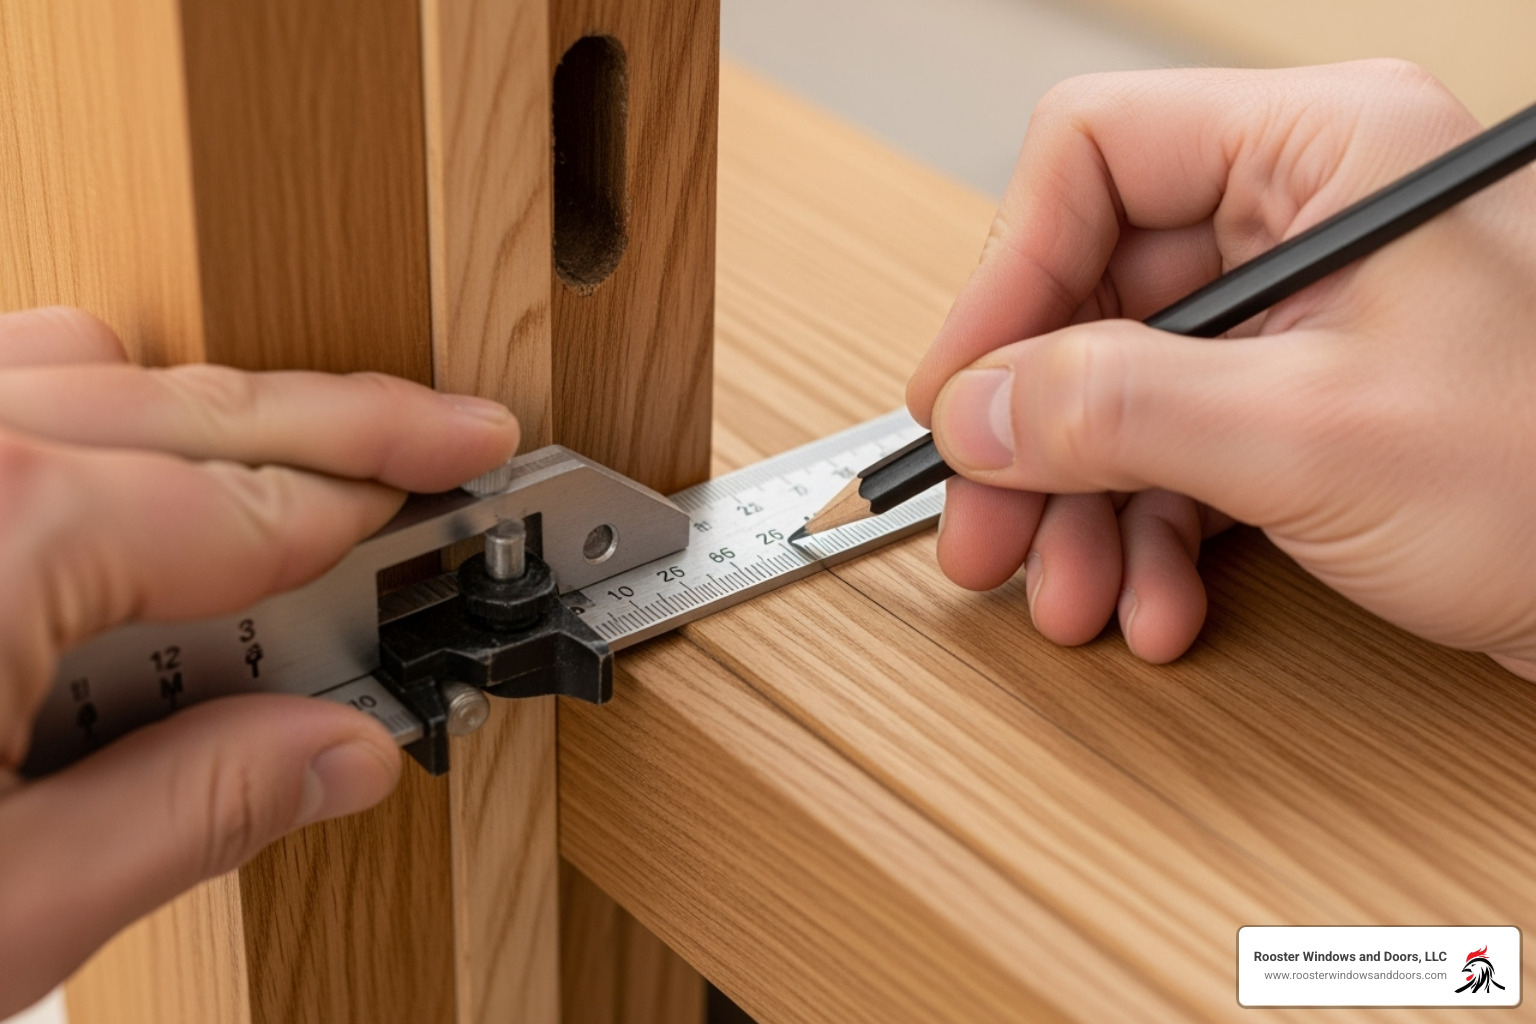
Marking the reveal is a key step. The reveal is the small, consistent gap (typically 1/8 to 1/4 inch) between the door jamb and the trim’s inside edge. It creates a professional look and hides minor imperfections. Use a combination square set to your desired reveal distance to draw a continuous guide line on the jambs and header. This line marks where the inside edge of your trim will sit.
Step 2: Cutting Trim for a Perfect Fit
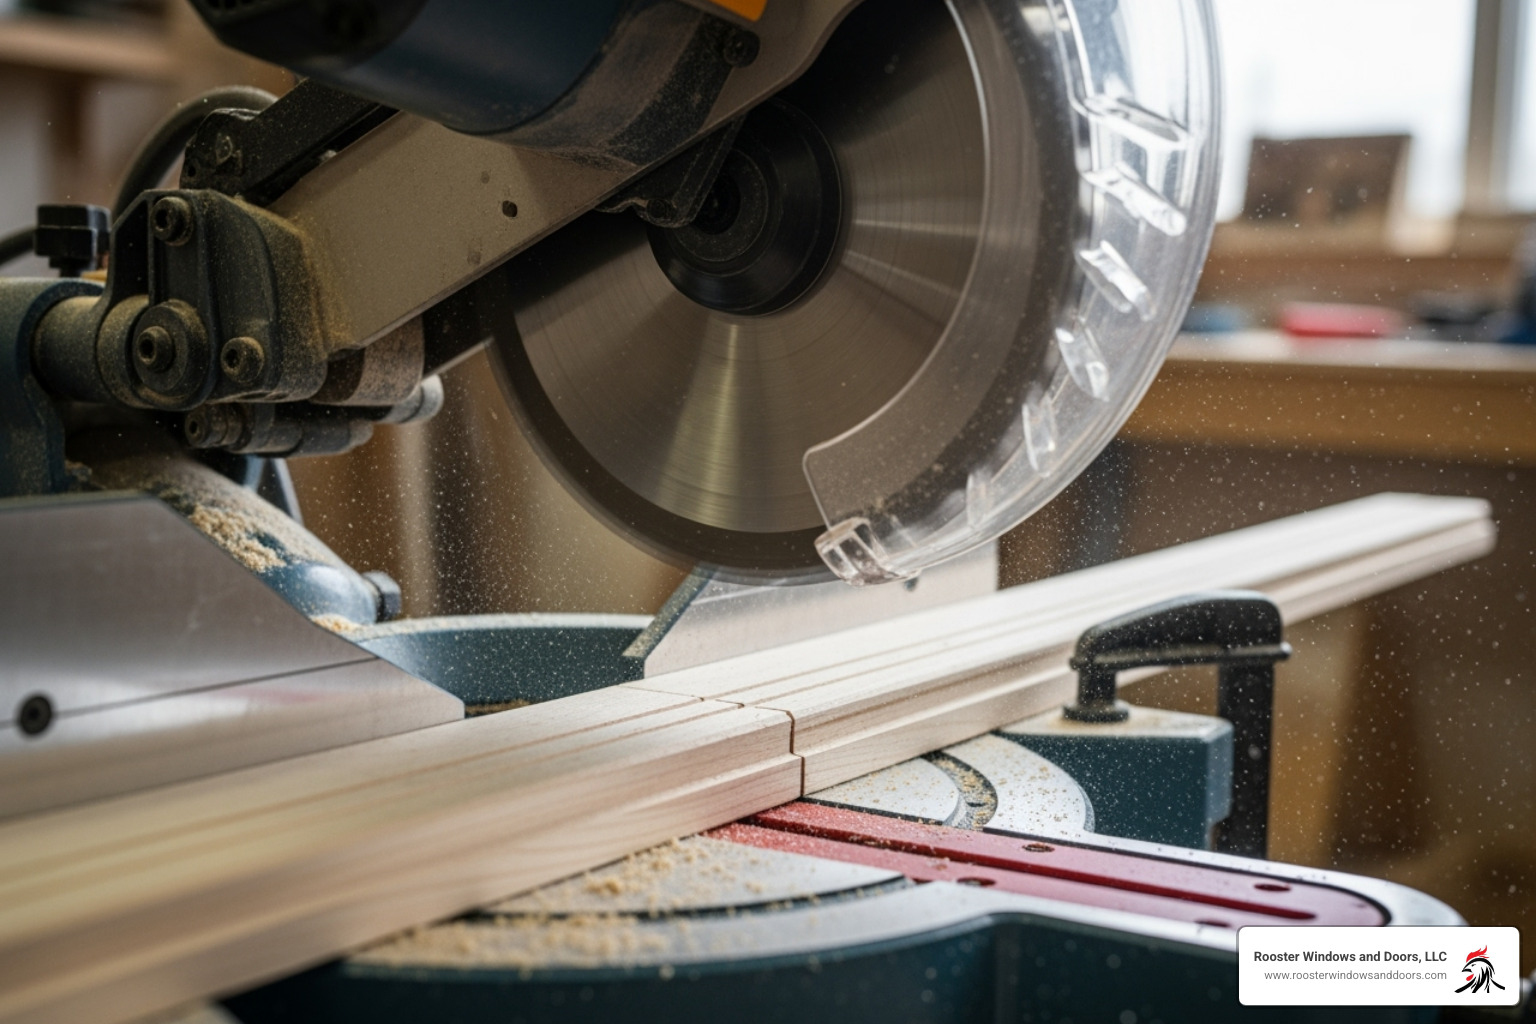
Accurate cuts with your miter saw are the secret to tight, professional joints.
To cut the head casing, measure the distance between the vertical reveal lines. This is the inside length of your head piece. Set your miter saw to a 45-degree angle and make the first cut. Pro tip: Measure from the short point of the miter cut to your desired length, then make the second 45-degree cut (opposite angle). Always cut slightly long; you can trim it down, but you can’t add wood back!
For the side casings, hold a piece against the frame, aligned with the reveal line. Mark the top where it meets the head casing’s reveal line and the bottom at the floor. Make the 45-degree miter cut at the top and a 90-degree cut at the bottom. Measure each side individually, as they may differ. Always measure twice, cut once. If you’re new to a miter saw, practice on scrap wood first.
Step 3: Attaching the Trim
For a secure, long-lasting door trim installation, use both wood glue and finishing nails. The nails provide an immediate hold while the glue creates a strong, permanent bond.
Install the head casing first. Apply wood glue to the mitered ends, position it along your reveal lines, and use a nail gun or hammer to drive finishing nails into the door header every 12-16 inches. Avoid nailing into the header stud directly above the door opening, as seasonal movement can crack joints.
To install the side casings, apply wood glue to the mitered top end and position it along the reveal line, ensuring the mitered corner joins perfectly with the head casing. Nail the side casing to the jamb every 12-16 inches. Use longer nails to secure the outer edge to the wall studs. Use shims behind the casing if the wall is uneven to ensure a flush fit.
For extra-tight mitered corners, apply wood glue to the joint before assembly. You can also drive a small brad nail through the side of the miter to pull the joint together securely.
Achieving a Flawless Finish
The final touches separate an amateur job from a professional one. This stage involves filling holes, sealing gaps, and painting or stain for a polished look that will make your door trim installation look seamless.
Filling, Caulking, and Sanding
First, use a nail set to sink any nail heads slightly below the trim surface. For filling nail holes, use wood filler, not caulk. Caulk shrinks and cannot be sanded, while wood filler creates a smooth, durable, and paintable surface. Slightly overfill each hole with wood filler. Once dry, sand it flush with fine-grit sandpaper and wipe away the dust.
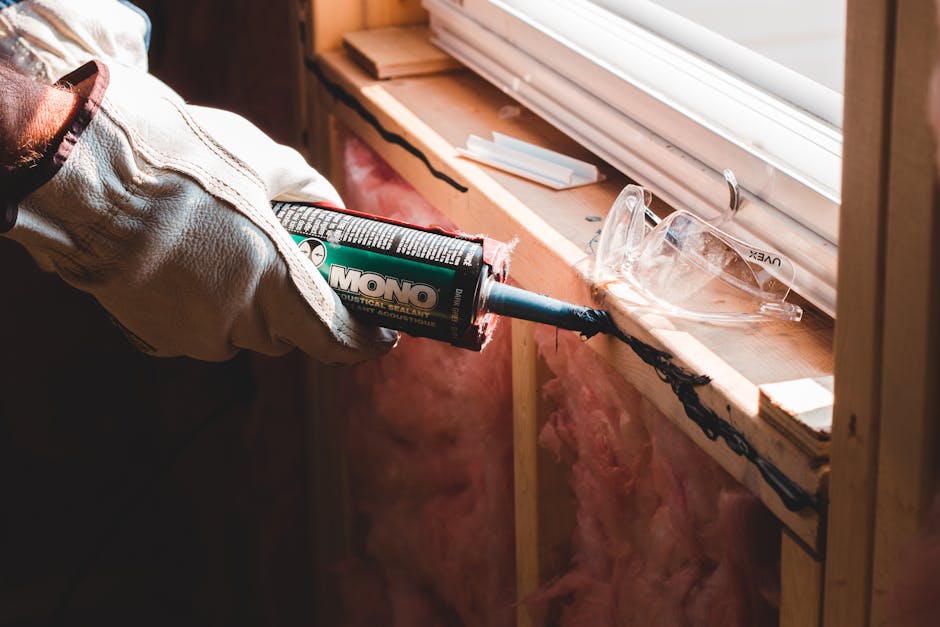
Next, apply a thin bead of paintable caulk where the trim meets the wall and the door jamb. Smooth the bead with a wet finger for a seamless transition. Crucial tip: Never caulk mitered joints. A tight fit should come from accurate cuts. Caulking looks messy and will eventually crack.
Painting or Staining Your New Trim
Ensure caulk is fully cured and the surface is clean and dust-free before you begin. When painting, always apply a high-quality primer first, especially on MDF trim, to seal the surface and ensure an even finish.
For the smoothest finish, brush or spray your trim instead of using a roller, which can leave a stippled texture. A quality brush will create clean, streak-free lines. Apply multiple thin coats of paint, allowing proper drying time between each, for a more durable and professional-looking finish.
If staining wood trim, follow the product directions, wipe off excess stain for even color, and apply a protective clear coat.
To save time, you can prime and paint trim pieces before installation. You will still need to touch up nail holes and caulk lines afterward.
Troubleshooting Common Challenges
Even with careful planning, you may encounter issues like uneven walls or imperfect joints. These common challenges have proven solutions to help you handle them like a pro.
Your Guide to a Flawless Door Trim Installation on Uneven Surfaces
Perfectly straight walls and jambs are rare, especially in older homes. Here’s how to handle imperfections for your door trim installation.
For small gaps between the trim and wall, a bead of paintable caulk provides a seamless look. For larger gaps due to bowing walls, insert wood shims behind the trim at the nailing points before fastening. This creates a flat surface and prevents the trim from bowing. Nail through the trim and shim into the stud.
For severely uneven walls, scribing is an advanced technique for a perfect fit. Use a compass to trace the wall’s contour onto the back of the trim, then sand or cut away the excess material.
If the door jamb is uneven, you may need to adjust it. If it protrudes past the wall, plane it flush. If it’s recessed, use shims behind the trim where it meets the jamb. Minor differences (1/8 inch or less) can often be hidden by the trim’s flexibility or filled with caulk. A significantly out-of-plumb frame may need to be adjusted.
Fixing Gaps and Misaligned Miters
Imperfect miter joints are a common issue, even for experienced carpenters.
Small gaps in miter joints can sometimes be closed with a gentle tap from a hammer (using a wood block for protection). Alternatively, use a block plane to shave a small amount from the back of the joint, allowing the front edges to meet tightly. For stubborn small gaps, force wood glue into the joint and secure it with a brad nail angled across the miter.
Do not use caulk to fill miter joints; it will crack and look unprofessional.
For significantly misaligned miters, the only proper fix is recutting the piece. A precise cut will always look better than a patched error. Patience is key. Addressing these issues properly will ensure your door trim installation looks professional.
DIY vs. Professional Installation: Cost and Considerations
Deciding between a DIY project and hiring a professional depends on your budget, timeline, and skill level. Here’s a breakdown to help you choose the best path for your project.
Cost and Effort: A DIY vs. Professional Door Trim Installation Breakdown
The primary factor for many is cost. A DIY door trim installation costs $35 to $100 per door in materials. Professional installation ranges from $100 to $250 per door, including labor. The savings from a DIY project add up quickly over multiple doors.
Time is also a factor. A beginner can typically trim one door in an afternoon. Expect a learning curve; your first door will take the longest. The required skill level is beginner-friendly, but precision is essential for professional-looking miter cuts. It’s an ideal project for detail-oriented DIYers.
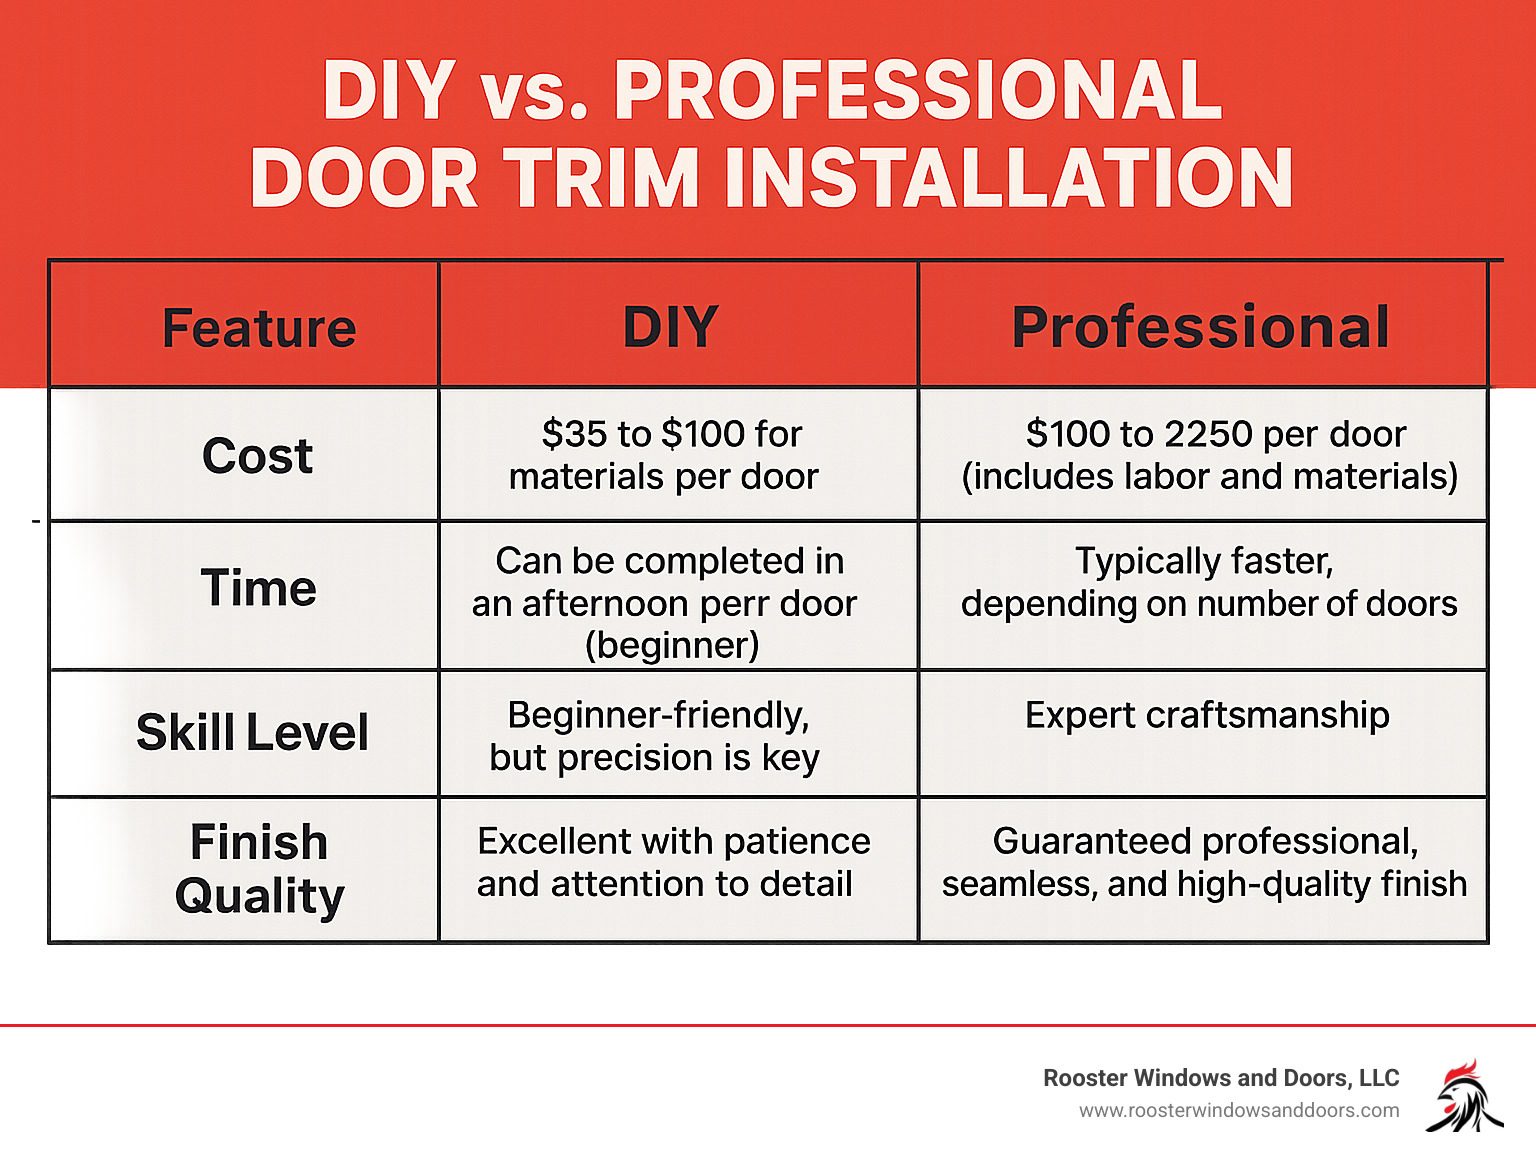
Regarding finish quality, a patient DIYer can achieve excellent results. However, a professional’s experience guarantees consistently tight joints and a seamless look.
When should you hire a professional? Consider a pro for expensive custom trim, complex architectural challenges, or if you lack the time. Hiring a professional also provides peace of mind and guaranteed results.
This is where we at Rooster Windows and Doors come in. Throughout the Chicagoland area – from Libertyville to Joliet, and everywhere in between including Naperville, Schaumburg, and Waukegan – our team specializes in providing high-quality, flawless, and energy-efficient installations. We understand that every home is unique, which is why we offer a wide variety of options to suit your specific needs and style preferences.
While door trim installation is an accessible DIY project, professional installation guarantees a perfect finish without the learning curve.
Frequently Asked Questions about Door Trim Installation
What’s the difference between installing interior and exterior door trim?
The main difference between interior and exterior door trim installation is exposure to the elements. Interior trim is primarily aesthetic. Materials like wood or MDF are common. The finishing process involves filling holes and caulking gaps for a clean look.
Exterior trim must be durable. Use weather-resistant materials like PVC or treated wood that won’t rot or warp. Installation requires rust-proof fasteners and thorough caulking to seal against water and drafts, preventing damage and energy loss.
How long does it take to install trim on one door?
A beginner can typically complete a door trim installation for one interior door in 3-4 hours. This includes measuring, cutting, installing, and finishing. With experience, the time can be reduced to under two hours per door. It’s important to be patient with the first one to learn the process correctly.
Should I use nails, adhesive, or both to attach door trim?
For the strongest, most professional door trim installation, use both nails and construction adhesive.
Construction adhesive, applied to the back of the trim, creates a powerful, permanent bond with the wall and jamb.
Finishing nails provide mechanical fastening and hold the trim securely in place while the adhesive cures, ensuring tight mitered corners.
Using both creates a bond that withstands seasonal expansion and contraction, maintaining a professional look for years.
Conclusion
Door trim installation is a high-impact DIY project that delivers remarkable results for a modest investment of time and money, changing an ordinary doorway into a polished feature. This guide has covered everything from selecting materials to achieving a flawless finish. The project is accessible even for beginners; professional-looking results are achievable by being patient, precise, and attentive to detail.
The financial benefits are significant, with DIY costs at $35 to $100 in materials per door versus professional rates of $100 to $250. You’ll also gain valuable skills and confidence for future projects.
However, a DIY project isn’t for everyone. If you lack the time, tools, or desire, or simply want a guaranteed perfect result for a challenging doorway, there’s absolutely no shame in calling in the professionals.
At Rooster Windows and Doors, we’ve been perfecting our craft across the Chicagoland area for over two decades. We know that sometimes you want that flawless finish without the learning curve, the potential for mistakes, or the weekend spent hunched over a miter saw. Our team brings the expertise, professional-grade tools, and attention to detail that ensures your door trim looks absolutely perfect the first time.
Whether you choose DIY or our experienced team, you’re investing in your home’s beauty and value. For a flawless, stress-free update to your home, consider our professional door installation services.