Why Installing Replacement Windows Can Transform Your Home
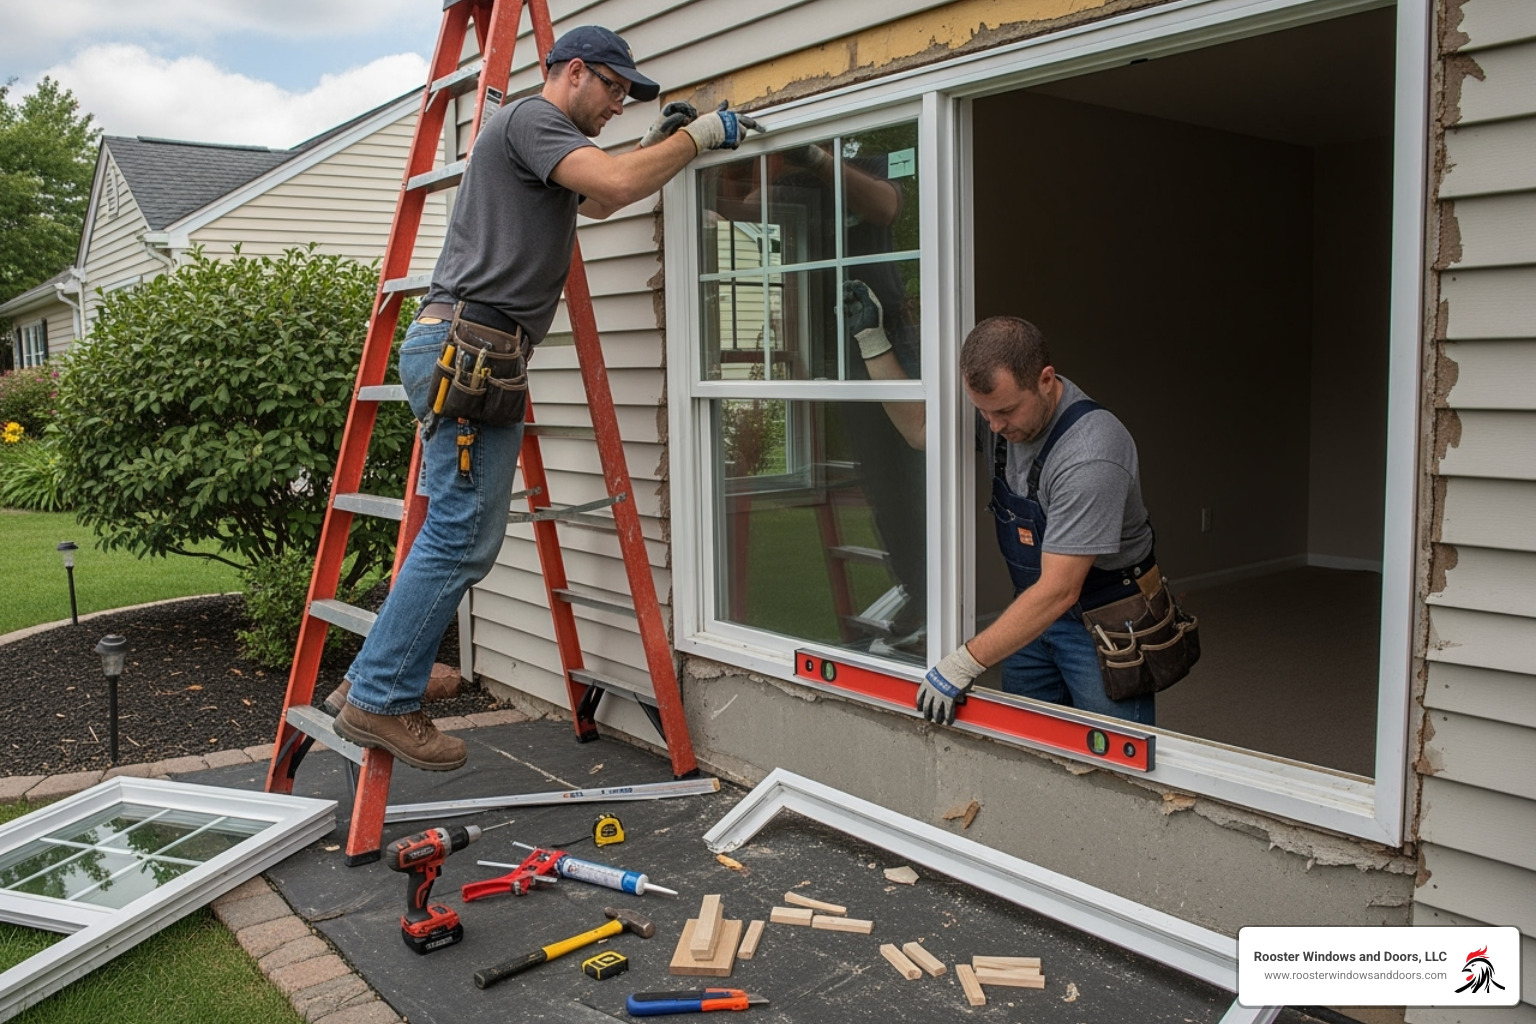
Install replacement windows and you’ll boost your home’s energy efficiency by up to 25%, reduce noise, and increase curb appeal – all while potentially saving hundreds per window in installation costs if you tackle the project yourself.
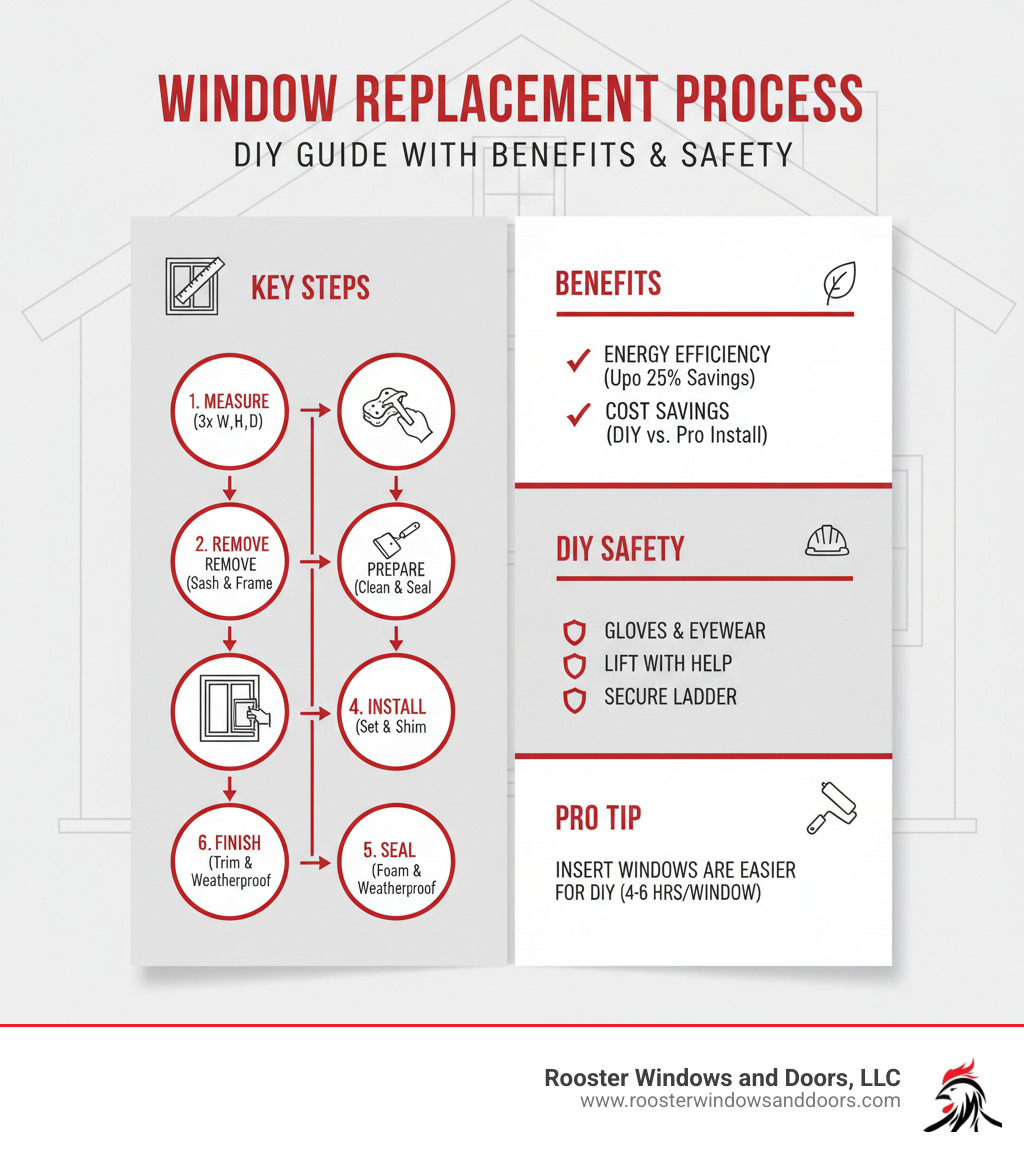
Key Steps to Install Replacement Windows:
- Choose your window type – Insert windows (fit inside existing frame) or full-frame replacement
- Measure accurately – Width, height, and diagonals at three points each
- Remove the old window – Score paint, remove stops and sashes safely
- Prepare the opening – Clean, repair damage, apply flashing tape
- Install the new window – Dry-fit, caulk, set, shim for level and square
- Seal and finish – Use low-expansion foam, install trim, add weatherproofing
Installing replacement windows might seem daunting, but it’s actually a manageable DIY project for intermediate to advanced homeowners. Vinyl replacement windows are low maintenance and energy-efficient due to their insulating properties, and with proper installation techniques, they’ll operate smoothly for years.
The process typically takes 4-6 hours per window on the ground level, though your first installation will likely take longer as you learn the steps. Most homeowners find that insert or pocket replacement windows are more DIY-friendly than full-frame replacements, especially when existing frames are in good condition.
I’m Piotr Wilk, and for over two decades I’ve helped homeowners install replacement windows throughout the Chicagoland area, working on everything from single-family homes to multi-unit apartments. My experience has shown me that while window installation requires attention to detail, it’s definitely achievable with the right guidance and preparation.
Install replacement windows terms to learn:
Before You Begin: Planning Your Window Replacement
Proper planning is the key to a smooth window replacement project. Getting the details right upfront will save you time, money, and frustration. This involves understanding your options, gathering the right tools, and measuring accurately. Let’s walk through each step so you can install replacement windows with confidence.
Choosing Your Replacement Window
When you’re ready to install replacement windows, you’ll face a fundamental choice: insert windows or full-frame replacement. This decision shapes your entire project.
Insert windows (also called pocket windows) are the more popular option for DIY enthusiasts. They slip into your existing window frame, leaving your trim and siding untouched. This method works well when your existing frame is solid and square, allowing for a faster, less expensive installation. The main downside is a slight reduction in glass area.
Full-frame replacement is a more involved process where everything, including the frame, is removed down to the bare wall opening. This approach is necessary if your frames are rotted, warped, or if you want to maximize energy efficiency. While it costs about 15-20% more, it provides a completely fresh start, allowing you to address hidden problems and achieve the best possible seal.
To decide: Inspect your existing frame. If the wood is solid and the window sits square, insert windows are a great choice. If you find soft spots, gaps, or other damage, you should opt for a full-frame replacement.
Most replacement windows today come in vinyl, which offers excellent energy efficiency and virtually no maintenance. You’ll also find options in wood, fiberglass, and aluminum. For a deeper dive into all your choices, check out our comprehensive guide to the best window replacement options.
| Feature | Insert (Pocket) Replacement Window | Full-Frame Replacement Window |
|---|---|---|
| Installation | Fits within existing frame | Replaces entire window, including frame, down to rough opening |
| DIY-Friendliness | More DIY-friendly (moderate skill) | More advanced (intermediate to advanced skill) |
| Time | Faster (4-6 hours per window for ground level) | Slower (more labor-intensive, 4-6+ hours per window) |
| Cost | Generally lower (saves on labor for frame removal and trim replacement) | Higher (15-20% more than insert due to labor and material) |
| Glass Area | Slightly reduced | Potentially larger or same as original |
| Existing Frame Cond. | Must be sound, plumb, and square | Allows for replacement of damaged/rotted frames |
| Disruption | Minimal to interior/exterior finishes | More disruptive (may require replacing interior/exterior trim/siding) |
| Energy Efficiency | Good, if existing frame is sealed | Excellent, with proper sealing and insulation of rough opening |
| Structural Issues | Does not address hidden structural issues | Allows for addressing and repairing hidden structural issues |
Essential Tools and Materials
Nothing kills project momentum like needing a tool you don’t have. Gather everything upfront to work without interruption.
Safety comes first: grab safety glasses and cut-resistant work gloves.
Your key tools for measurement and placement are a quality tape measure and both a 2-foot and 4-foot level. For removal, you’ll need a pry bar, putty knife, and utility knife to carefully dismantle the old window.
For sealing and insulating, have a caulk gun with exterior-grade caulk, low-expansion spray foam (crucial to avoid bowing the frame), and wooden shims. Don’t forget self-adhesive flashing tape for waterproofing.
A cordless drill and a hammer will handle securing the window and trim. Round out your kit with wood filler, sandpaper, a shop vacuum, finish nails, and a nail set. An oscillating saw isn’t essential but makes trim removal much easier.
How to Accurately Measure for Replacement Windows
Here’s where precision pays off. One wrong measurement can lead to costly delays.
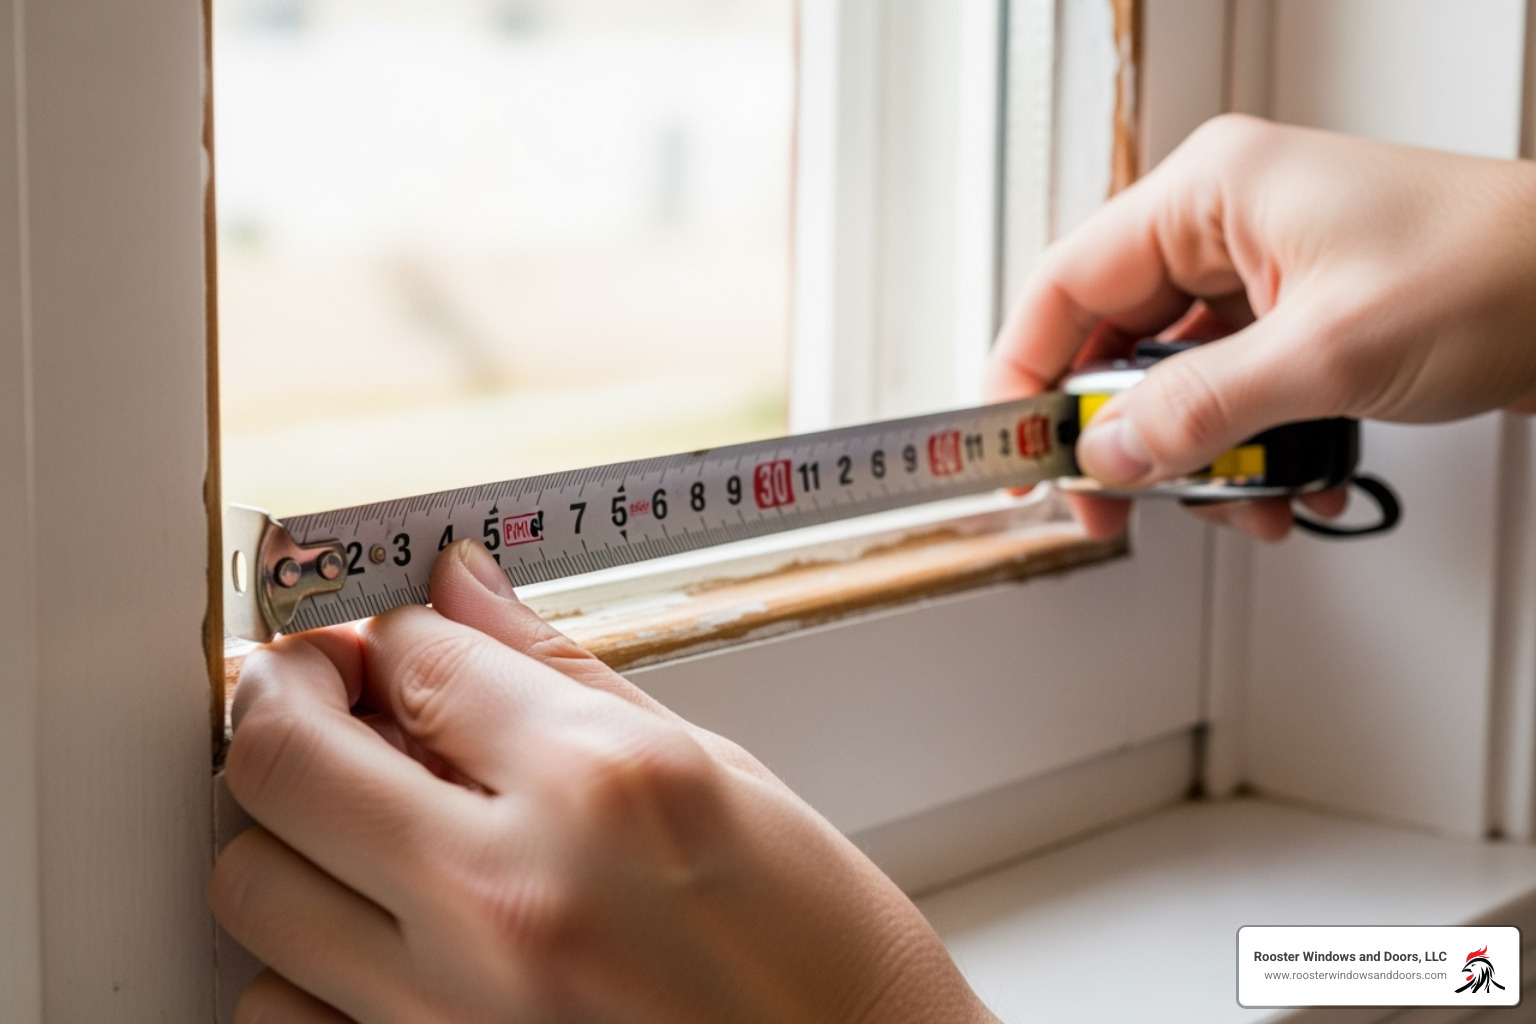
Start with width measurements at three points: top, middle, and bottom of the opening, from jamb to jamb.
Next, measure the height from sill to head jamb at three points: left, middle, and right. Measure from the sill’s highest point.
Always use the smallest measurement from each set of three. When ordering, subtract about 1/2 to 3/4 inch from these smallest measurements to allow room for shimming and adjustments.
Check if your opening is square by measuring both diagonals. If these measurements differ by more than 1/4 to 1/2 inch, your opening is significantly out of square. This might complicate an insert installation and could signal the need for full-frame replacement.
Step-by-Step Guide to Install Replacement Windows
Now for the installation. This is where your planning and preparation pay off. Let’s walk through each step to ensure everything is done right.
Step 1: Safely Removing the Old Window
Patience and the right technique are key to safely removing the old window without damaging surrounding trim.
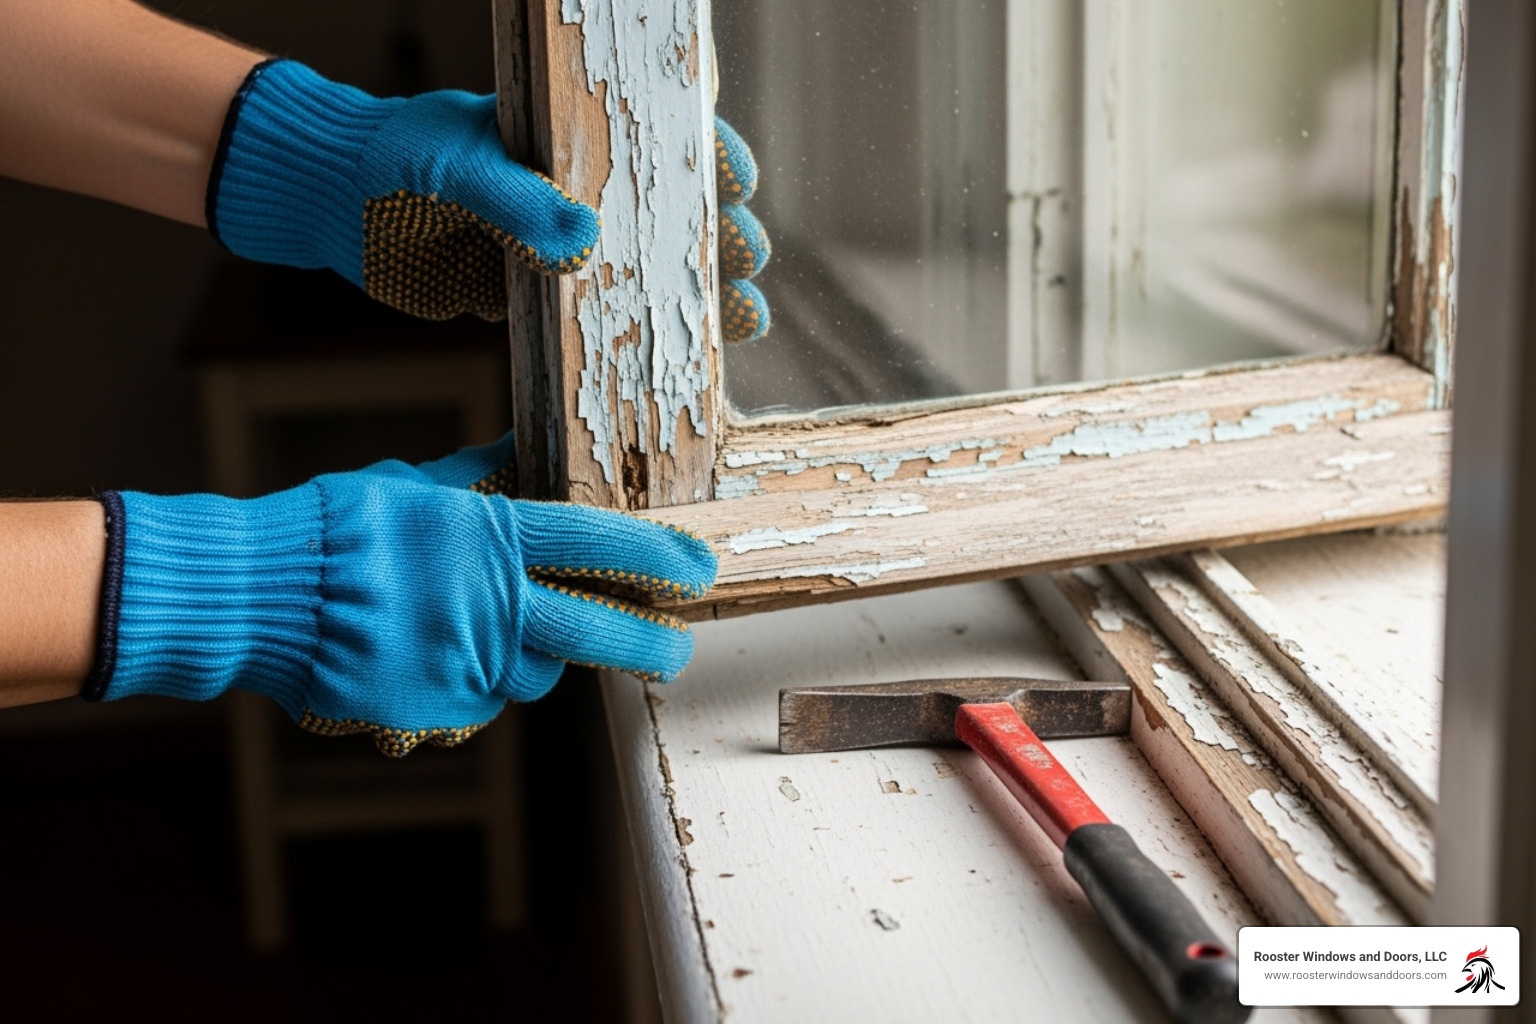
Start by preparing your work area with drop cloths inside and out, and put on your safety glasses and gloves. Scoring paint seals is your first task. Use your utility knife to cut along the edges where paint might be sealing the sashes and stops together. This prevents paint from peeling off surrounding trim.
Now, remove the interior stops – the thin pieces of molding holding the sashes. Use a pry bar and putty knife together to protect the wood while prying. Removing the sashes requires some finesse. Lift the lower sash, tilt it inward or work it out of the side channels, then remove the parting stop to free the upper sash.
When dealing with sash weights or springs, simply cut the cords for old metal weights and remove them. Handle tensioned sash springs with extra care, as they can snap back forcefully. Lead paint safety is critical. If your home was built before 1978, assume lead paint is present. Disturbing it releases hazardous dust. Follow lead-safe work practices or consult a certified professional. The Lead paint information from the EPA provides detailed guidance.
Step 2: Preparing the Rough Opening
With the old window out, you can prepare the opening. A clean, sound opening is the foundation for a great result.
Inspecting for rot and damage is your first task. Probe suspicious areas with a screwdriver; if you find soft or crumbling wood, you have rot that needs to be addressed. Repairing damaged wood can be simple. For extensive rot, cut out the damaged section and replace it with new, treated lumber. Smaller issues can be handled with exterior-grade wood filler.
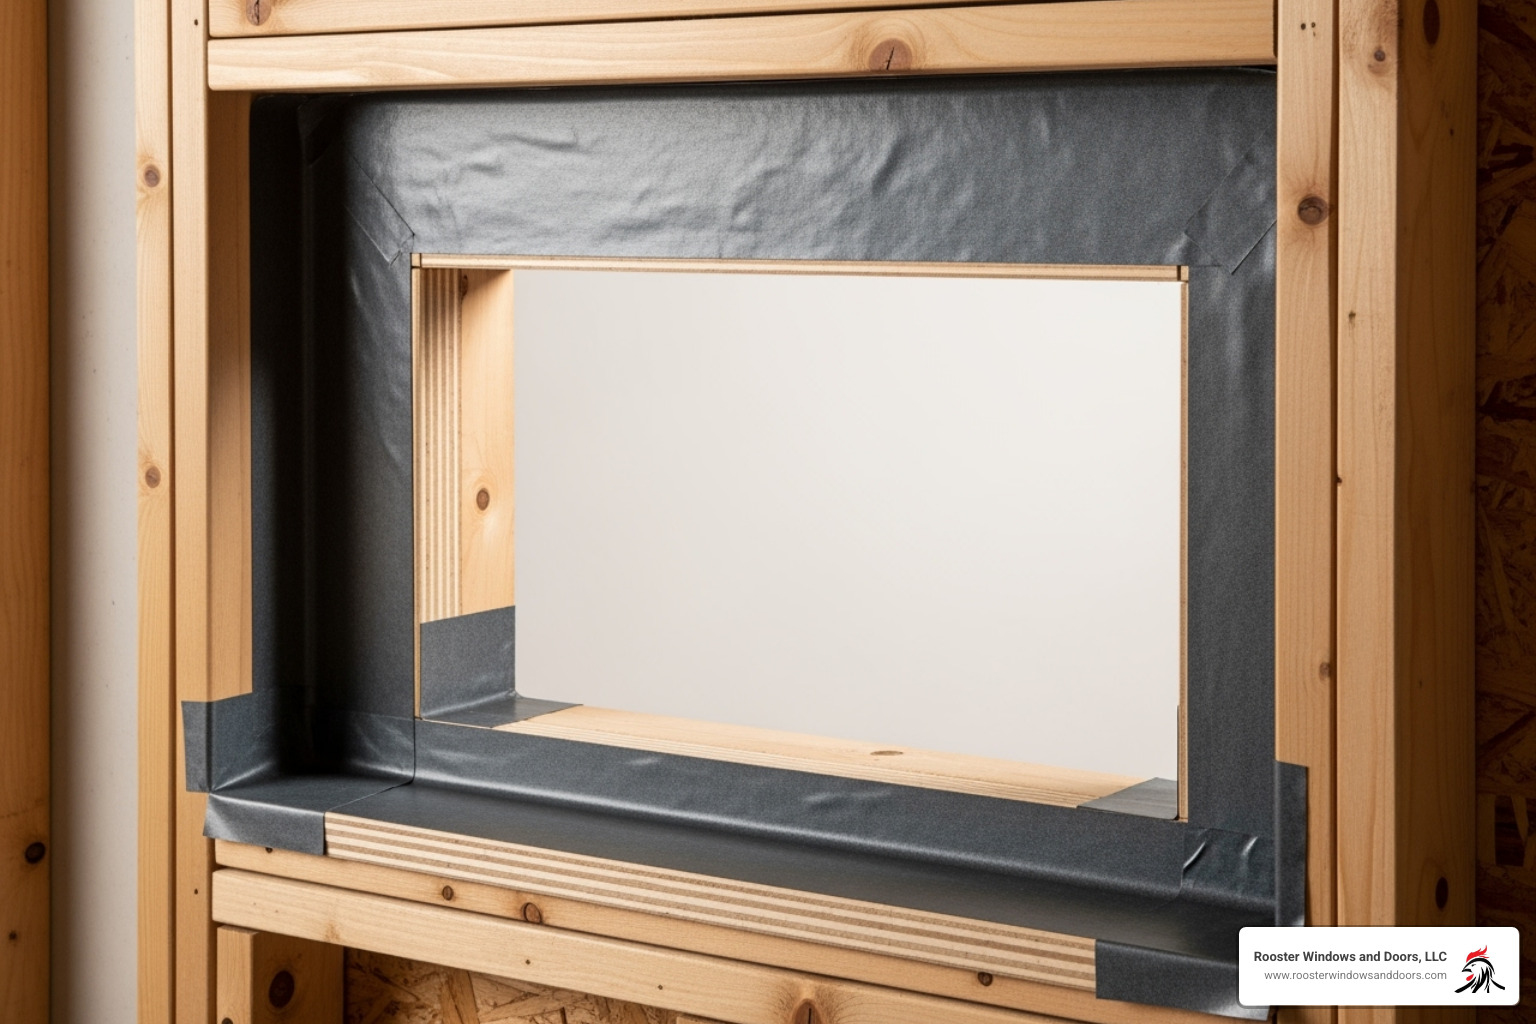
Cleaning debris is crucial. Use a shop vacuum to remove all dust and debris from the opening, as this ensures proper adhesion for flashing tape and caulk. Applying flashing tape is your insurance against water damage. Apply it to the sill first, extending up the sides by at least six inches. Overlap pieces “shingle fashion” so water drains outward.
Leveling the sill is critical for window operation. Use shims to create a perfectly level surface, secure them, then apply flashing tape over everything to maintain the waterproof barrier.
Step 3: How to Properly Install Replacement Windows
Precision at this stage determines how well your window will operate for years. Dry-fitting the window is your first check. Place the new window into the opening to confirm the fit. You want a consistent gap of about 1/8 to 1/4 inch around the perimeter.
Remove the window to apply caulk – a continuous 3/8-inch bead of exterior-grade caulk where the new window will make contact. Setting the window requires a gentle touch. Position the bottom edge on the sill first, then tip the top into place, pressing firmly against the caulk.
Shimming for fit allows you to fine-tune the window’s position. Insert shims behind the pre-drilled screw holes and at key support points. Getting the window plumb, level, and square is the most critical step. Use your level, test the sashes, and measure the diagonals. Adjust shims until everything is perfect.
Securing with screws locks in your adjustments. Drive 2 1/2-inch galvanized screws through the pre-drilled holes and shims, but don’t overtighten, as this can bow the frame. Most window leaks are caused by poor installation. Watching installation videos for visual guidance can be incredibly helpful.
Step 4: Sealing, Insulating, and Finishing Touches
This final phase is all about weatherproofing, energy efficiency, and aesthetics. Fill gaps with low-expansion spray foam designed for windows and doors. Regular expanding foam can bow your window frame. For gaps larger than 1/4 inch, use foam backer rod before caulking.
Weatherproofing continues with a continuous bead of exterior-grade caulk around the entire perimeter where the window meets your home’s exterior. Installing trim brings everything together visually. Reinstall salvaged trim or put up new pieces, secure them with finish nails, and fill the holes. A fresh coat of paint makes the installation look professional.
Don’t forget about weep holes if your window has them. These small drainage holes at the bottom of the sill adapter must remain clear of caulk. Interior finishing completes the project. Reinstall your interior stops or new trim, then apply a thin bead of paintable caulk along all joints for a clean, seamless appearance.
For more detailed information about maximizing your window’s energy efficiency, check out our guide on Learn more about window insulation. When you install replacement windows correctly, you’re making a long-term investment in comfort and energy savings.
DIY vs. Hiring a Professional: What’s Right for You?
So you’ve learned how to install replacement windows, but should you do it yourself? Replacing windows is manageable for someone with solid DIY skills, but it’s complex enough that things can go wrong if you’re not careful.
Your skill level matters more than your enthusiasm. If you’re comfortable with carpentry, can handle power tools, and have meticulous attention to detail, you’re likely ready for this challenge. The savings are real—hundreds of dollars per window in installation costs. Insert replacement windows are definitely more DIY-friendly than full-frame replacements, especially with solid, square existing frames.
However, it’s crucial to know when to call the pros. Rotten or severely damaged frames require structural repairs that go beyond a simple window swap. Upper-story windows present real safety challenges that professionals are equipped to handle. If your home was built before 1978, lead paint concerns also make professional installation worth considering for your family’s health.
Finally, most leaky windows are caused by poor installation. If you’re short on time or uncertain about getting the window perfectly plumb, level, and sealed, professional installation ensures it’s done right. At Rooster Windows and Doors, we work with homeowners throughout the Chicagoland area who’ve made both choices. There’s no wrong choice, just the one that’s right for you. If you’re leaning toward professional help, check out our guide on Finding the best window installation experts to know what to look for.
Frequently Asked Questions about Window Installation
When you’re getting ready to install replacement windows, a few common questions always come up. Here are the answers to save you some time and worry.
What are the two main types of replacement windows?
You’ll encounter two main options: Insert (or pocket) replacement windows are designed to slip into your existing window frame. They are DIY-friendly, faster to install, and less disruptive, making them ideal if your current frame is solid and square. Full-frame replacement windows involve removing everything down to the rough opening, including the frame. This is more involved but necessary for rotted frames or to address hidden problems and maximize energy efficiency.
What should I do about potential lead paint?
If your house was built before 1978, it’s likely to have lead paint. Lead paint becomes dangerous when disturbed during renovation, creating hazardous dust. You can either follow strict lead-safe work practices yourself or hire a certified professional. For your family’s safety, we often recommend hiring an expert. The EPA provides extensive resources on how to do this safely.
How do I dispose of my old windows?
Contact your local waste management authority before you start. Different communities in the Chicagoland area have different rules for construction debris. Some parts of your old windows might be recyclable, but regulations vary. If you’re dealing with windows that might have lead paint, there could be special disposal requirements. Planning for disposal upfront is much easier than scrambling for solutions later.
Conclusion
Congratulations! You’ve now learned how to install replacement windows from start to finish. What might have seemed like an overwhelming project at the beginning is really just a series of manageable steps when you break it down properly.
The benefits of tackling this project are hard to ignore. You’ll boost your home’s energy efficiency by up to 25%, dramatically reduce outside noise, and give your home’s curb appeal a serious upgrade. Plus, there’s something deeply satisfying about stepping back and admiring windows you installed yourself – it’s a skill you’ll carry with you for life.
The long-term value extends far beyond the initial installation. Your new windows will keep paying dividends through lower energy bills, increased comfort, and potentially higher home value for decades to come. Many homeowners tell me they wish they’d made the switch sooner once they experience the difference quality windows make.
That said, I want to be completely honest with you. Not every window installation is perfect for DIY. For complex projects involving structural issues, rotted frames, or upper-story installations, professional expertise becomes invaluable. Sometimes the smartest move is recognizing when a project calls for experienced hands.
At Rooster Windows and Doors, we understand that every home and situation is unique. We’ve been helping homeowners throughout the Chicagoland area achieve flawless, energy-efficient installations for years. Whether you’re dealing with challenging structural issues, want the peace of mind that comes with professional installation, or simply prefer to have experts handle the entire process, we’re here to help.
The choice between DIY and professional installation ultimately comes down to your comfort level, available time, and the specific challenges your project presents. Both paths lead to the same destination: beautiful, energy-efficient windows that transform your home.
Ready to move forward but want professional guidance? Explore our expert Window Replacement Services to find how we can ensure your window replacement project exceeds your expectations.