Why Your Sliding Glass Door Deserves Better Than a Daily Wrestling Match
Replacing rollers on sliding glass door is one of the most effective ways to restore smooth operation when your door starts sticking or grinding. Here’s what you need to know:
Quick Answer: How to Replace Sliding Glass Door Rollers
- Remove the door – Lift it off the track after adjusting the roller screws
- Access the rollers – Unscrew the roller assembly from the bottom of the door
- Match the old rollers – Take a photo or bring the old roller to the hardware store
- Install new rollers – Secure them with screws and ensure wheels spin freely
- Reinstall and adjust – Put the door back and fine-tune the height with adjustment screws
- Clean and lubricate – Apply silicone-based lubricant to tracks and rollers
A sliding glass door that should glide effortlessly but instead feels like dragging a ton of bricks is a common frustration. When your door makes grinding noises, sticks, or requires excessive force to open, worn-out rollers are usually the culprit.
The good news? This is a manageable DIY project that can save you hundreds in repair costs and restore your door to like-new condition. With basic tools and a few hours, you can transform your stubborn door back into the smooth-operating feature it was designed to be.
As Piotr Wilk from Rooster Windows and Doors, with two decades of experience installing windows and doors in the Chicagoland area, I can confirm that replacing rollers on a sliding glass door is often the most cost-effective solution before considering a full door replacement.

Basic replacing rollers on sliding glass door glossary:
- installing vinyl sliding glass door
- Patio door replacement options
- how to install a replacement patio door
Is It Time for a Change? Signs, Tools, and Preparation

Before you start replacing rollers on a sliding glass door, let’s confirm the rollers are the problem and gather what you need for a successful repair.
Signs Your Rollers Need Replacing
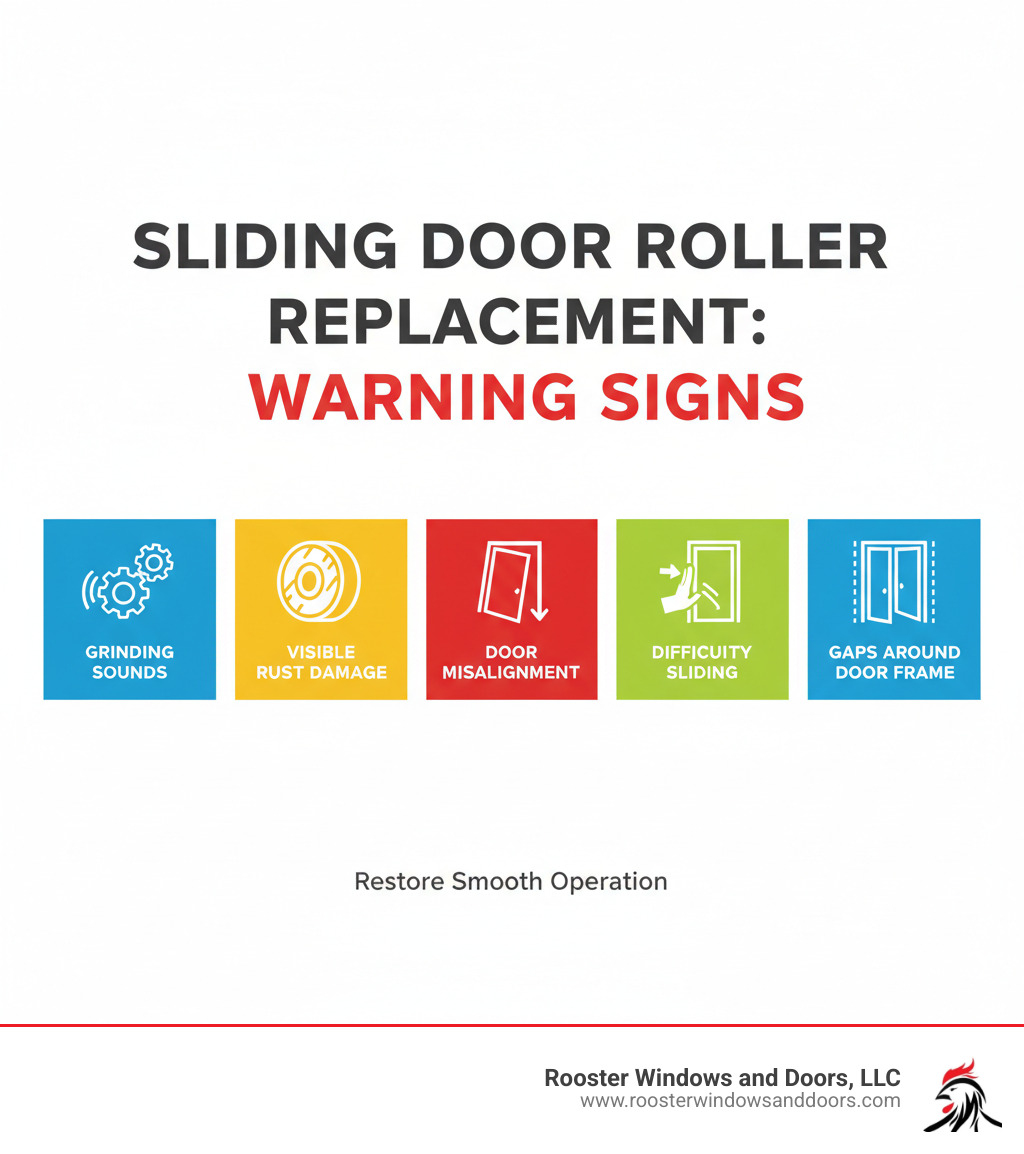
A healthy sliding door glides smoothly. If yours doesn’t, the rollers are the likely culprit. Here are the signs they need replacing:
- Difficulty Sliding: If opening the door feels like a workout, the rollers are likely worn out. A healthy door moves with a gentle push.
- Grinding or Scraping Sounds: These noises mean the wheels are dragging, not rolling, along the track.
- Door Pops Off Track: Worn rollers can’t keep the door properly seated, causing it to dislodge. This is unsafe.
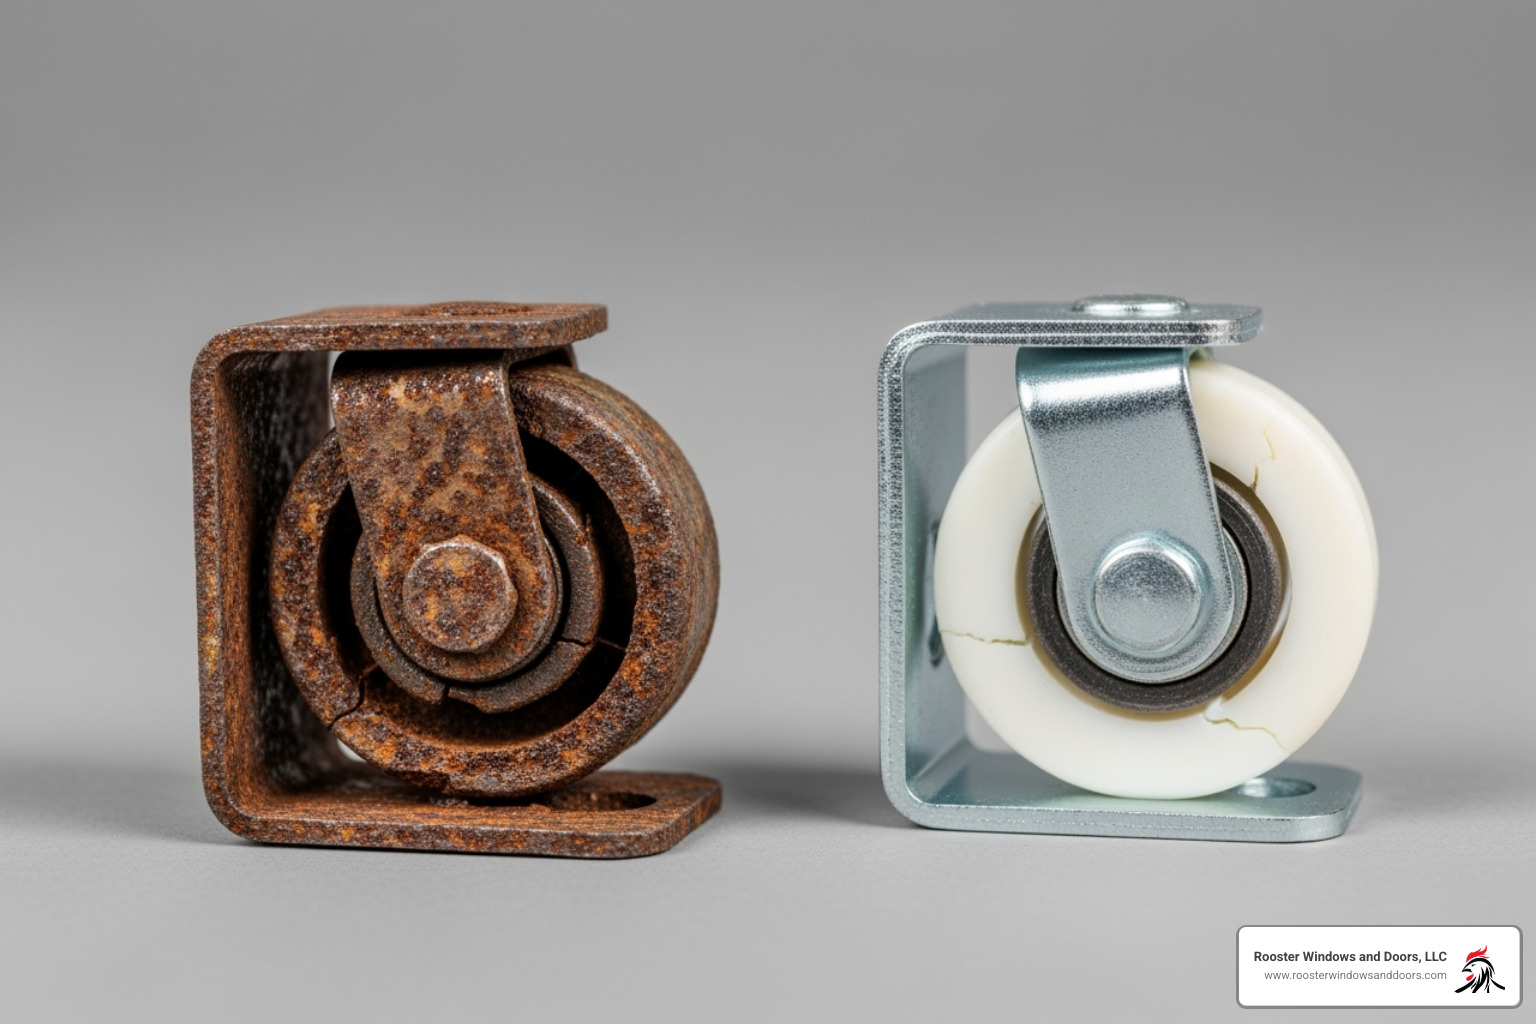
- Visible Rust or Damage: Look under the door for rusty, cracked, or flattened wheels. This is a clear sign they need replacement, especially in humid or coastal climates.
- Gaps Around the Door: A sagging door caused by worn rollers creates gaps, leading to energy loss and higher bills.
- Jerky Movement: If the door stutters or drags unevenly, the rollers are failing.
Tools and Materials You’ll Need
Gathering your tools and materials first will save time and frustration. Here’s what you’ll need:
- Screwdriver Set: You’ll need Phillips and flathead screwdrivers for adjustment and mounting screws.
- Putty Knife or Pry Bar: For prying out old roller assemblies.
- Work Gloves and Safety Glasses: Essential for protecting your hands and eyes.
- New Rollers: The correct replacement parts are crucial. We’ll cover how to choose them next.
- Silicone Lubricant: Use a silicone-based spray, as oil-based products attract dirt.
- Cleaning Supplies: A vacuum and brush for the tracks.
- A Helper: Sliding glass doors are very heavy. Do not attempt this job alone.
Identifying the Correct Replacement Rollers
Getting the wrong rollers is a common mistake that can derail your project.
The best method is to remove an old roller and take it to the hardware store to find an exact match. A clear photo from multiple angles is a good backup.
Note the roller type: tandem (double) vs. single wheel. Also, check the wheel material (steel vs. nylon). Steel is more durable for heavy doors, while nylon is quieter.
Measure the wheel diameter accurately. Also, look for a manufacturer’s sticker on the door frame for part numbers.
When in doubt, take the old part to a hardware store. Their staff can help you find the correct replacement, preventing future headaches.
The Core Task: A Guide to Replacing Rollers on a Sliding Glass Door

This is the main part of the job. Replacing rollers on a sliding glass door is manageable with patience and a careful approach. The reward is a door that glides smoothly again.
Step 1: Safely Removing the Door from Its Track
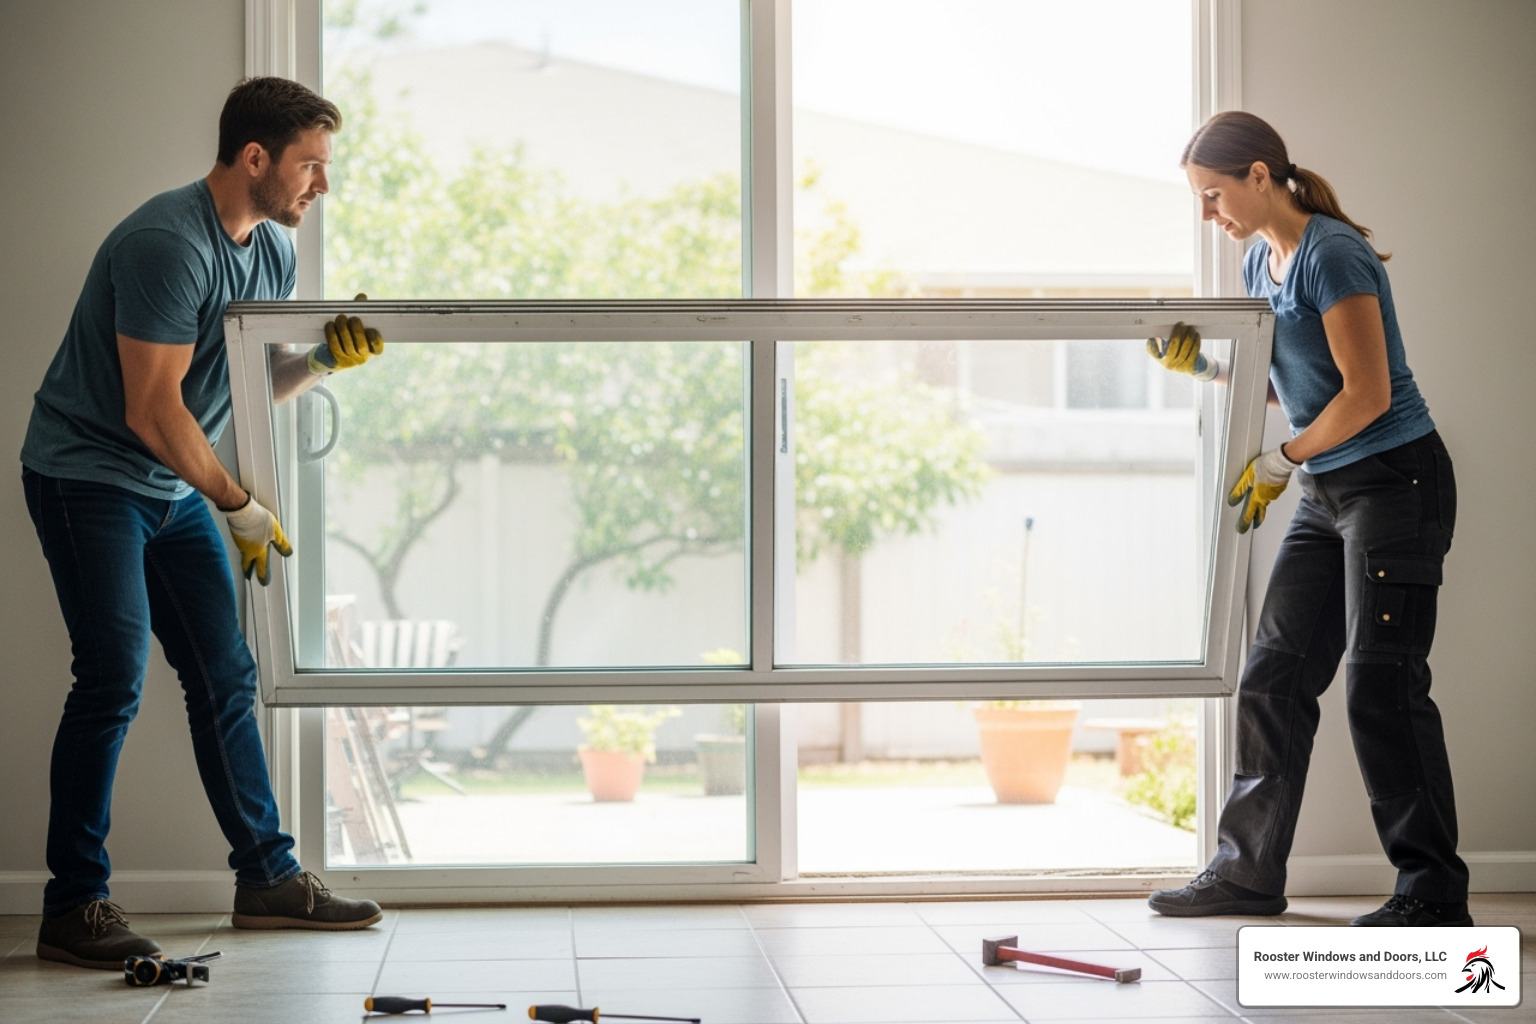
Sliding glass doors are heavy (75-150 pounds). This is a two-person job, so be sure to have your helper ready. Clear the area around the door for safety and maneuverability. Remove the screen door first by lifting it off its track.
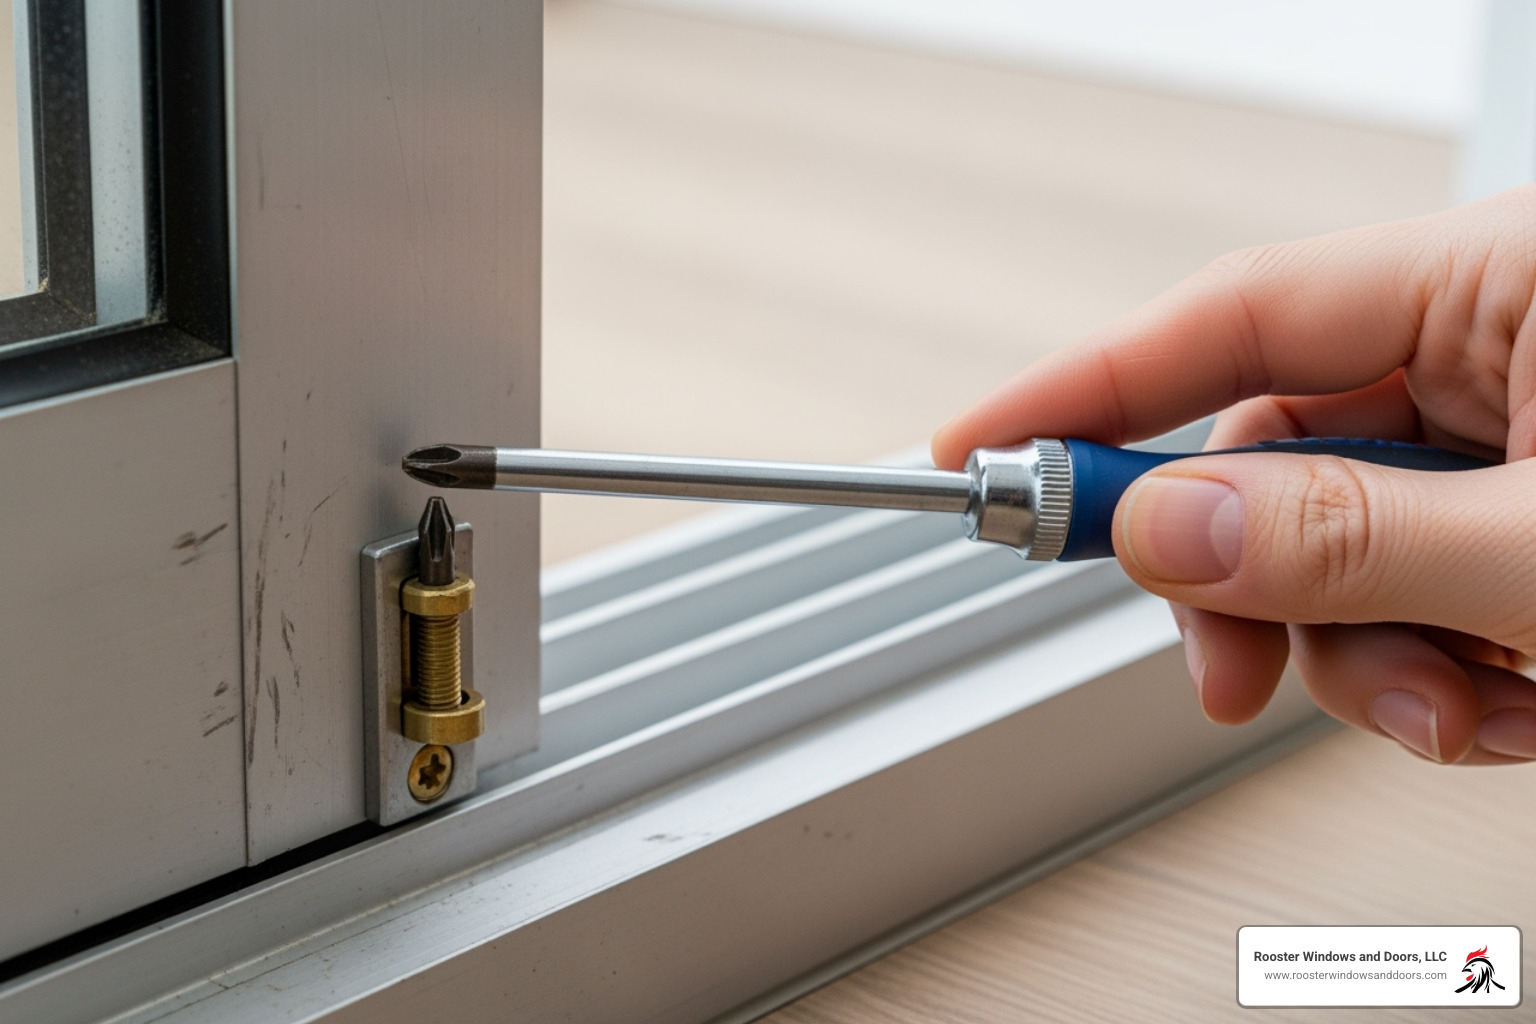
Next, retract the rollers. Find the adjustment screws on the bottom edge of the door, near the corners. Turn them counterclockwise with a screwdriver to draw the rollers up into the frame. The door will lower slightly.
With your helper, grasp both sides of the door. Lift it straight up into the top track. Once the bottom wheels clear the bottom track, tilt the bottom of the door outward and carefully move it away from the opening.
Pro Tip: If the door is stuck, don’t force it. Look for hidden clips or screws that may be holding it in place.
Lay the door on a soft, flat surface like sawhorses with blankets or a tarp to prevent damage.
Step 2: Removing the Old Rollers and Preparing for Replacement
With the door horizontal, you can easily access the roller assemblies located in the bottom corners of the door panel.
Remove the retaining screws holding the roller assembly. Keep these screws in a safe place, as you’ll need them for the new rollers. Use a putty knife or flathead screwdriver to pry out the old roller unit. Note its orientation so you can install the new one the same way.
The process may vary by door material. Vinyl doors often have rollers that pop out, while aluminum doors may require removing additional plates or screws.
Before installing the new rollers, clean the housing area with a vacuum or brush to remove accumulated dirt and debris.
Step 3: Installing the New Rollers
Now it’s time to install the new rollers. Position the new roller assembly into the housing, matching the orientation of the old one. It should fit without being forced.
Align the screw holes and secure the new assembly with the original screws. Tighten them until snug, but don’t overtighten. Test the new rollers by spinning the wheels with your finger. They should move freely. If not, check the seating of the assembly.
With the new rollers installed, you’ve completed the core task. Your door is ready for reinstallation. For more complex issues or a full upgrade, our team at Rooster Windows and Doors provides expert Door Replacement services with professional attention to detail.
The Final Touches: Reinstallation and Fine-Tuning

With the new rollers installed, it’s time to reinstall the door. This final stage requires patience and precision for a perfect result. You’ll need your helper again for this step to handle the heavy door safely.
Step 4: Reinstalling the Door and Adjusting for a Smooth Glide
Start with a spotless track. Before reinstalling the door, clean the track thoroughly. Use a Vacuum or Brush to remove all dirt and debris, then wipe it down with a damp cloth. A clean track is essential for smooth operation; even new rollers will struggle on a dirty one.
Reinstall the door. With your helper, lift the door and insert the top edge into the upper track. Then, carefully lower the bottom so the new rollers rest on the bottom track.
Adjust the rollers. Turn the adjustment screws clockwise to raise the door. You want it high enough to glide without dragging, but not so high that it’s unstable or creates gaps. Ensure the door is level by adjusting both sides evenly. An uneven door will wobble and wear out the new rollers faster.
Test the door by sliding it. If there’s still resistance, make small adjustments until it glides smoothly.
Step 5: Lubrication and Final Testing
Now for the final touch: lubrication. Apply silicone lubricant. Spray a silicone-based lubricant on the new rollers and in the track channels. Avoid oil-based products, which attract dirt and grime. A generous coat will help ensure smooth operation for years.
Test the door again. Slide the door back and forth several times to distribute the lubricant. It should operate quietly and effortlessly. If you still feel resistance, revisit the adjustment screws for fine-tuning.
Your door should now open and close with a gentle push, a satisfying result of a successful DIY project.
Long-Term Care and When to Call for Backup
After replacing rollers on your sliding glass door, routine maintenance will keep it gliding smoothly and prevent future problems. Regular care only takes a few minutes and makes a big difference.
Routine Maintenance for Lasting Performance
- Monthly Track Cleaning: Vacuum the tracks monthly to remove dirt, pet hair, and debris that can hinder movement.
- Semi-Annual Lubrication: Every six months, apply silicone-based lubricant to the track and rollers to prevent friction and corrosion, especially in humid climates.
- Inspect for Debris: Check for and remove any small pebbles or twigs wedged in the track.
- Check Alignment: Periodically check that the door is level and glides smoothly. Minor adjustments to the roller screws can correct alignment before it becomes a bigger issue.
Troubleshooting After Replacing Rollers on a Sliding Glass Door
If your door still sticks after replacing the rollers, the problem might lie elsewhere.
- Door Still Sticks: Double-check your roller adjustments. The door should be level and raised just enough to clear the track without wobbling.
- Track Damage: Inspect the track for dents, bends, or severe wear. A damaged track may need a repair cap or full replacement, as new rollers can’t fix a bad track.
- Frame Warping: House settling can warp the door frame, making it impossible for the door to slide smoothly. This is a more complex issue that often requires professional assessment.
- Other Issues: The problem could also be a loose handle, a broken latch, or a warped door panel creating friction.
If you’re Considering other Patio Door Replacement Options, our team can help determine whether a full door replacement makes more sense as a long-term solution.
When to Call a Professional
While this is a great DIY project, sometimes calling a professional is the smartest move.
- Extremely Heavy or Large Doors: For safety, let professionals handle oversized or very heavy doors to avoid injury or damage.
- Damaged or Warped Frames: A professional should assess and repair structural issues like warped frames for a lasting solution.
- Stubborn Door Removal: If the door won’t come out of the track, a professional has the tools and experience to remove it safely.
- Damaged Tracks: A professional should handle severely corroded or bent tracks to avoid damaging your new rollers.
- If you’re uncomfortable at any point, it’s wise to call for help. Our team at Rooster Windows and Doors handles all types of Door Services, ensuring a professional result.
Frequently Asked Questions about Replacing Sliding Door Rollers
Here are answers to common questions about replacing rollers on a sliding glass door.
Should I replace both rollers at the same time?
Yes. Replacing only one roller is a common mistake that leads to more work later. Like car tires, rollers wear out together. The ‘good’ roller has been overcompensating for the failed one and is likely near the end of its life too. Replacing both at once ensures the door is balanced and glides smoothly, preventing uneven wear. Since you’ve already done the hard work of removing the door, replacing both rollers saves you from repeating the job in a few months.
How often should I replace my sliding door rollers?
Most sliding door rollers last 5 to 7 years under normal use. However, heavy use can shorten the lifespan to 3 to 5 years. Climate is also a factor; high humidity and salt air accelerate wear. Regular maintenance (monthly cleaning and semi-annual lubrication) can significantly extend their life.
What if my door still sticks after replacing the rollers?
If the door still sticks, the problem may not be your work. Check the following:
- The Track: A damaged track with dents, grooves, or bends will prevent even new rollers from working properly.
- House Settling: A home shifting over time can warp the door frame, causing the door to bind against it.
- Door Panel and Hardware: A warped door panel (especially on older wood doors) or issues with the lock or handle can also cause friction.
- Correct Rollers: Confirm you used the correct replacement rollers for your door model.
If you’ve checked everything and the door still sticks, it’s time to call a professional. The issue may be a more complex structural problem.
Get Your Door Gliding Smoothly Again
Completing a replacing rollers on sliding glass door project is incredibly satisfying. Changing a stubborn, grinding door into one that glides effortlessly provides immediate, tangible results. This DIY project also saves you money, as professional repairs can cost hundreds.
The benefits go beyond convenience. A properly functioning door seals better, improving energy efficiency by preventing drafts. It eliminates gaps that waste heating and cooling, adding to the daily pleasure of a door that works as it should.
However, not every door is a simple DIY fix. Issues like a shifted frame from house settling, a severely damaged track, or an exceptionally heavy door often require professional expertise where safety risks outweigh DIY savings.
That’s where Rooster Windows and Doors can help. For over two decades, we’ve assisted Chicagoland homeowners with complex door issues. Whether you need a complete door replacement due to a warped frame or prefer a professional to handle the roller replacement, we provide high-quality, energy-efficient installations.
Your sliding door should be a joy, not a frustration. When DIY repairs aren’t enough, trust our expertise to make your door operate quietly and seal properly.
Learn more about our Patio Door Installation services and find how we can transform your sliding door experience with professional installation and a perfect fit that will last for years to come.