Transform Your Space with Professional Sliding Closet Door Installation
Sliding closet door installation is one of the most effective ways to maximize space while adding style to any bedroom or hallway. Here’s what you need to know:
Quick Installation Overview:
- Measure your closet opening width and height at multiple points
- Install the top track, ensuring it’s level and securely fastened to the header
- Position the bottom track or guide aligned with the top track
- Hang the doors starting with the back panel, then the front panel
- Adjust rollers for smooth operation and proper alignment
- Fine-tune for level doors and consistent wall gaps
Modern sliding closet doors are designed to be lightweight and easy to install, with manufacturers providing all necessary hardware. According to industry research, new sliding closet doors can be installed in less than an hour with proper preparation and the right approach.
These space-saving doors offer significant advantages over traditional hinged doors – they stay out of the way when open, provide better closet access, and can make rooms appear larger. Whether you’re updating an existing closet or finishing a new space, sliding doors deliver both functionality and style.
I’m Piotr Wilk, and over two decades of residential door and window installation experience in the Chicagoland area has taught me that proper sliding closet door installation requires attention to detail and the right techniques. At Rooster Windows and Doors, we’ve helped countless homeowners achieve professional results that improve both their home’s value and daily convenience.
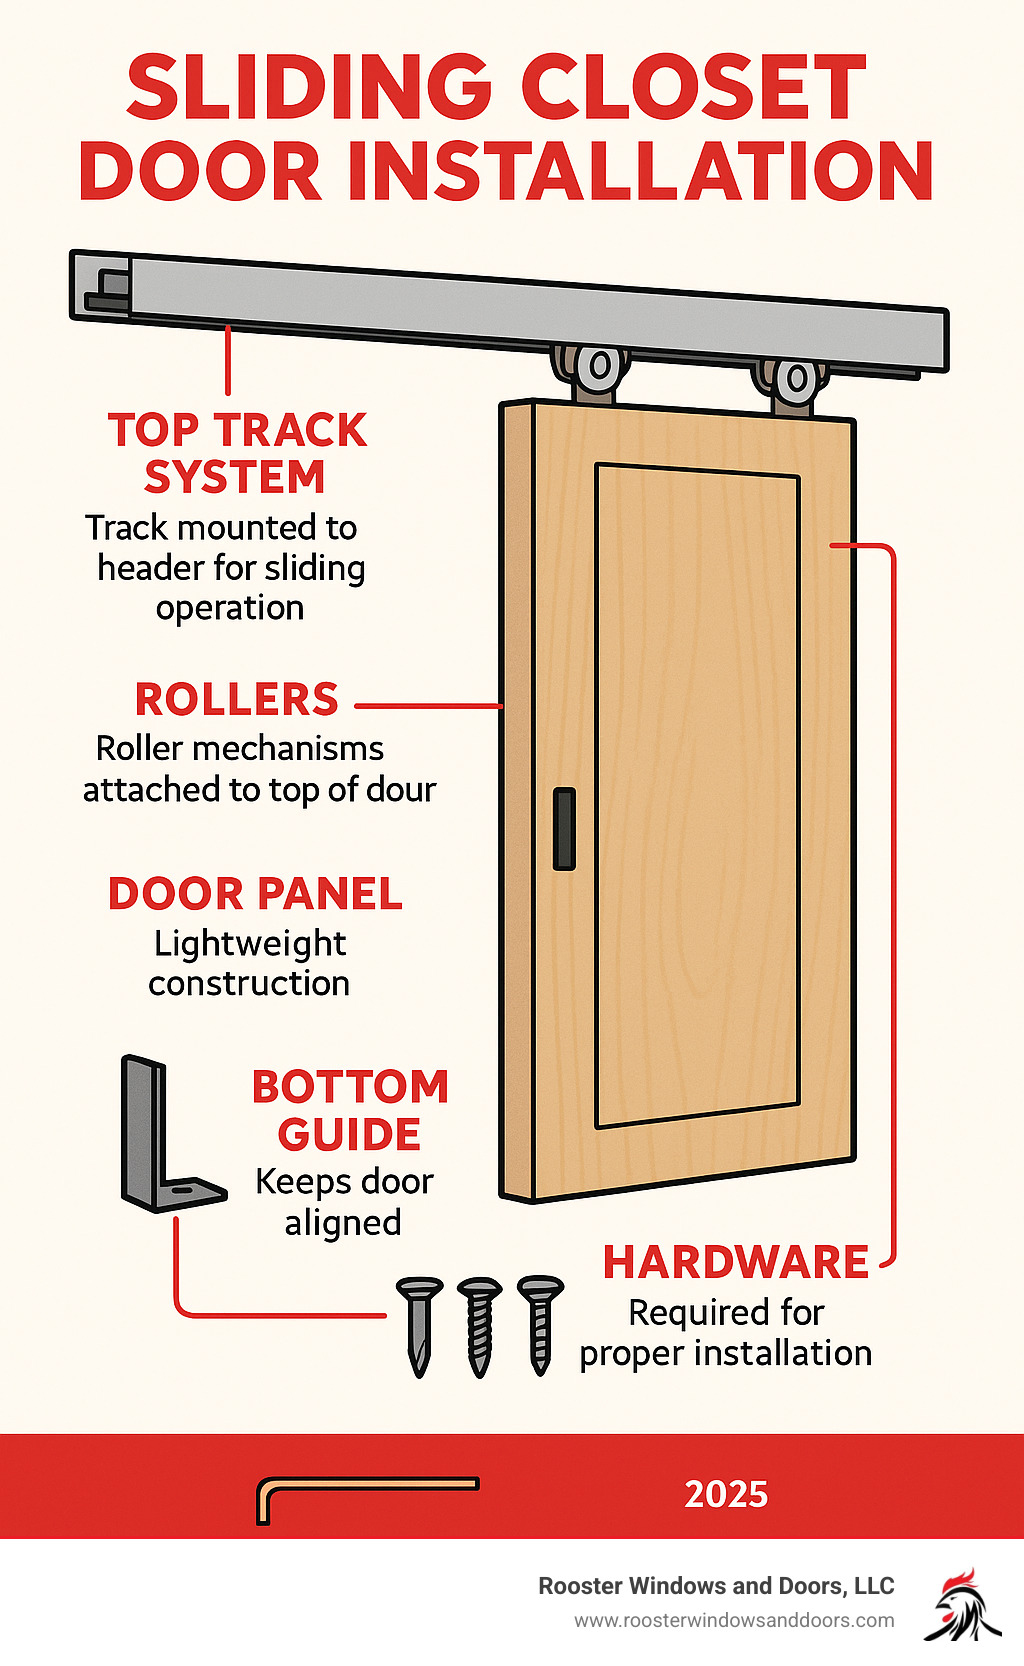
Quick sliding closet door installation definitions:
Before You Begin: Planning and Preparation
This section covers the essential first steps for a smooth installation. A well-planned project is halfway to success, and sliding closet door installation is no exception. Proper preparation is the foundation for your entire project, which involves gathering information and materials.
Essential Tools and Materials
Gathering the right tools and materials beforehand makes the job easier and ensures a professional finish.
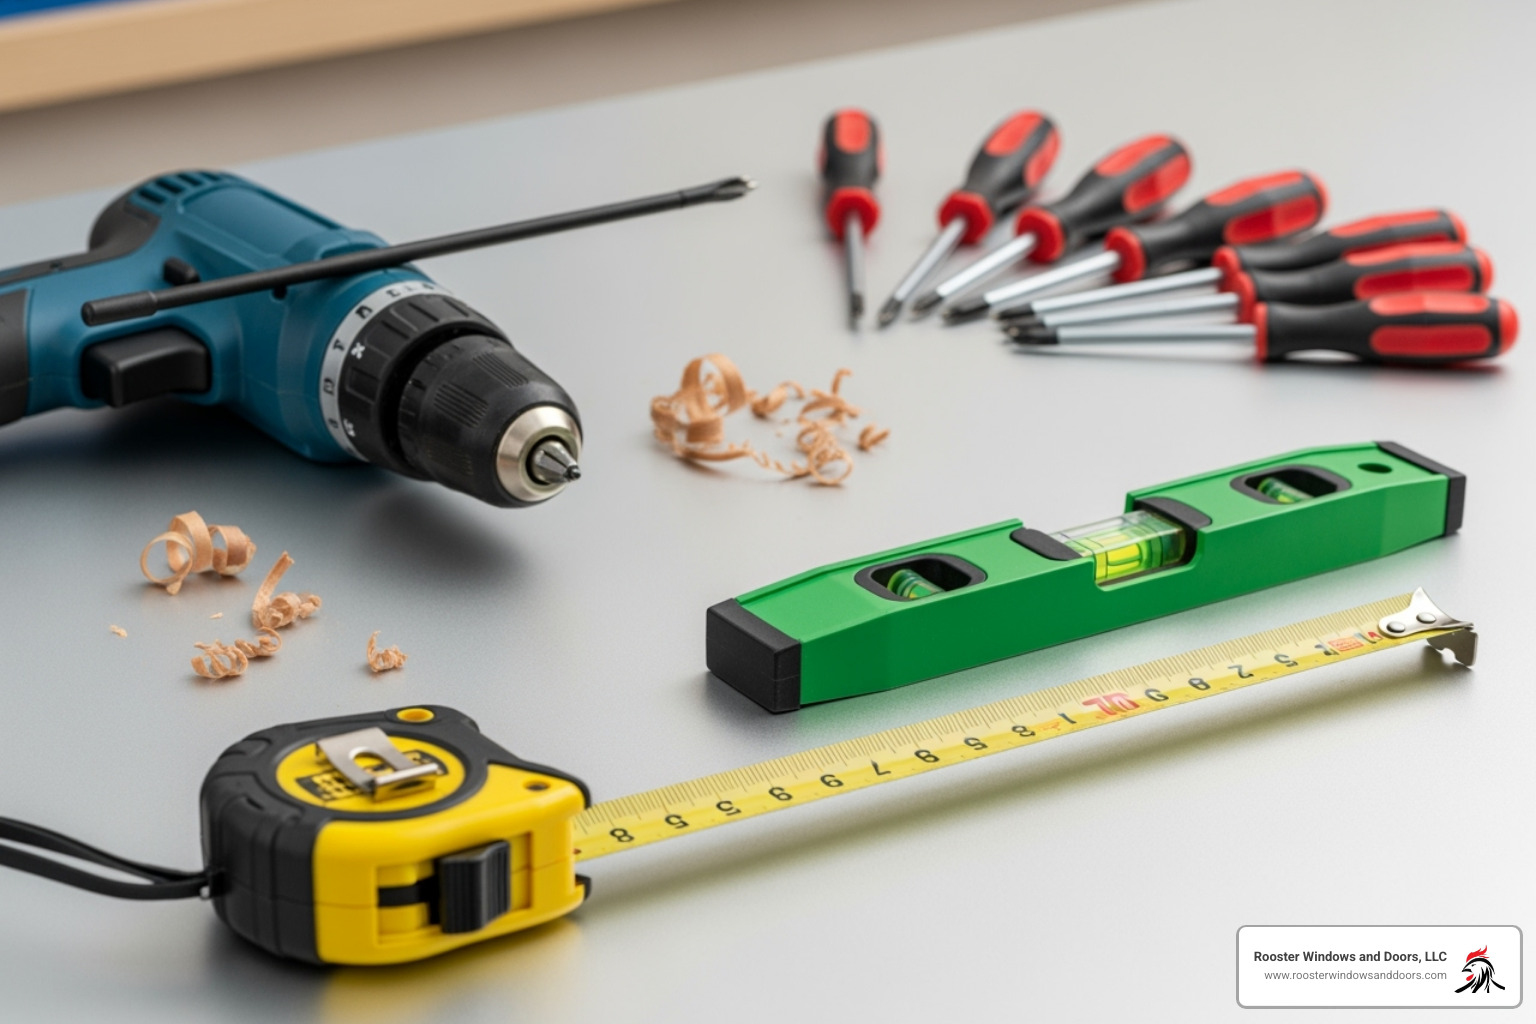
Your tape measure is essential for precise measurements. A quality level is absolutely critical because even slightly crooked tracks will make your doors bind or roll unevenly. Your power drill will handle pre-drilling pilot holes and securing tracks, and a screwdriver set is handy for various screw types. A hacksaw works perfectly for cutting metal tracks to size.
Don’t forget the basics: a pencil for marking, safety goggles to protect your eyes, and your sliding door kit (doors, tracks, rollers, hardware). Keep shims on hand for leveling tracks on uneven surfaces.
Choosing the Right Sliding Closet Doors
The market offers a variety of sliding closet doors to suit your budget, style, and space.
Bypass doors are the most popular choice, sliding past each other on parallel tracks to save space. The trade-off is that you can only access half your closet at once.
Mirrored doors make rooms appear larger and brighter while eliminating the need for a separate full-length mirror. They’re heavier and show fingerprints more easily.
For construction, choose between solid core (wood, particleboard, or MDF) and hollow core doors. Solid core doors offer excellent sound insulation and a substantial feel but cost more. Hollow core doors are lightweight and budget-friendly but are less soundproof and durable.
Material-wise, wood offers classic beauty, MDF provides stability at a lower cost, and glass options create unique design elements.
For more insights on door options, check out our guide on french doors vs sliding doors.
Typical costs for sliding closet door installation range from $100 to $500 for the doors and basic hardware, depending on material and size.
How to Properly Measure for Your Sliding Closet Door Installation
Accurate measurements are the bedrock of a successful sliding closet door installation. A small error can lead to doors that bind, don’t close properly, or leave unsightly gaps.
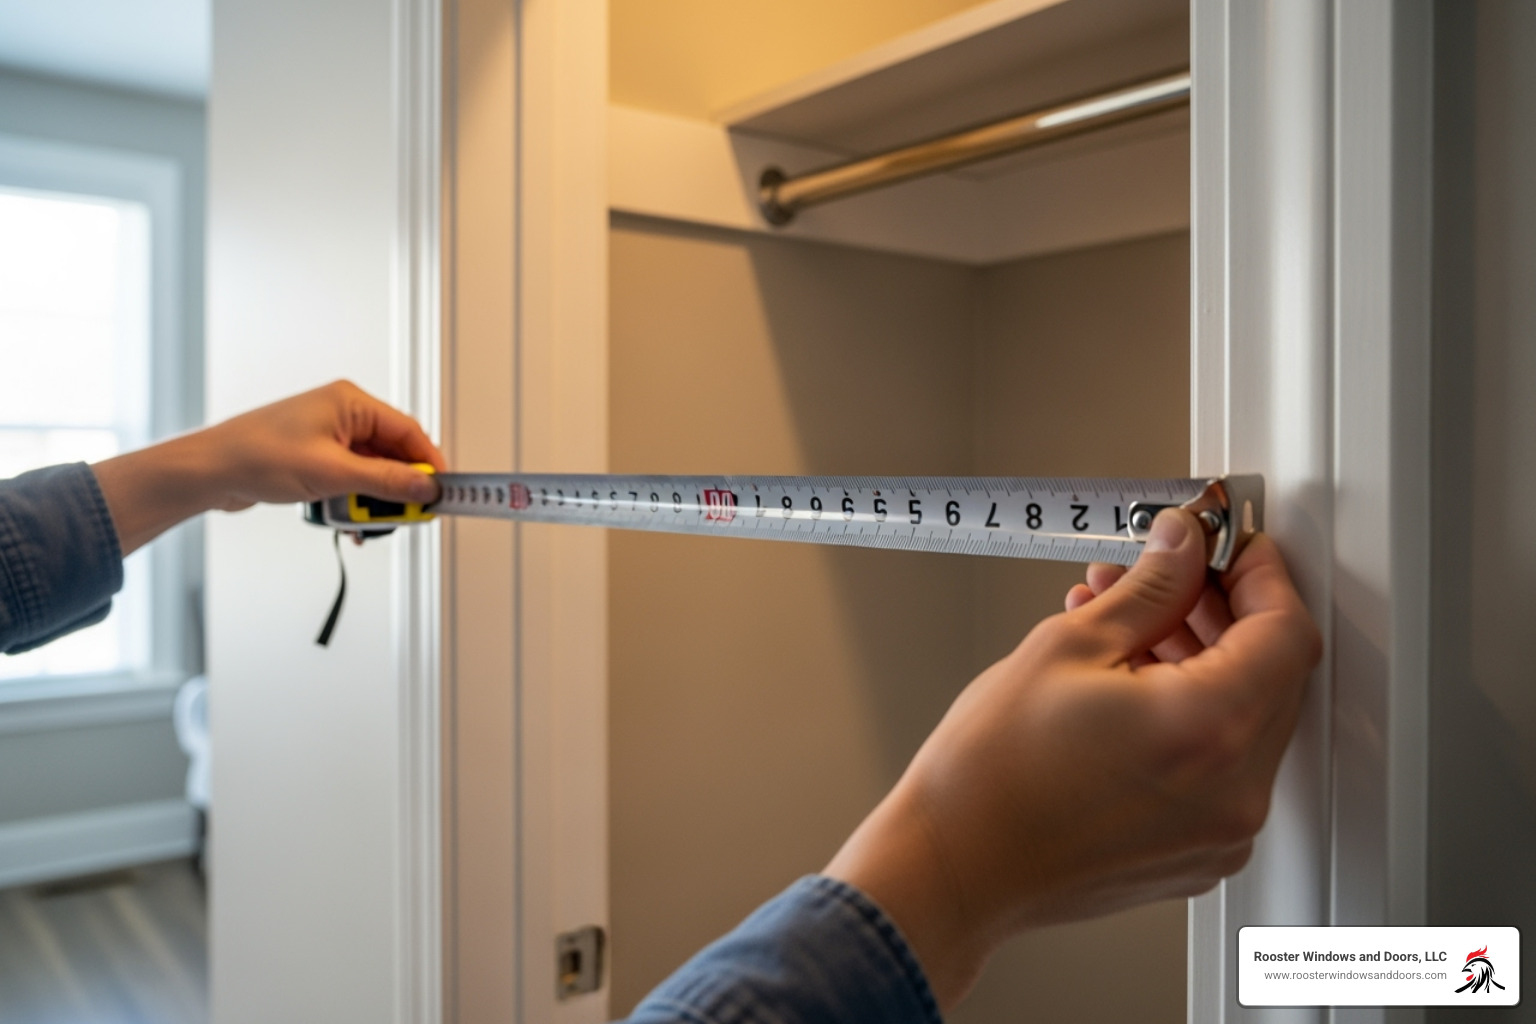
Start by measuring the width at three points: top, middle, and bottom. Next, measure the height on both the left and right sides.
Here’s the crucial part: use the smallest measurements from both width and height readings. Most closet openings aren’t perfectly square, and this ensures your doors will fit.
Standard door sizes make shopping easier. Most sliding closet doors are 80 inches high, with panel widths of 24, 28, 30, or 32 inches. A 48-inch opening typically uses two 24-inch panels.
Modern sliding door systems are forgiving, but precise measurements always lead to the best results. For more guidance, see this resource: Don’t Hire a Pro: Here’s How To Install Sliding Closet Doors Yourself.
Preparing the Closet Opening
Once you have your measurements and new doors, prepare the opening by clearing out the old hardware and ensuring a clean, stable surface.
Remove old doors and hardware, including tracks, rollers, and brackets. Work gently to avoid damaging the surrounding drywall.
Clean the opening thoroughly by vacuuming or wiping down all surfaces to remove dust and debris.
Check the header (the horizontal beam above the opening) to ensure it’s solid wood and securely fastened. Reinforce it if it feels soft or damaged.
Repair any drywall damage with spackle or joint compound. Sand smooth once dry and touch up with paint if desired.
Finally, check the floor for level. If it slopes, you’ll need shims under the bottom track to ensure your doors hang straight.
The Complete Sliding Closet Door Installation Process
With planning and preparation complete, it’s time to install your new doors. This process will turn an empty opening into a smooth, functional entrance.
Step 1: Install the Top and Bottom Tracks
The tracks are the foundation of your sliding closet door installation. Proper installation here is critical to ensure your doors operate smoothly for years to come.
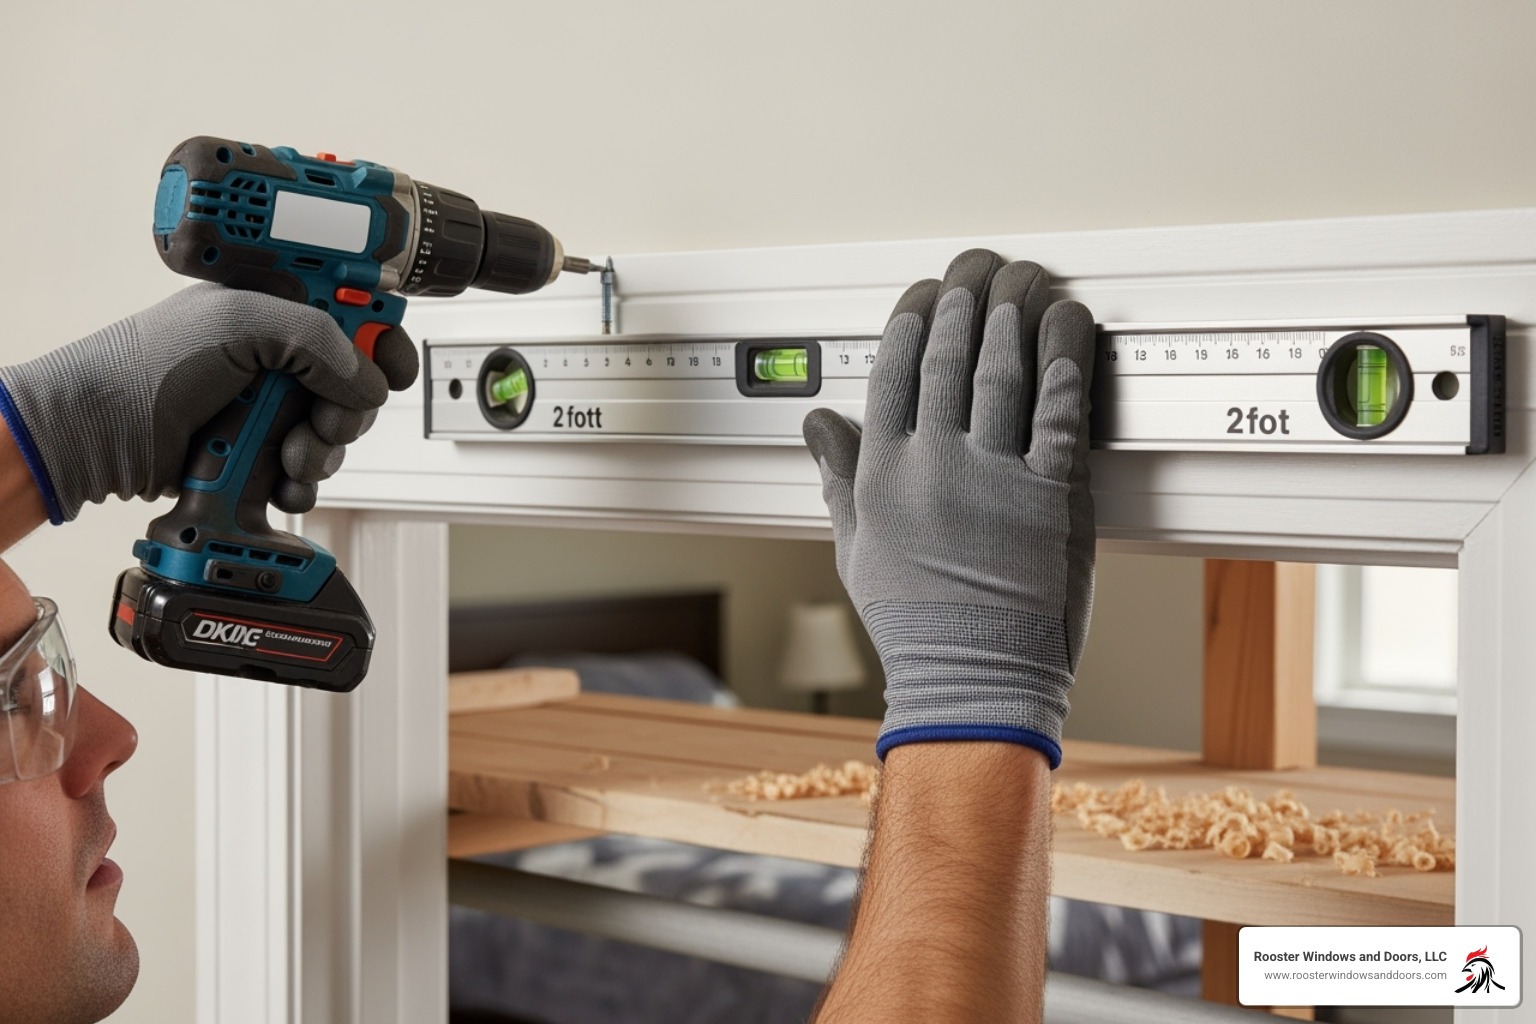
Cut the tracks to size using your smallest width measurement. A hacksaw works well for this; file away any rough edges after cutting.
Position your top track according to the manufacturer’s instructions, ensuring screws will go into solid header wood. Pre-drilling pilot holes prevents the wood from splitting. Secure the top track, making sure it is perfectly level.
The bottom track or guide must align with the top track. Use a plumb line to mark its position. Some modern systems use a simple floor guide instead of a full track.
Securing the bottom track depends on your floor. For hardwood or tile, screw directly into the subfloor. For carpet, fasten a thin board to the subfloor first, then mount the track to the board.
If you feel overwhelmed, our team at Rooster Windows and Doors offers professional Door Installation services.
Step 2: Attach Hardware and Hang the Doors
Attaching the hardware is straightforward if you follow the manufacturer’s instructions. The pre-drilled holes are precisely placed for optimal door operation.
Start with the back door (the one closer to the inside of the closet). Tilt it, lift it, and angle the top rollers into the rear groove of the top track.
Set the door into the bottom track by swinging the bottom of the door inward until it engages with the bottom track or guide.
Hang the front door using the same process in the front track groove. A helper is recommended, especially for heavier doors.
For more detailed guidance, you might find this resource helpful: How to Install Bypass Doors.
Step 3: Adjusting Doors to be Level and Plumb
Even with careful installation, some fine-tuning is almost always necessary for a great result.
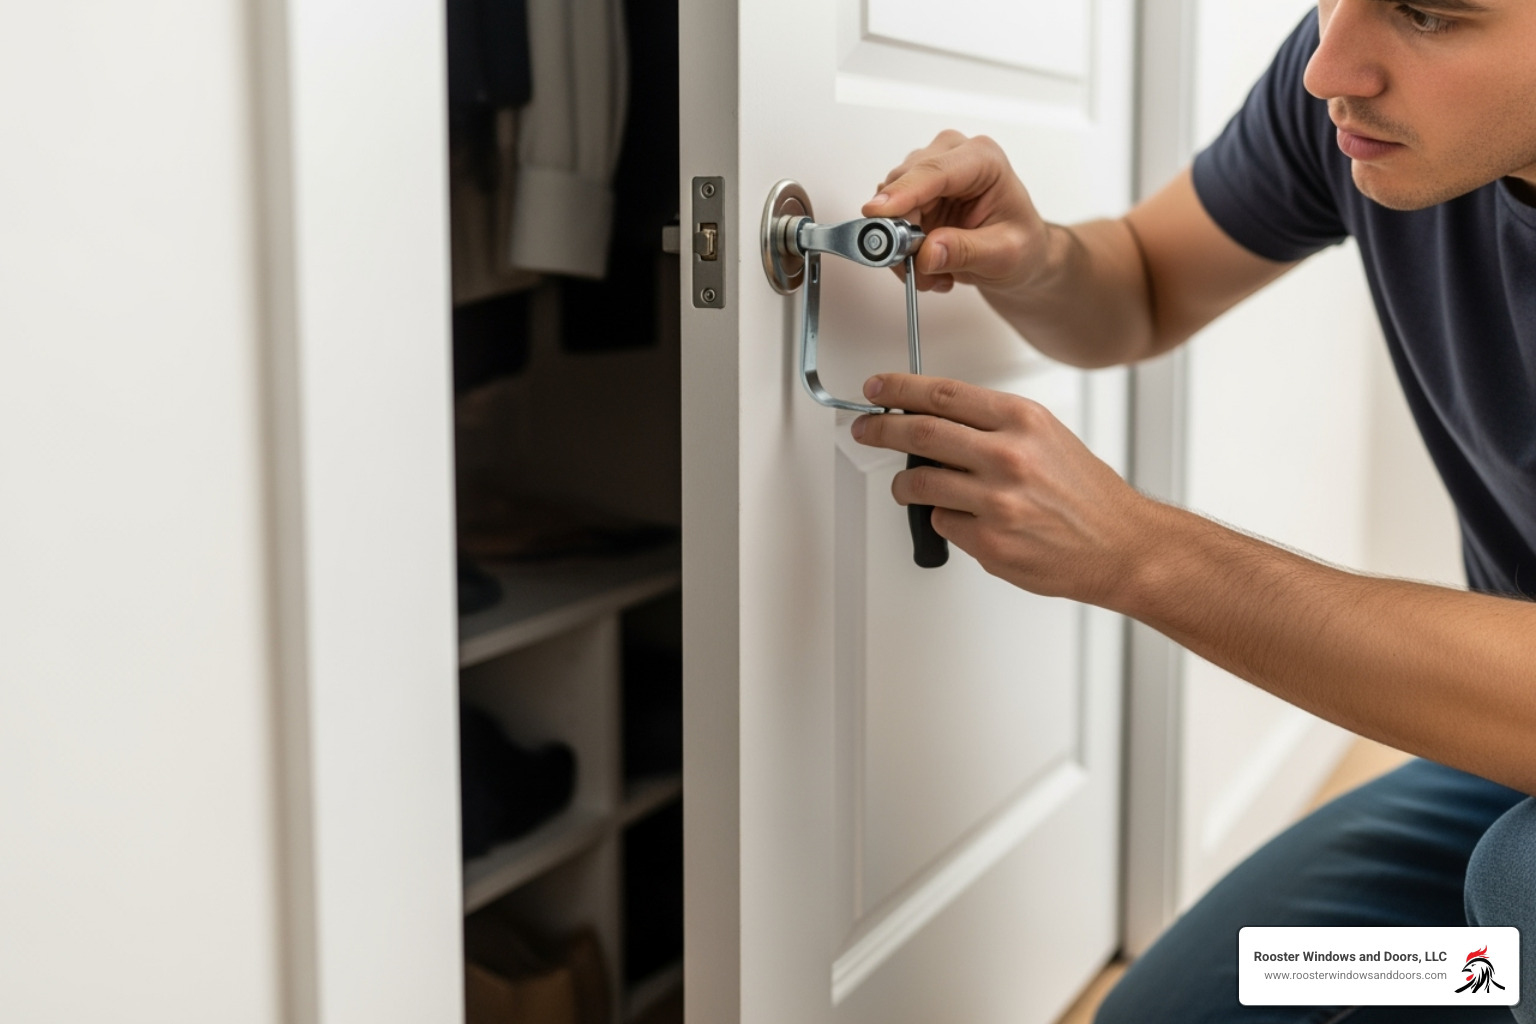
Use your level to check that each door panel hangs perfectly plumb (straight up and down) and that the tops of both doors are level with each other.
Adjust roller height using the screws on each door. Make small, quarter-turn adjustments, then test how the door slides.
Your goal is smooth gliding. Slide each door back and forth. If they bind or make noise, check for debris in the tracks and ensure the rollers are properly seated.
Check the gap along the jamb when doors are closed. It should be consistent from top to bottom for a clean, professional look.
Step 4: Modifying the Baseboard
A common step is dealing with existing baseboards that interfere with your doors.
Check for obstruction by sliding your doors to their fully open positions. If the baseboard is in the way, you’ll need to modify it.
Mark the baseboard where it interferes with the door. Remove only what’s necessary using an oscillating multi-tool or a pull saw.
Ensure your doors sit flush against the wall after your modification. This improves both appearance and function by maximizing closet access.
If you’re tackling multiple door projects, our team at Rooster Windows and Doors provides Professional Door Replacement services that handle all these details seamlessly.
Finishing Touches and Common Problems
With your doors hanging, these final touches and troubleshooting tips will transform your sliding closet door installation into a professional-looking project.
Final Adjustments and Customization
These finishing touches make all the difference in the final appearance.
Getting the overlap just right is crucial. Your doors should overlap by about one inch when they meet in the middle. This provides the widest possible opening while ensuring complete coverage when closed.
Install door handles or pulls if they aren’t pre-attached. Position them at a comfortable height, typically around 36 inches from the floor.
Many kits include a decorative fascia or trim piece for the top track. Installing it hides the hardware and creates a clean, built-in appearance.
If you plan to paint your doors, it’s best to do so before hanging them. If you must paint after installation, consider temporarily removing the doors for better coverage.
Customizing your doors offers many possibilities, such as adding decorative molding or applying wallpaper to match your room’s style.
Common Problems During Sliding Closet Door Installation
Even careful DIYers can encounter issues. Most have simple solutions.
If doors aren’t sliding smoothly, first check your tracks for debris. Vacuum and wipe the tracks clean. If that doesn’t work, lubricate the rollers with a silicone-based lubricant.
If doors are crooked or have uneven gaps, it’s usually an alignment issue. Use the adjustment screws on the rollers to make small corrections until the doors are level and plumb.
If doors pop off the track, check that the anti-jump clips are properly engaged. These devices lock the rollers into the track. Also, avoid slamming the doors, which can cause them to jump the track.
Advanced Considerations
Some projects may require more than the classic two-door setup.
Bottom tracks aren’t always necessary. The bottom guide’s main job is to keep doors from swinging; the top track supports the weight. Many modern systems use a small center-mounted guide instead of a full track, but some form of bottom guidance is essential for stability.
Installing three or more doors is a great option for wider closets. Triple track systems allow you to push all doors to one side, giving you access to two-thirds of your closet at once, a significant improvement over standard two-door systems. This is excellent for maximizing closet access in large closets. These advanced options require more precise installation but can greatly improve functionality.
Frequently Asked Questions about Sliding Closet Doors
Here are answers to common questions about sliding closet door installation.
How much should sliding closet doors overlap?
A one-inch overlap is the standard for most two-door bypass systems. This ensures the closet opening is completely covered when the doors are closed, while still providing maximum access when they are open. This measurement also helps the doors glide smoothly past each other without binding.
Do all sliding closet doors need a bottom track?
Not every system requires a full bottom track. Many modern kits use a small, floor-mounted guide to keep the doors from swinging, while the top track supports all the weight. While you might not see a full track, some form of bottom guidance is crucial for keeping the doors aligned and stable.
Can I install sliding closet doors on a carpeted floor?
Yes, but installing on carpet requires a small workaround for best results. Create a stable foundation by installing a thin piece of solid wood (like a 1/8-inch thick board) on the subfloor, right through the carpet. Then, fasten your bottom track or guide to this board. This provides the level surface your doors need to glide smoothly and prevents the track from sinking into the carpet over time.
Get a Flawless Finish for Your Closet Doors
Congratulations! You’ve just completed a sliding closet door installation that can truly transform your space. There’s something incredibly satisfying about stepping back and admiring smooth-gliding doors that not only look fantastic but also maximize your room’s functionality and style.
Following the steps we’ve outlined will give you that professional-quality result you’re after. The careful measuring, precise track installation, and thoughtful adjustments all come together to create doors that operate beautifully for years to come. Your bedroom or hallway now has that polished, finished look that makes such a difference in how a space feels.
But let’s be honest – sometimes life throws us curveballs. Maybe you finded your closet opening is more out-of-square than expected, or perhaps you’re looking at the project and thinking, “I’d rather spend my weekend doing something else!” That’s where we come in.
At Rooster Windows and Doors, we’ve seen every type of closet opening imaginable over our two decades in the Chicagoland area. Those tricky installations that make even experienced DIYers scratch their heads? We handle them regularly. Out-of-square openings, unusual dimensions, or structural quirks that require creative solutions – these are the challenges we tackle every day.
When you choose our professional door installation services, you’re not just getting installation expertise. You’re getting peace of mind that comes with knowing your doors will be perfectly aligned, energy-efficient, and built to last. We bring the right tools, the experience to handle unexpected issues, and the commitment to a flawless finish that stands the test of time.
Whether you’ve successfully completed your DIY installation or you’re ready to let the experts handle it from start to finish, the result is the same – beautiful, functional sliding closet doors that improve your home’s value and your daily life.