Why Your Front Door Deserves an Upgrade
When you replace entry door systems, you’re making one of the most impactful home improvements possible. Your front door is the first thing visitors see, and it plays a crucial role in your home’s security, energy efficiency, and curb appeal.
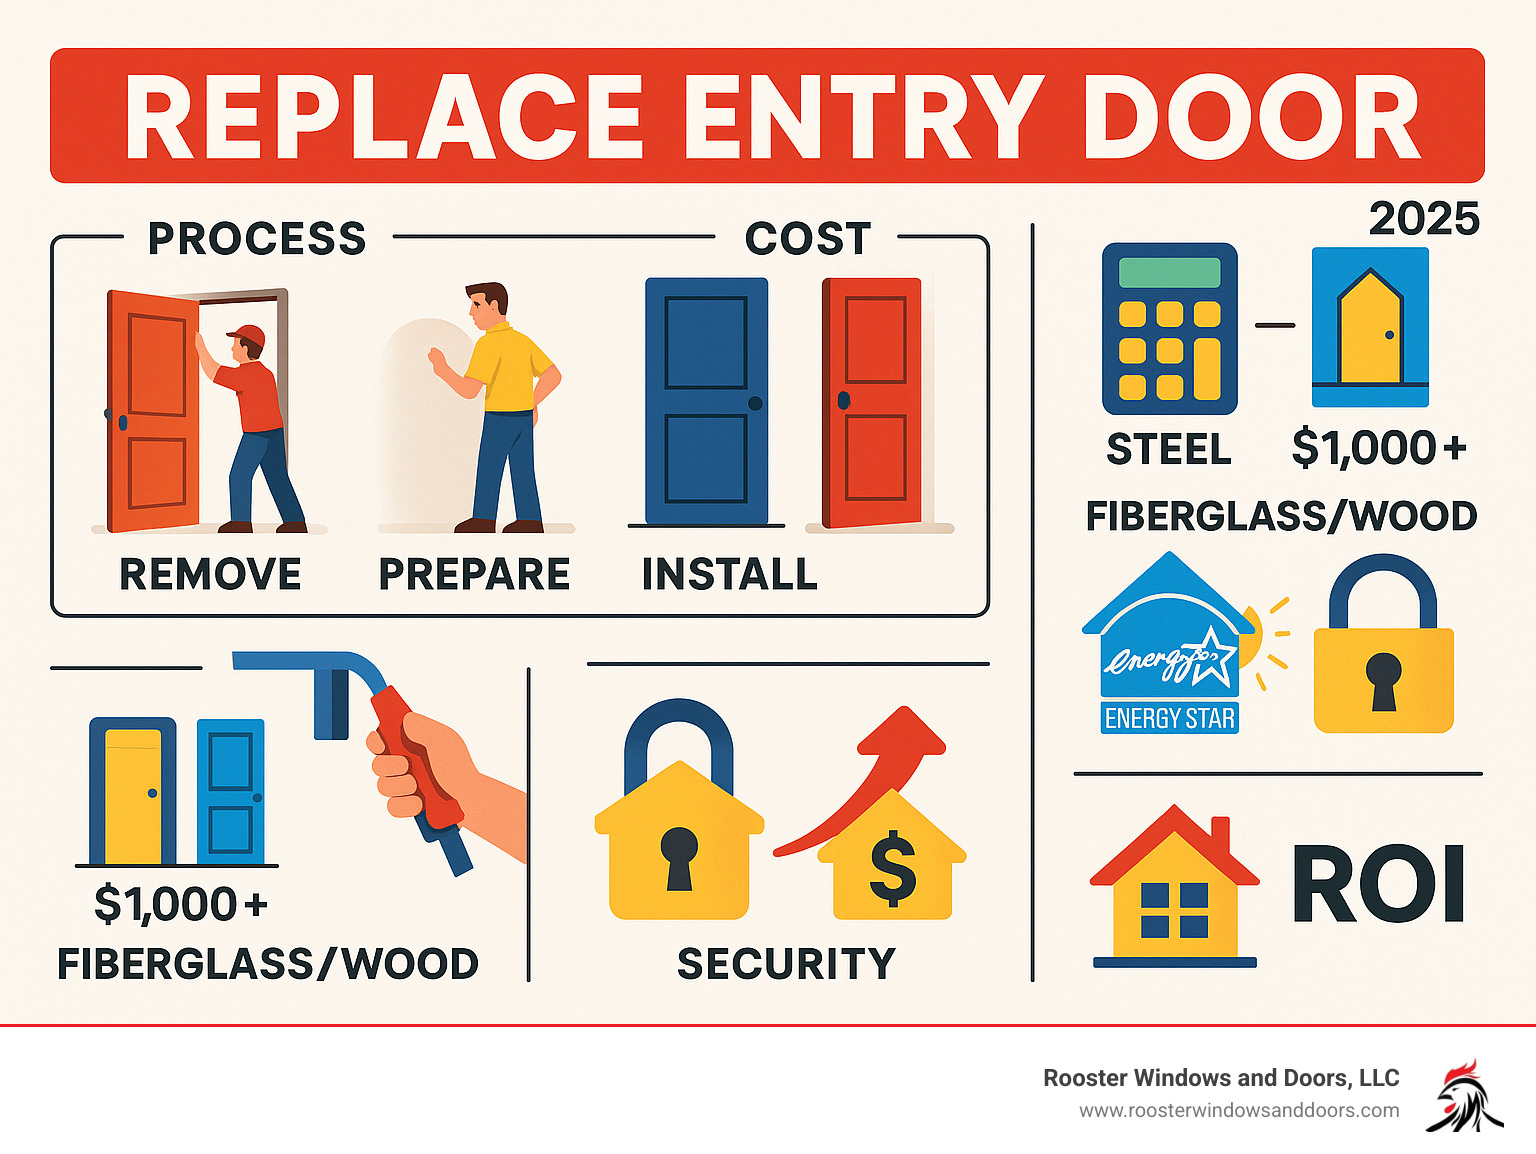
Quick Answer: To replace an entry door, you’ll need to:
- Remove the old door and frame.
- Prepare the rough opening, checking for damage.
- Install the new pre-hung door unit.
- Seal and insulate around the frame.
- Add finishing touches like trim and hardware.
The average cost in the Chicagoland area ranges from $700 to $5,500, depending on material and features. Basic steel doors start around $1,000, while custom fiberglass or wood doors with decorative elements begin at $1,400.
A new front door can refresh your entryway’s look and increase your home’s value. Modern doors offer better durability, weather resistance, and lower maintenance than older options.
As Piotr Wilk from Rooster Windows and Doors, I’ve spent over two decades helping Chicagoland homeowners replace entry door systems with high-quality installations. Whether you’re tackling this as a DIY project or hiring professionals, the right approach ensures lasting results.
Why Upgrade? The Benefits and Types of New Entry Doors
Deciding to replace entry door systems is one of the smartest home improvements you can make. A new door provides an instant makeover with several key benefits.
Better curb appeal is the most obvious advantage. A modern door can transform your home’s exterior and directly impact its market value. Beyond looks, modern doors offer improved security with advanced locking systems and reinforced frames. Energy efficiency is another major benefit that saves you money over time. New, well-insulated doors reduce drafts, lowering your heating and cooling bills—a significant advantage during Chicago’s harsh winters and humid summers. Modern doors also provide better weather resistance, handling temperature swings and moisture without warping or cracking, which means less maintenance for you.
For more insights, you can read about the impact of curb appeal on home value or explore more on different door types.
Choosing Your Material: Steel, Fiberglass, or Wood
The material you choose affects cost, appearance, and long-term maintenance. Here’s a breakdown of the three main options.
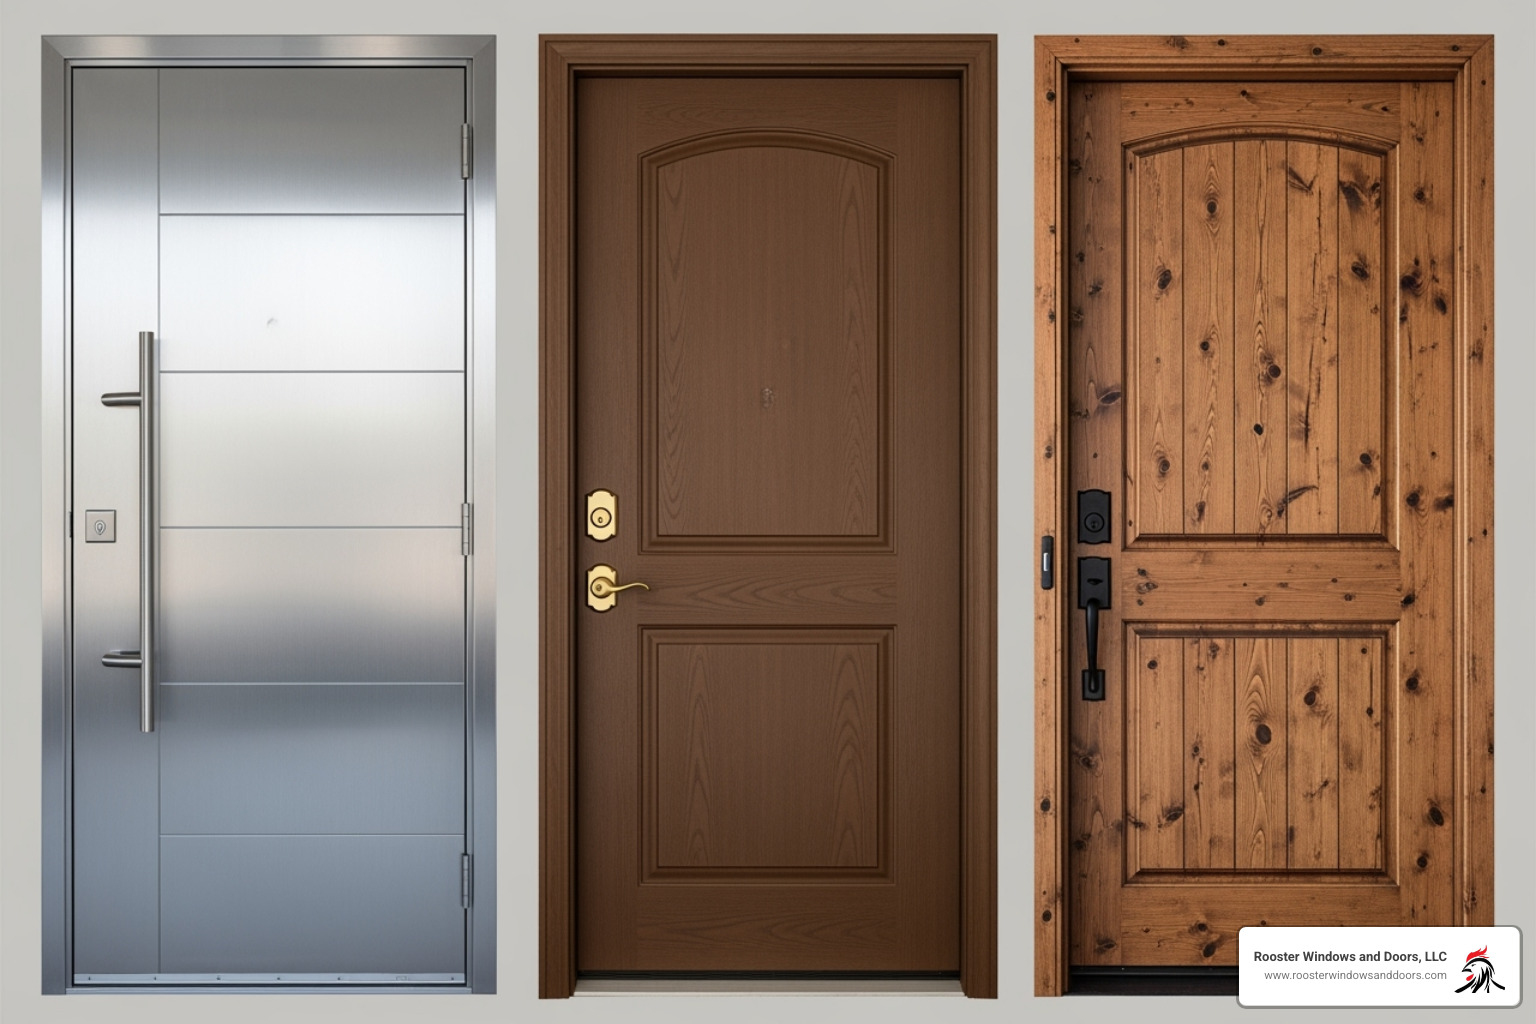
Steel doors are a budget-friendly and secure option, starting around $1,000. They are strong, low-maintenance, and won’t warp, though they can be dented. Their smooth finish is ideal for painting.
Fiberglass doors combine the durability of steel with the appearance of wood. They won’t dent, rot, or rust, making them ideal for harsh climates. Available in smooth or wood-grain textures, they are a highly cost-effective choice due to their longevity and low maintenance needs.
Wood doors offer timeless beauty and best character. They can be customized with any paint or stain color. However, they require regular maintenance to prevent warping and moisture damage. Quality wood doors can cost up to $5,000 but offer the unique ability to be trimmed for a perfect fit in older, out-of-square openings.
| Feature | Steel Doors | Fiberglass Doors | Wood Doors |
|---|---|---|---|
| Durability | High (strong, warp-resistant) | Very High (won’t dent, rot, or rust) | Medium-High (can warp or rot) |
| Cost | Low-Medium (around $1,000) | Medium (around $1,400+) | Medium-High ($1,400-$5,000) |
| Maintenance | Low (dent repair possible) | Very Low (virtually maintenance-free) | High (regular finishing required) |
| Energy Efficiency | High (insulated core available) | Very High (excellent insulation) | Medium-High (good with proper core) |
Considering Energy Efficiency
When you replace entry door systems, prioritize energy efficiency to keep comfortable air in and outdoor air out. This reduces the workload on your furnace and AC, leading to lower heating and cooling bills.
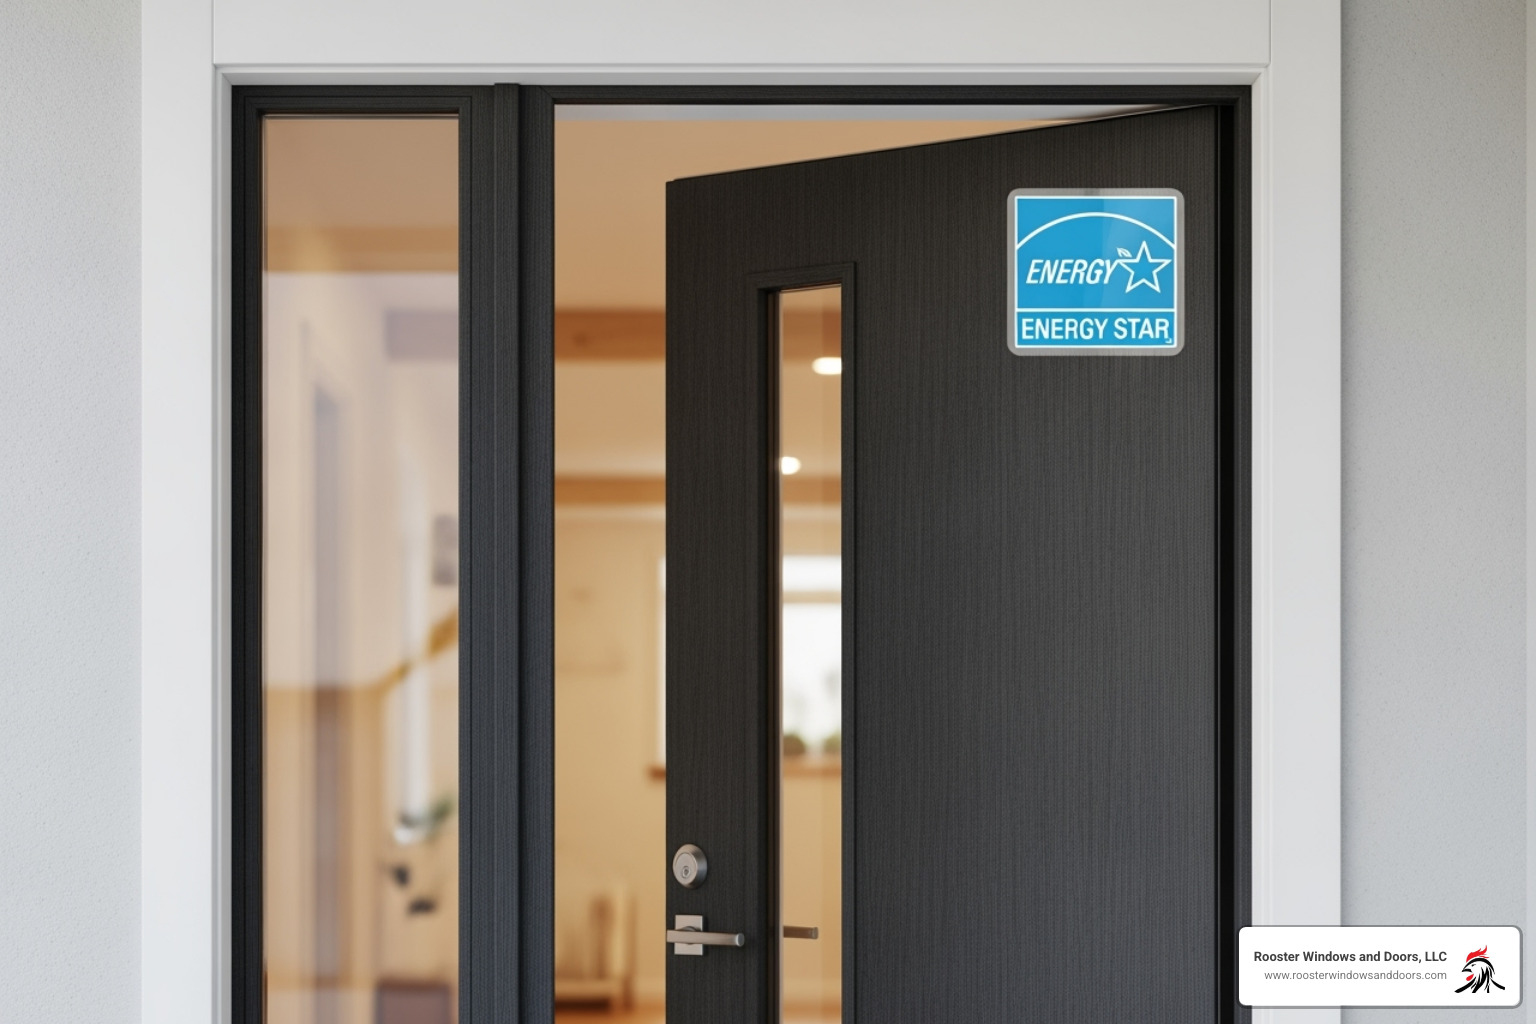
Modern doors feature an insulated core, often polyurethane foam, which provides a high R-value (a measure of insulation). Proper weatherstripping is also essential, as it creates an airtight seal to stop drafts. If your door has glass, choose multipane glass with low-emissivity coatings to reduce heat transfer.
Always look for ENERGY STAR-certified doors, which meet strict efficiency guidelines for our climate.
Planning Your Project: Costs, Choices, and Preparation
Proper planning is key to a successful door replacement. Understanding the budget, options, and preparation will ensure a smooth process. If you prefer to leave it to the experts, our team at Rooster Windows and Doors is ready to help. Learn more about our Door Replacement Services.
Key Factors When You Replace an Entry Door
The final cost of replacing an exterior door depends on several factors.
Here’s a breakdown of what influences the cost:
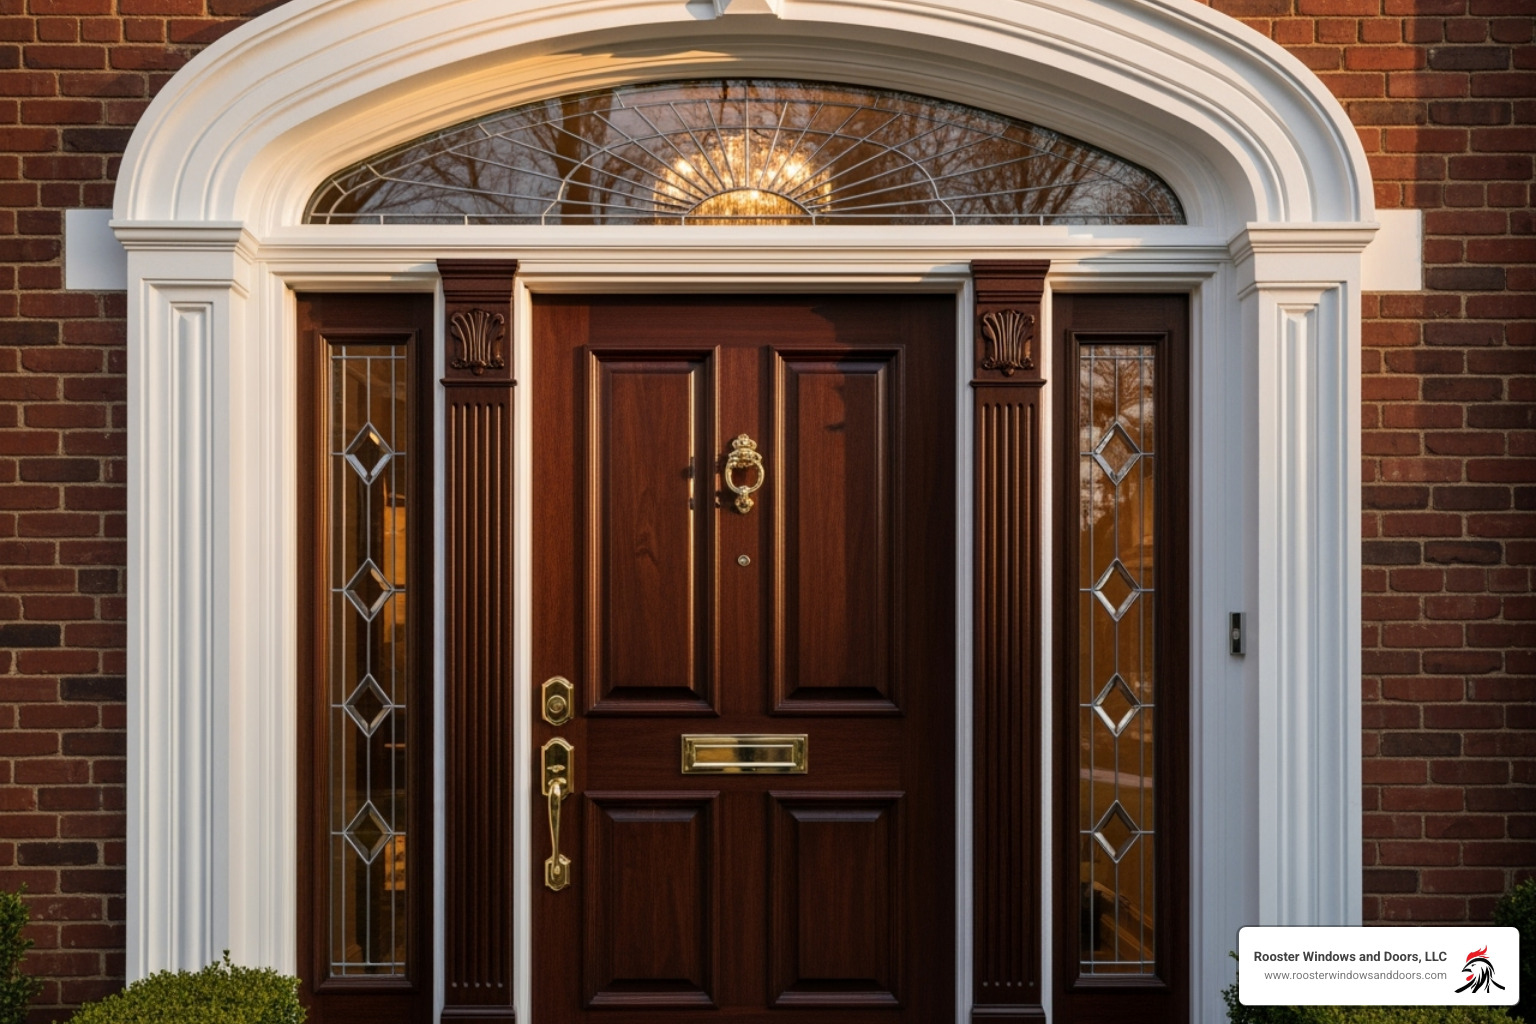
- Door Material Costs: Basic steel doors start around $1000, while fiberglass or wood doors begin at $1400. High-end custom systems can exceed $5,500.
- Labor Fees: In the Chicago area, labor for installation typically ranges from $200 to $600, though this can be higher for complex custom doors.
- Frame Damage Repair: If the existing frame is rotted or warped, repairs can add $100 to $400 to the total cost.
- Custom Features: Add-ons like glass inserts, sidelights, transoms, upgraded hardware, or smart locks can increase the price by $200 to $1,000 or more.
Pre-Hung Doors: What to Know
When you replace entry door units, you can choose between a slab door (the door only) or a pre-hung door. We almost always recommend a pre-hung door system for replacement projects.
A pre-hung door comes already mounted in its frame with hinges and lockset holes pre-drilled. This integrated system simplifies installation and ensures a perfect fit and seal. While a slab door is cheaper upfront, fitting it to an existing frame requires specialized carpentry skills and tools to cut hinge mortises and bore holes accurately.
A pre-hung unit is set into the rough opening, making it a more straightforward project for DIYers. The benefits are clear: easier installation, a better weather seal, and a comprehensive manufacturer’s warranty.
How to Measure for a New Door
Accurate measurements are crucial for a successful door replacement. Follow these steps to ensure your new door fits perfectly.
- Width & Height: Measure the existing door’s width and height in three places (top, middle, bottom) and use the largest measurement for each. For a pre-hung unit, measure the rough opening from stud to stud (width) and from the subfloor to the header (height).
- Thickness: Measure the thickness of your current door. Standard exterior doors are 1-3/4 inches thick.
- Squareness: Measure the door diagonally from corner to corner in an “X” pattern. The two measurements should be identical. If not, the door or frame is out of square.
- Jamb Width: For pre-hung doors, measure the width of the existing door jamb from the back of the interior trim to the back of the exterior trim. Common sizes are 4-9/16 inches and 6-9/16 inches.
When ordering, round up your measurements to the nearest inch. For example, a door measuring 35-3/4″ x 79-1/2″ would be ordered as a 36″ x 80″ door.
How to Replace an Entry Door: A Step-by-Step Guide
Ready to start your door replacement? This project is easier with a friend to help lift the heavy door. Always wear safety equipment like gloves and safety glasses. You’ll need essential tools like a pry bar, level, shims, and caulk.
For more detailed visuals, check out our DIY Installation Guide.
Step 1: Remove the Old Door and Frame
First, remove the old door. With a helper supporting the door, tap the hinge pins loose from the bottom with a hammer and nail set. Remove the pins and lift the door slab off the hinges.
Next, pry off the interior trim. Score the caulk line where the trim meets the wall with a utility knife to prevent paint from peeling. Carefully pry the casing loose, using a thin piece of wood to protect the wall.
Outside, cut through the caulk sealing the exterior trim to the siding.
Now, remove the old jambs. Locate and remove the screws or nails holding the frame in the rough opening. A reciprocating saw may be needed to cut stubborn fasteners. Carefully pry the jambs and threshold away from the opening.
Finally, inspect the subfloor for rot at the bottom of the opening, especially under the old threshold. Address any damage before proceeding.
Step 2: Prepare the Opening and Test-Fit the New Door
A clean, properly prepared opening is essential. Clean out all debris from the rough opening. Use your level to check that the opening is level and plumb. The sill should be level, and the sides should be plumb.
Protect against moisture by applying flashing tape to the sill. This self-adhering tape should cover the bottom of the opening and wrap slightly up the sides.
Apply beads of caulk along the sill and behind where the new brickmould will sit to create a weather-tight seal.
Now, dry-fit your new pre-hung unit. With your helper, carefully lift the new door into the opening and center it. This test run ensures it fits correctly before you secure it permanently.
Step 3: Secure and Shim the New Door Frame
Proper shimming is critical for a door that swings correctly. Center the door in the opening and tack the frame in place with a few casing nails at the top corners.
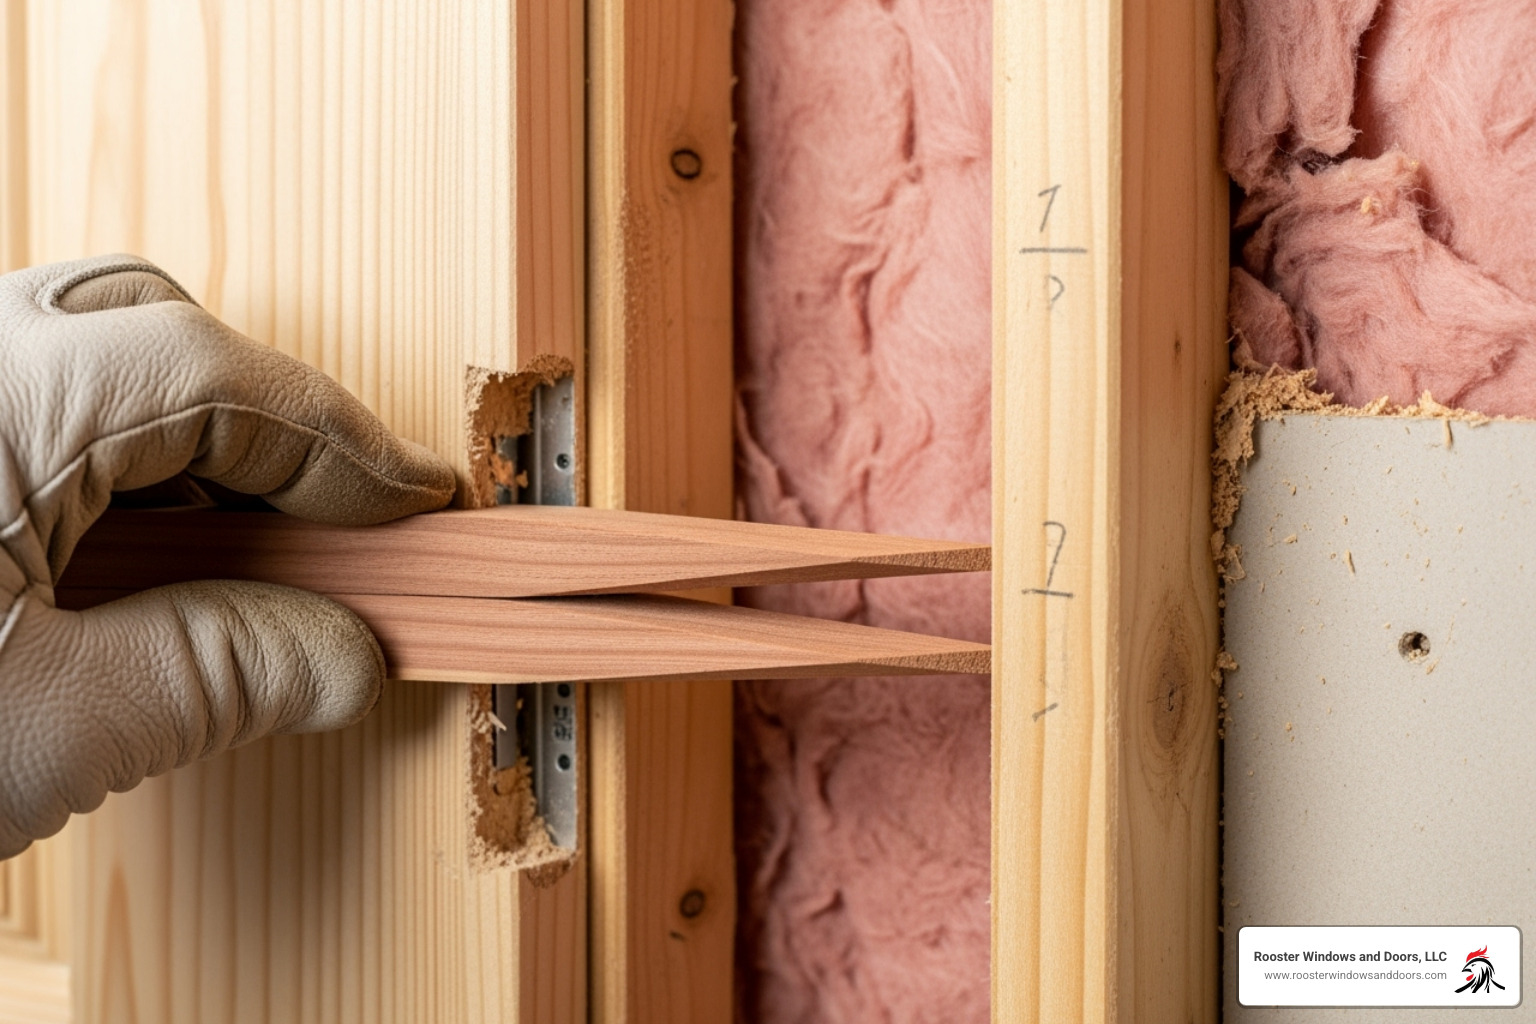
Shim the hinge side first. Place pairs of cedar shims behind each hinge location, tapping them in until the jamb is plumb and there is a consistent 1/8-inch gap between the door and the jamb.
Check for even gaps on all sides. Adjust the shims on the latch side until the reveal is consistent and the door closes smoothly without binding.
Once aligned, drive the anchor screws. Replace one screw in each hinge with a longer 3-inch screw that secures into the wall framing. Add more screws through the shim locations, being careful not to overtighten and bow the jamb.
Step 4: Insulate, Seal, and Add Finishing Touches
These final steps ensure a polished, energy-efficient installation. Fill the gap between the door jamb and the rough framing with minimal expanding foam designed for windows and doors.
Check that the weatherstripping makes full contact with the door when closed to prevent drafts.
Install your new hardware, including the handle and deadbolt, following the manufacturer’s instructions. Test that everything operates smoothly.
Install the interior and exterior trim. Use finishing nails and ensure proper alignment for a professional look.
Caulk all gaps where the trim meets the wall and siding to seal out moisture. Finally, paint or stain the new door and trim. For wood doors, finish all six sides to protect against moisture and maintain the warranty.
Troubleshooting and When to Call a Professional
Even well-planned installations can have issues. Most common door problems have simple fixes, but it’s important to know when to call a professional. If a DIY project becomes overwhelming, don’t hesitate to seek expert help. For guidance, see our post on Choosing the right contractor.
Some problems require a professional from the start. Warped frames, rotted subfloors, and severely out-of-square openings can complicate a standard installation. If you find structural issues like a sagging header, it’s time to call in experienced professionals who can address these problems safely.
Common Issues and How to Fix Them
Door sticking or rubbing is a frequent issue, often caused by loose hinges or improper shimming. First, try tightening all hinge screws. If that fails, replace a top hinge screw with a longer 3-inch screw to pull the door back into alignment. For rubbing on the latch side, you may need to adjust the shims.
Drafts around the door typically indicate problems with weatherstripping. Check that it makes solid contact with the door and replace any worn or damaged sections. Ensure the gap between the jamb and rough opening is sealed with foam.
If the lock isn’t engaging properly, the strike plate is likely misaligned. Remove the plate and use a file or chisel to enlarge the opening slightly, allowing the latch bolt to engage smoothly. Minor adjustments are often all that’s needed.
Many modern thresholds are adjustable. If there’s a gap under the door, turn the adjustment screws on the threshold to raise it until it creates a good seal with the door sweep without causing it to drag.
Deciding Between DIY and Professional Installation
Replacing an entry door can be a rewarding DIY project if you have the right skills and a straightforward installation.
Project complexity is a major factor. A standard single door is manageable for a skilled DIYer, but double doors, sidelights, or custom units are best left to professionals.
Also, consider the required tools and skills. You’ll need specialized tools and the ability to shim a frame perfectly plumb and square. A professional installation can take a full day; a DIY project can take longer, especially if you run into unexpected issues.
Finally, check warranty considerations, as many manufacturers require professional installation to validate their warranty. For a flawless finish that maximizes security, efficiency, and longevity, professional installation is the best choice.
For peace of mind, our team at Rooster Windows and Doors specializes in Professional Exterior Door Installation, providing high-quality, energy-efficient results.
Frequently Asked Questions about Entry Door Replacement
Here are answers to some of the most common questions we get from homeowners at Rooster Windows and Doors about entry door replacement.
How much does it cost to replace an entry door?
The cost to replace entry door systems varies widely based on material, style, and features. In the Chicagoland market, a complete replacement typically ranges from $700 to $5,500.
Basic steel doors are the most affordable, starting around $1,000. Fiberglass or wood doors with decorative glass or other features usually start around $1,400.
Labor costs typically add $200 to $600. If we find frame damage, repairs can add another $100 to $400. Custom features like sidelights or smart locks will also increase the total price. Most of our customers in the Chicago area spend around $2,500 for a complete, professional installation.
Can I replace a door without replacing the frame?
Yes, you can replace just the door slab, but only if your existing frame is in perfect condition: square, plumb, and free of rot or damage. This process, known as a slab installation, requires precise measurements and carpentry skills to transfer hinge and lockset locations from the old door to the new one.
However, we almost always recommend a complete pre-hung unit. A pre-hung system includes a door and frame that are perfectly matched for a superior fit, better energy efficiency, and a longer lifespan. It also ensures you won’t have problems later due to an aging frame.
What is the most durable type of exterior door?
For maximum durability and low maintenance, fiberglass and steel doors are the top choices. They are engineered to withstand harsh weather without deteriorating.
Fiberglass doors are exceptionally durable. They won’t warp, crack, rot, or rust, and they resist denting. This makes them an excellent choice for the Chicagoland climate, as they handle temperature and humidity swings with ease.
Steel doors are also very strong, secure, and resistant to warping. While they can be dented, repairs are generally straightforward. They require very little maintenance to keep them looking great.
Wood doors are beautiful and can be very durable if properly maintained with regular painting or staining. However, without this care, they are susceptible to warping and rot. For homeowners seeking a low-maintenance, “install it and forget it” solution, fiberglass and steel are the clear winners.
A New Doorway to a Better Home
When you replace entry door systems, you’re making a smart investment in your home’s curb appeal, security, and energy efficiency. A quality door replacement transforms your home’s first impression while delivering tangible benefits like lower heating and cooling bills and improved security.
Whether you choose a rewarding DIY project or opt for the peace of mind of a professional installation, the right approach is key. A DIY project can be satisfying, while professional service ensures expertise and warranty protection.
For homeowners who want a flawless, high-quality installation with a wide variety of energy-efficient options, our team at Rooster Windows and Doors offers over two decades of experience. We are committed to changing your entryway into a welcoming, secure, and beautiful statement piece.
From affordable steel doors to stunning custom wood and fiberglass systems, we will help you find the perfect solution for your home and budget. Our installations are built to last, backed by our commitment to quality and customer satisfaction.
Ready to see what a new entry door can do for your home? Explore our custom window and door installation services today!